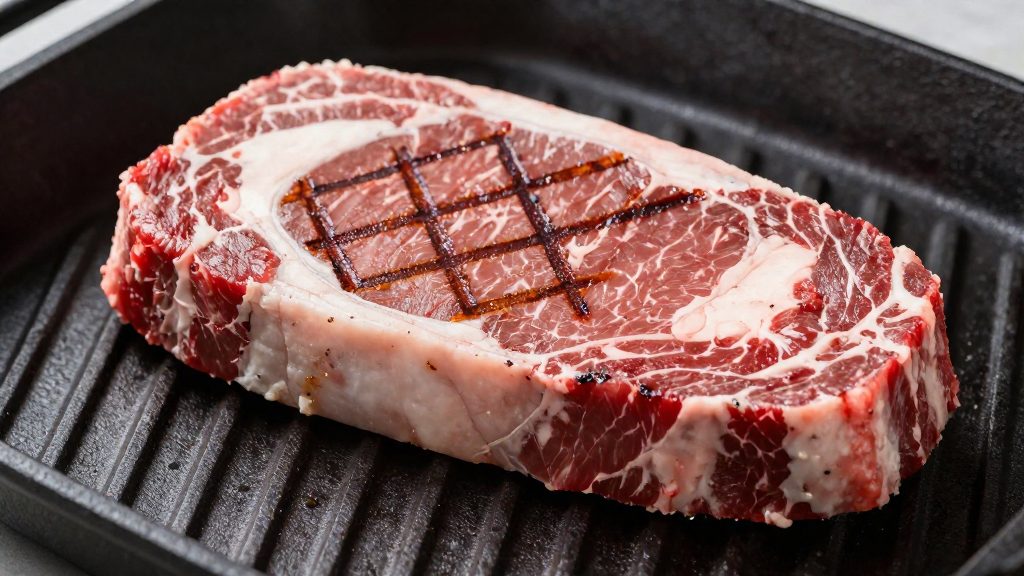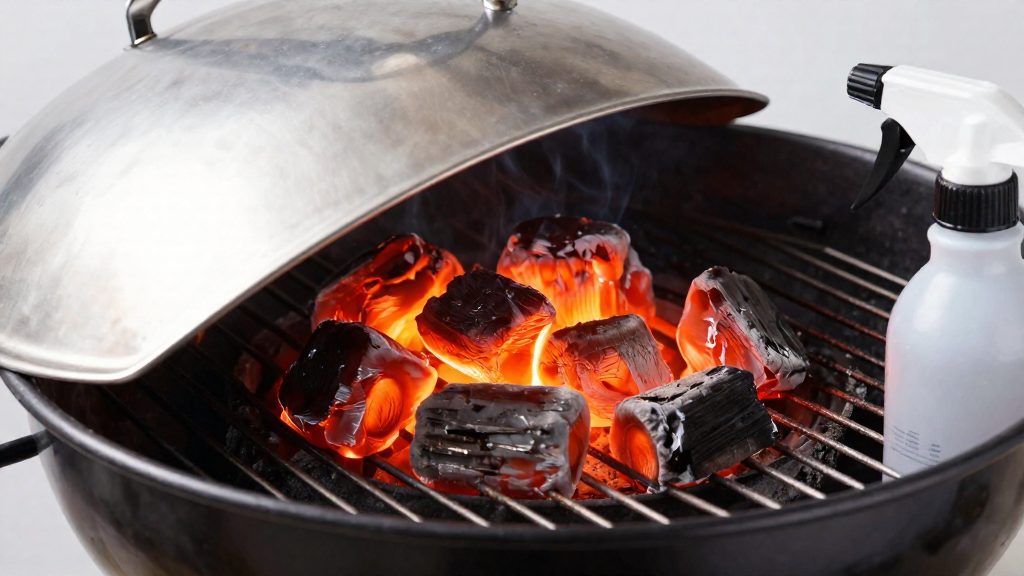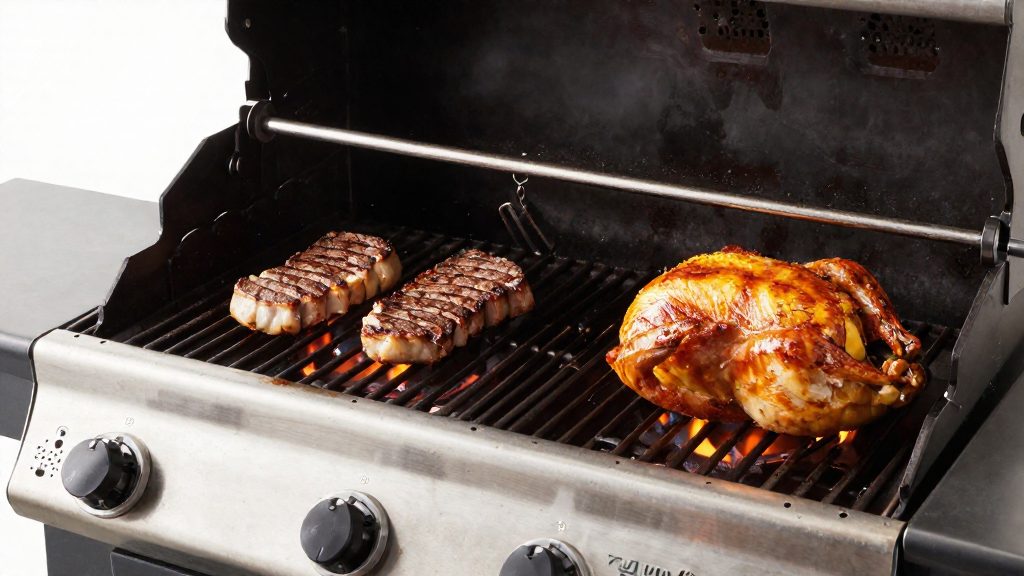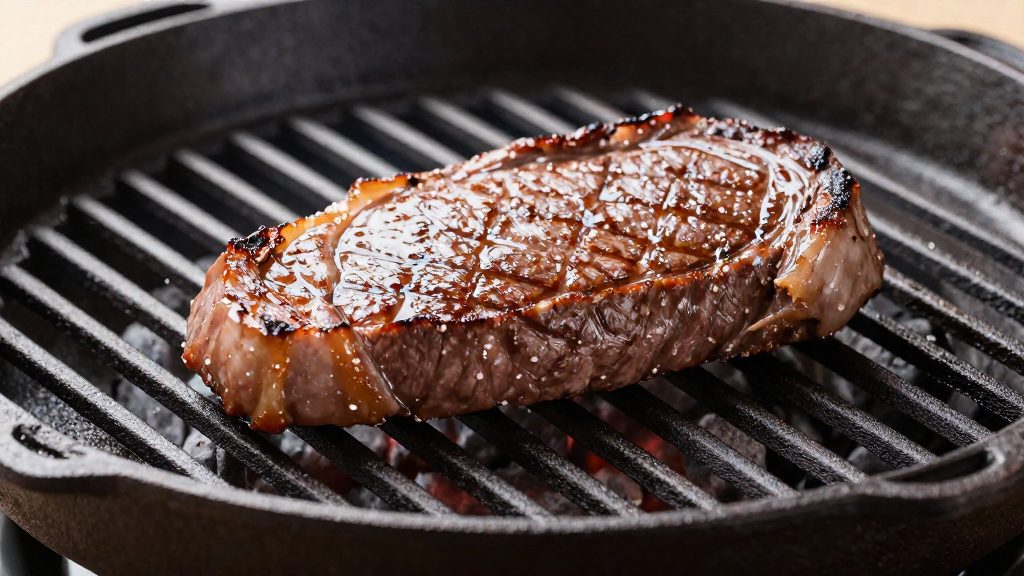
Meat sticks to the grill mainly for two reasons: the grate has not reached cooking heat, or it still carries residue from earlier cooks. The grate temperature at the moment the meat touches it largely determines whether the surface lifts cleanly. Both causes can be controlled before the food goes down.
Why does meat stick to the grill?
Food bonds to a cold grate
Meat placed on bars that have not reached cooking heat stays in contact with the metal for longer, and that contact is where the bond forms. According to Tasting Table, food releases more easily from hot grates, which is the practical reason to heat the grill fully before any protein goes on. A cold grate gives the surface no point at which it separates cleanly, so the meat tends to tear when you try to lift it. The problem is therefore about timing: the grate needs to be hot when the food arrives, not when you are ready to flip it.
Residue as a trap
Leftover food and fat from earlier cooks form a film on the grate. New meat lands on that film rather than on bare metal, so it grabs whatever is already stuck there. Because the bond forms with the residue rather than the bars, a hot grate alone does not prevent sticking when residue is present. The film also changes how the surface releases: food that seems fine on a hot grill can pull apart as soon as it is turned, because the bond is with the leftover layer. Treating the grate as clean before the first piece of meat goes down removes this trap at its source.
Start with clean grates
Food sticks most readily to grates that still carry residue from the previous session. Removing that residue before each cook gives the protein a clean surface to sear against, so the cleaning step belongs at the start of every session, not only when the grill looks dirty.
Scrape after the grill heats
Light the grill and let it come up to temperature before you scrape. According to Tasting Table, heating the grill loosens leftover food, so the residue lifts off with less effort. Working on hot grates also means you are removing what is actually bonded to the bars rather than scraping at cold, hardened deposits.
Once the grates are hot, follow this sequence:
- Work across the bars with the brush or scraper, pressing firmly enough to lift loose debris.
- Move in the direction of the bars so that you clear each one fully rather than skipping gaps.
- Check the grate for any remaining black or crusted patches and scrape those specifically.
- Remove the debris from the grill, not onto the lower burners or charcoal bed, so it does not fall back onto the surface.
Choose a wire brush or scraper
The Takeout advises cleaning the grates with a wire brush or scraper before every use. Both tools work on the same residue, but they suit different conditions:
| Tool | Best suited to | Method |
|---|---|---|
| Wire brush | Loose food particles and light char between the bars | Brush with steady strokes along the bars |
| Scraper | Hardened or carbonised residue that a brush cannot lift | Push the blade across the bars at a low angle |
Replace a brush whose wires are bent or worn, since a damaged brush leaves residue behind and can shed bristles. Check the grates for loose bristles after brushing.
Clean before every cooking session
Treat the brushing step as part of every cook. A grate that was cleaned at the end of the last session can still collect debris from packaging, ash, or drippings while it sits, so a pass once the grill has heated, before the food goes on, prevents that residue from sticking to the next piece of meat. Build this habit into your routine: the grate is cleaned before the first food goes on, every time, without exception.
How long should you preheat the grill?
Preheat the grill on high for at least 5 to 10 minutes before food touches the grates.
| Source (publication) | Preheat time | Condition stated |
|---|---|---|
| Tasting Table | At least 5 to 10 minutes | Grill on high |
| Bearded Butchers | 10 to 15 minutes | Do not add meat while the grates are smoking |
The two ranges are not contradictory. The 5 to 10 minute figure is a minimum, and the 10 to 15 minute figure adds margin. The practical approach is to preheat on high for 10 to 15 minutes, which satisfies both sources, and then confirm readiness with the grates rather than the timer.
Using smoking grates as the readiness signal
Smoking grates are the clearest sign that the surface is not ready. Bearded Butchers advises waiting until the smoke has stopped before placing meat on the grill. Follow this sequence:
- Light the grill and set it to high.
- Keep the lid closed for at least 10 minutes.
- Check the grates. If they are still smoking, keep the grill on high and wait.
- Place the food only once the grates have stopped smoking.
Placing meat on grates that are still smoking risks sticking, because the surface is not yet at a stable temperature. The timer sets a minimum, but the absence of smoke confirms that the grates are ready.
Oil the food, the grates, or both?
The choice depends on the food, but the sequence is the same: preheat first, then add oil just before cooking. Preheat as described above, then add oil just before the food goes on.
Lightly oiling the protein is the most direct method. Brush a thin coat onto the meat or fish before it touches the grate, so the oil sits between the surface and the metal. Tasting Table pairs this with oiling the grates, not as a replacement for it. Apply the oil to the food in a thin layer rather than letting it pool, since excess oil is what drips into the flames and produces smoke.
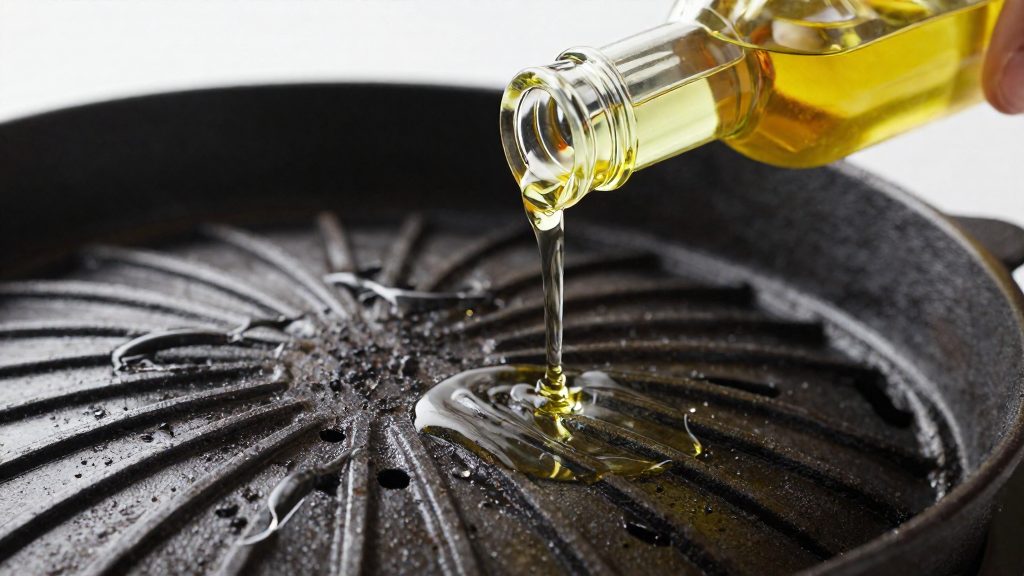
Oiling the grates covers the cooking surface itself. After preheating, The Takeout suggests wiping the grates with a paper towel dipped in canola, corn or peanut oil. Tasting Table gives an alternative: wipe oil onto the grates with a brush, or with a rag held in tongs. The rag method keeps your hand away from the heat.
Spraying oil needs a specific technique. Spray a paper towel while the grill is off, then wipe the grates with it. This delivers an even film without aerosol reaching hot metal, which is the method Bearded Butchers describes.
Burgers are the main exception. Tasting Table notes that burgers usually don’t need oil because they have more fat, so adding oil to the patty is usually unnecessary. This is the clearest case where oiling the food is optional.
Which oils work best on the grill?
Oil choice on a grill depends mainly on its smoke point, the temperature at which an oil begins to smoke and break down. Grill grates get very hot, so an oil that smokes at a lower temperature is more likely to burn onto the food and the grates. According to Bearded Butchers, the threshold to aim for is an oil with a smoke point above 400°F (about 204°C), and grapeseed and avocado oil are the named examples that meet it.
Canola, corn and peanut oil serve a different role. The Takeout names them as the oils to wipe onto grates after preheating, The Takeout names them for wiping the grates after preheating.
| Oil | Role on the grill |
|---|---|
| Grapeseed oil | Recommended for cooking; smoke point above 400°F |
| Avocado oil | Recommended for cooking; smoke point above 400°F |
| Canola oil | Wiped onto grates after preheating |
| Corn oil | Wiped onto grates after preheating |
| Peanut oil | Wiped onto grates after preheating |
Before you reach for a bottle, check whether its smoke point clears 400°F. This single test separates the recommended cooking oils from the ones to avoid, and it gives you a practical way to judge oils that are not named in this guide. Oils that clear the threshold suit the high-heat cooking itself, while the grate-wiping oils cover the surface-preparation step. Matching each oil to its role keeps the food from sticking without leaving residue that burns during cooking.
Why shouldn’t you move the meat too soon?
Moving food too early is another common cause of sticking. When meat first touches the grate, its surface bonds to the metal. Lifting it before that bond has loosened pulls the surface away with the grate, leaving the crust torn and the piece half-attached. A cold or lukewarm grate holds on to the surface even when the meat is otherwise ready.
The rule is simple: the food releases on its own before you turn it. Stuck food is not ready to turn, as The Takeout puts it, so the grate itself tells you when to act.
How to tell when the food is ready
- Leave the piece undisturbed after placing it on the grate. Lifting it to check the underside only restarts the bonding process.
- Test for release by gently nudging an edge with tongs. If the piece slides or lifts without resistance, it is ready to turn.
- If it resists, leave it where it is. Forcing it off at this stage removes the seared layer that gives the piece its flavour and structure.
- Check the surface you can see for colour change, which indicates the crust has formed on the underside as well.
Flip only once
The Takeout recommends flipping only once during cooking. Each extra turn exposes a fresh surface to the grate and gives the meat another chance to tear. Plan for a single turn: sear the first side until it releases, turn it once, then finish cooking the second side without further movement.
Thick cuts benefit most from this discipline, because they take longer to form a releasable crust and are more likely to be moved too soon. Keep the lid closed between checks, and resist the urge to adjust the piece until the release test confirms it is ready.
What can you do if meat still sticks?
When food resists release, the priority is to stop forcing it. According to The Takeout, food that sticks should not be torn off the grate. Pulling it away removes the seared surface along with it. Instead, you have three options: give the food more time, lower the heat, or slide a wide, lightly oiled spatula underneath it.
Give it more time. Once a sear has formed, the protein usually loosens on its own, so leave it undisturbed for a short interval and check again.
Lower the heat. If the surface is darkening faster than the interior is cooking, reduce the heat and let the piece cook more gently. A lower temperature slows browning, which gives the surface a chance to release from the grate before it bonds further.
Slide a spatula underneath. Use a wide spatula, lightly oiled, and slide it under the piece in a flat, slow motion rather than prying up one edge. A wide blade supports the whole surface, so the food lifts in one piece. Work the spatula gently along the grate before applying lifting force.
Delicate proteins need extra care. For flaky fish, which tears most easily, Bearded Butchers recommends a fish basket, which holds the fillet and allows it to be turned without contact with the grate.
If the food releases only partly, leave the remaining section in place, let it cook for a short time, and then try again. A partial release means the sear is still forming, so the attached section is not yet ready. Forcing the piece at this stage removes both the crust and the meat beneath it.
Special cases: chicken, fish and lean cuts
Chicken and flaky fish stick for different reasons, so each needs a different barrier between the food and the grate. Chicken pieces, especially skin-on ones, bond to bare bars during their first minutes of contact. Flaky fish is delicate enough that a spatula can tear it apart before it releases.
Chicken pieces: start on foil
According to Bearded Butchers, start chicken pieces on foil for several minutes, then move them to the grate. Place the foil over the heated zone of the grill and set the pieces on it. The foil keeps the surface off the bars while it firms up and the proteins set.
- Move only when it releases: chicken that lifts cleanly from the foil is ready to transfer to the grate. If it resists, leave it a little longer.
- Finish on the grate: once transferred, the pieces get their grill marks and cook through.
Flaky fish: use a fish basket
Bearded Butchers recommends a fish basket for flaky fish. The basket holds the fillet in one piece, so you turn the whole basket instead of lifting the fish with a spatula. This is the step where flaky fillets most often break.
- Set the fish in the basket skin side down, then close it.
- Flip the basket once, so the fillet is never lifted off the grate directly.
Lean cuts
The same principle applies to other lean cuts with little fat: give the surface time to set before trying to move it. Forcing a lean cut early tends to tear the surface onto the grate.
Frequently asked questions
Which oil should I use to keep meat from sticking?
Choose an oil with a smoke point above 400°F, such as grapeseed or avocado oil, according to Bearded Butchers. Avoid extra virgin olive oil, butter and lard, and apply the oil with a paper towel rather than spraying it onto a hot grill.
What should I do if meat still sticks after it has been on the grill for a while?
Do not force it off, because a food that resists release is not ready to turn. Give it more time, lower the heat, or slide a wide, lightly oiled spatula under it, as recommended by The Takeout.
Do delicate foods like chicken or fish need a different approach?
Yes. Bearded Butchers suggests starting chicken pieces on foil for several minutes before moving them to the grate, and using a fish basket for flaky fish.