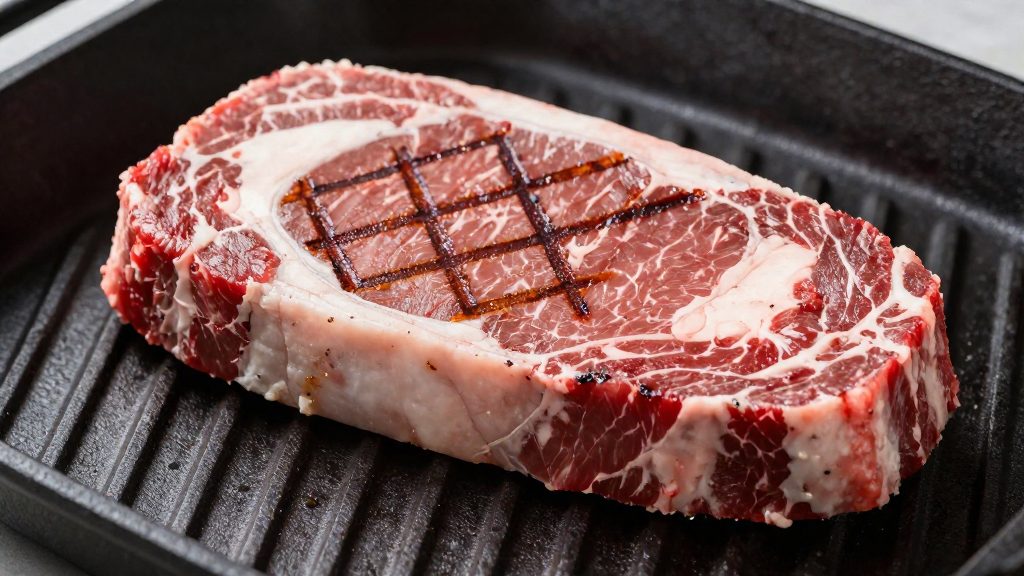
Why do grill marks form on steak?
Contact sear and the grate pattern
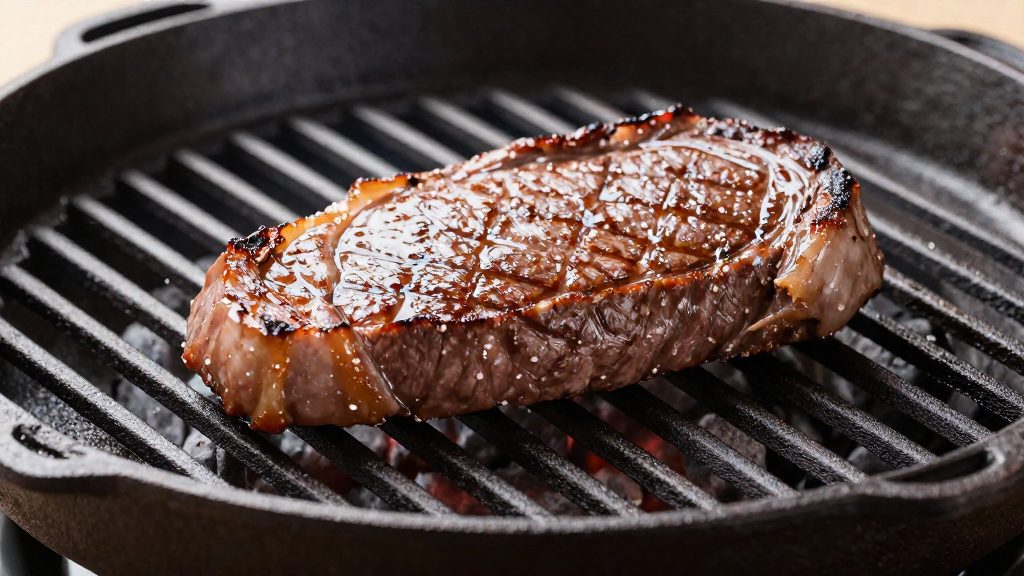
Each bar transfers heat straight into the steak where it touches, so the pattern follows the grate’s geometry. Where the meat sits over a gap, it receives only hot air and radiant heat and stays pale. This is why the marks are a contact effect rather than a general browning of the whole surface.
Surface moisture affects how cleanly the contact area browns. Bringing the steak to room temperature also helps the contact area brown evenly rather than sticking to the bars.
Maillard browning on the surface
The darker lines are the surface sugar-protein browning that the Maillard reaction produces. It needs a dry, hot surface, so the meat should not be pressed into the bars while wet. Searing time governs how far this browning develops before the steak is turned.
Why bar contact produces the pattern
Placing the steak at an angle to the bars, rather than parallel to them, gives the sharpest lines once the meat is turned. Pressing gently at the start ensures full contact with each bar, and leaving the steak undisturbed keeps those contact points fixed.
| Factor | Effect on the mark | Source |
|---|---|---|
| Steak placed at 45° to the bars | Creates the diagonal line that is rotated later | Food Republic (2026) |
| Sear time of about 1.5–2.5 minutes | Sets the mark before turning | Chowhound (2026) |
| Light oil on the grate surface | Reduces sticking to the bars | Chowhound (2026) |
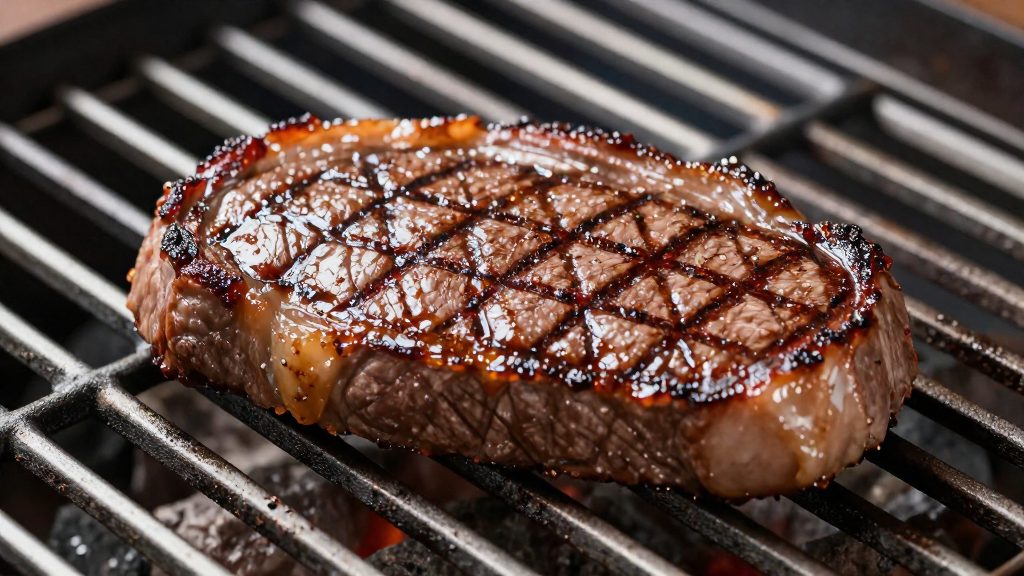
Preheat and prep the grates
Grate preparation determines whether the steak marks at all. Chef Robbie Shoults recommends starting with clean grates and heating them to about 450°F (about 230°C) before any food goes on, which gives the surface enough heat for a fast sear (Chowhound, 2026). Scrape the grates with a stiff wire brush while the grill is still warm, then close the lid and let the grill come up to temperature. Start from clean grates so that no residue from the previous cook sticks to the steak.
Food Republic (2026) advises cleaning the grates and preheating for 10–15 minutes before cooking, with oil applied at the end. The same source notes that cast iron grates or a grill topper produce the clearest marks, so use them if your grill allows it.
Oil the grates just before cooking. Chowhound (2026) recommends a light coat for this purpose, which prevents sticking. Oil applied long before the steak goes on has more time to burn off during preheating, so apply it as the last step before the meat is placed.
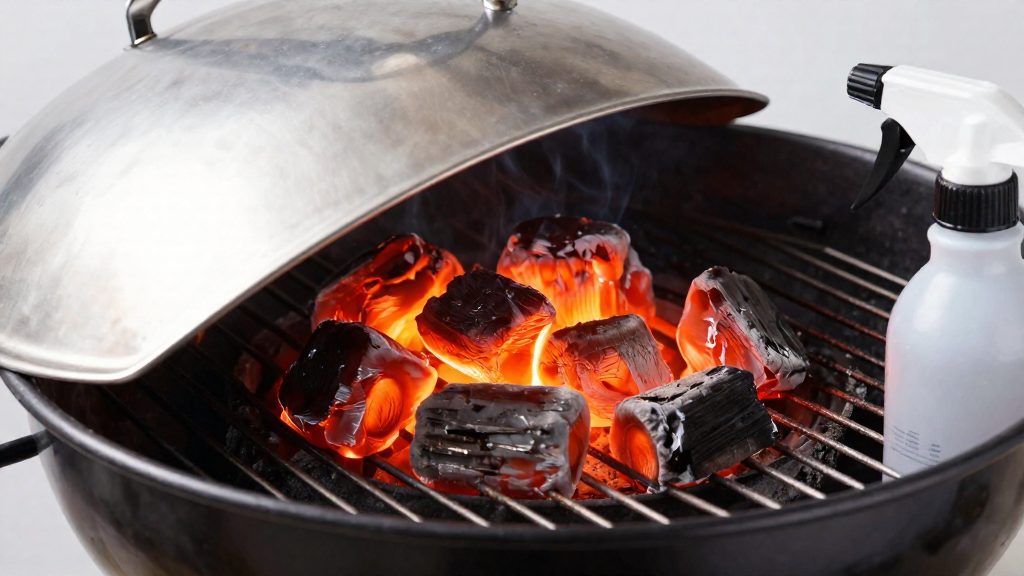
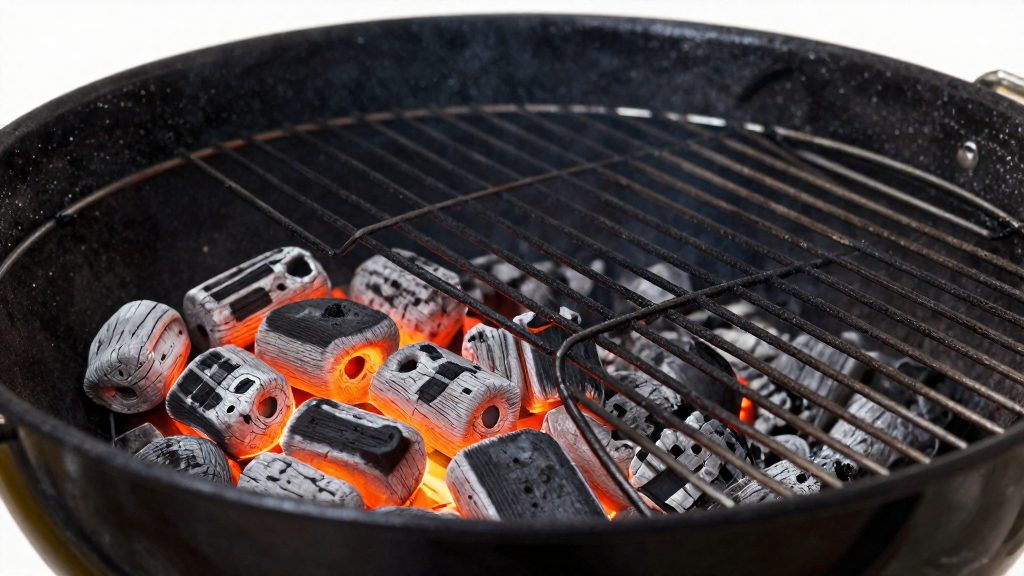
On charcoal, the fire must reach a specific state before cooking. The Culinary Institute of America (2026) describes coals burned down to glowing red with a light coating of white ash. Coals that are still black or flaming have not reached this state, and the grate temperature will not be consistent. Wait until the ash has formed before placing the steak.
Use this checklist before the meat goes on:
| Check | Target state |
|---|---|
| Grate surface | Clean, with no residue from previous cooks |
| Grate temperature | About 450°F |
| Preheat time | 10–15 minutes with the lid closed |
| Oil | Light coat applied immediately before cooking |
| Charcoal (if used) | Glowing red with light white ash |
Dry, oil and season the steak
Surface preparation decides whether the steak browns or steams, and it happens before the meat touches the grate. Work through three steps in order: remove moisture, apply a light oil coat, then season.
Pat the surface dry
Surface moisture has to evaporate before browning can start, so a wet steak steams instead of seizing on the grate. Pat all sides dry with kitchen paper. If the steak came out of a marinade, wipe off the excess as well. Food Republic (2026) recommends removing excess marinade to reduce flare-ups, because liquid that drips onto the fire causes them.
Apply a thin oil coat
Brush a thin oil coat onto the steak surface as well, in addition to the light coat on the grates applied just before cooking. Food Republic (2026) advises oiling the surface lightly. A film is enough. Pooled oil drips into the fire, so blot any visible puddles before the steak goes down.
Salt at the right moment
Season after the surface is dry and oiled, and salt just before the steak goes on the grill. Salt applied to a wet surface dissolves into the liquid rather than adhering as a dry seasoning, which is why the drying step comes first. Use coarse salt and season both sides evenly, then move straight to the grill so the salt timing stays as short as practical.
How do you get crosshatch grill marks?
The crosshatch pattern comes from one rotation on each side, all over direct heat. The Culinary Institute of America (2026) places the steak at the 10:00 position on an imaginary clock face, leaves it for about 2 minutes, then lifts it without flipping and turns it to the 2:00 position to form the X. The same sequence is then repeated on the other side.
Timing is set by a release test. Chowhound (2026) advises searing for about 1.5–2.5 minutes, then checking whether the meat lets go of the grate. If it resists, it is not ready to turn, and the cook should wait before rotating it.
| Stage | Clock position | Timing | Release cue |
|---|---|---|---|
| First sear | 10:00 | About 1.5–2.5 minutes | Steak lifts cleanly with tongs |
| Rotation | 2:00 | About 2 minutes | Diagonal marks have set |
| Second side | 10:00, then 2:00 | Same sequence | Release test again before rotating |
Food Republic (2026) describes a 45° placement followed by a 90° turn, and Chowhound (2026) describes a quarter turn. These differ from the CIA’s 10:00-to-2:00 move, which is a larger angle. Use the clock-face sequence with the release test as the cue, since it gives both position and timing, and rely on the release cue rather than the exact angle.
Lift the steak only when the release test passes. The rotation should happen as a single, clean movement, and rotate once per stage to avoid overlapping lines.
Direct and indirect heat zones
Two heat zones let you sear a steak over high heat and then finish it without scorching the surface. One part of the grill provides direct heat for marking, and the other stays cooler as an indirect zone. The setup differs slightly between fuels.
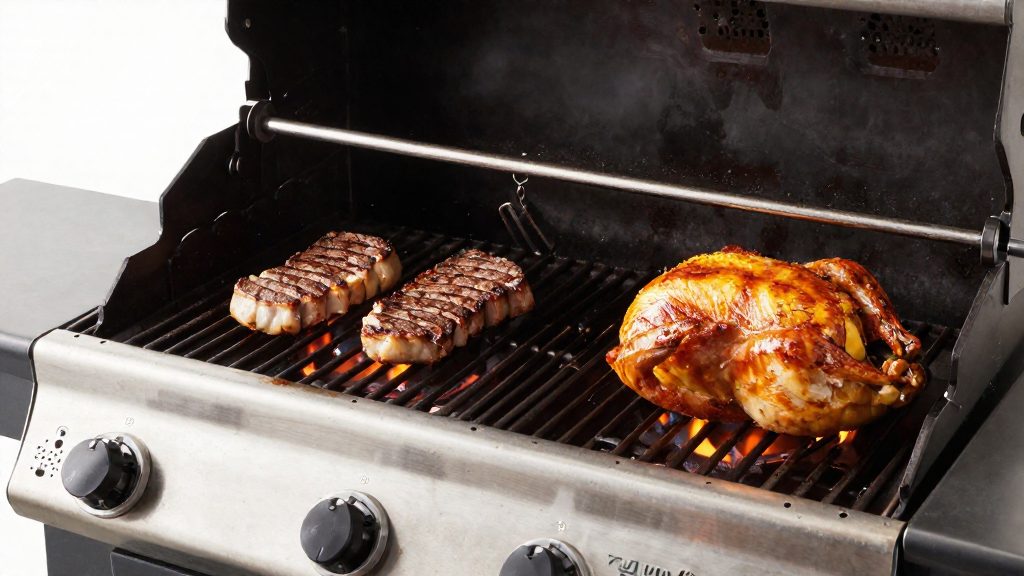
On a gas grill, preheat on high with one burner switched off. The lit burners form the direct zone, and the unlit area becomes the cooler zone. Mark the steak over the lit section, then move it to the unlit side.
On a charcoal grill, the zones come from where the fuel sits. Once the coals are ready, spread them over only one side of the grate. The side with coals is the direct zone, and the bare side is the cooler zone where the steak goes after marking.
| Fuel | Direct zone | Indirect zone |
|---|---|---|
| Gas | Burners left on | Burner switched off |
| Charcoal | Side with spread coals | Side without coals |
For a medium finish, the Culinary Institute of America (2026) recommends about 6–7 minutes per side over indirect medium heat after the steak has been marked. Keep the steak on the cooler side for this phase and turn it, once for regular steaks or at least twice for mechanically tenderized beef, until the internal temperature reaches the safe minimum. Because the surface has already been seared, the interior cooks through without additional char, which is why the indirect zone is the step that determines the internal result.
Mistakes that ruin grill marks
Handling errors can produce patchy or blurred sear marks. Overcrowding breaks contact between the steak and the grate, and adds heat loss that the marks cannot survive.
| Mistake | Why it ruins the marks | Fix |
|---|---|---|
| Overcrowding the grate | Many cold steaks at once absorb heat, so the grate surface cools and the meat steams instead of searing | Leave space between pieces and cook in batches |
Pressing and forcing the release
Forcing the steak with a spatula tears the crust that has begun to form. Patience produces cleaner, sharper lines than repeated lifting.
Overcrowding the grate
A fully loaded grate cools quickly. When the surface temperature falls, moisture leaving the meat cannot evaporate fast enough to let a crust form, so the steak takes on a grey, steamed look. Work in batches and keep room between each steak so the heat can recover between placements.
Flare-ups from dripping fat
If flames still rise, move the steak to the cooler zone of a two-zone fire, as the two-zone setup allows, until the flare-up settles. Then return it to direct heat to finish the marks.
Are grill marks worth it for flavour?
Grill marks are a visual indicator of contact, not a direct measure of flavour. A mark forms where the steak touches a hot grate bar and stays in contact long enough to release from it. The pattern shows which areas touched the grate, so it says little about how much of the surface browned overall.
According to the Culinary Institute of America (2026), marking is a distinct stage. The steak is placed over direct heat, and the guidance is to leave it about 2 minutes per side until it has marked. Marks therefore signal that this stage happened, not that the rest of the crust developed to the same degree.
Flavour from searing comes from surface browning across the whole exterior. The areas between the bars receive less direct heat and brown less, so a steak with marks can still be unevenly browned. The marks are simply the visible trace of the parts that had direct grate contact.
Unmarked browning is common. A steak that has not released cleanly may show faint or broken marks while still browning. On a standard grate with the same heat, a steak can brown well but show less defined lines.
Flavour therefore depends on developing a well-browned surface, while marks depend on grate type, contact and release.
Rest and check doneness
Take the steak off the grill and let it rest for 10–15 minutes before cutting. The Culinary Institute of America (2026) gives this window for steaks cooked over indirect medium heat, so the meat stays warm while the juices settle. Keep the steak on a cutting board rather than on the grate, where residual heat can keep cooking it.
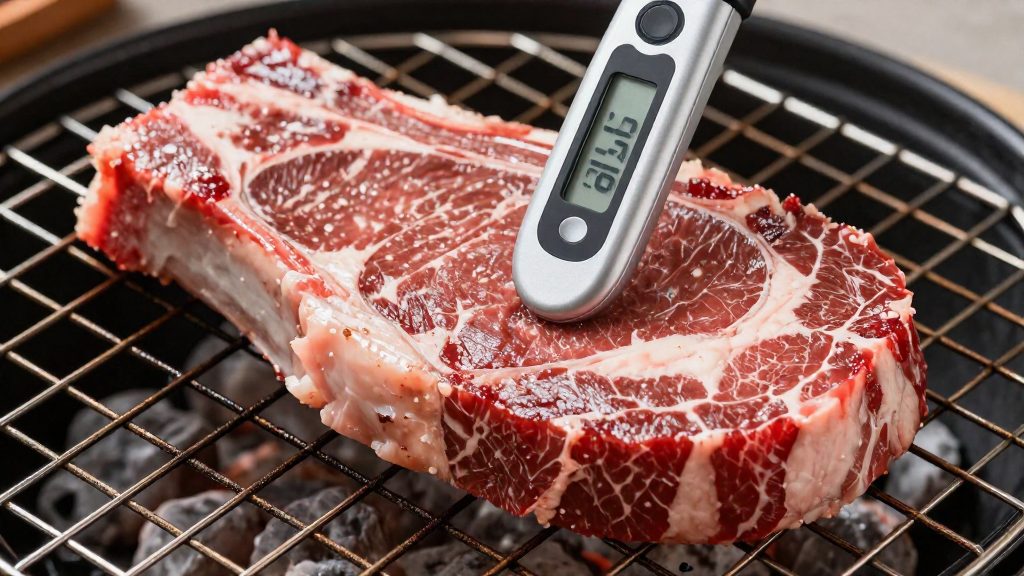
Doneness is judged by internal temperature, not by colour or firmness. Insert an instant-read thermometer into the thickest part of the steak, away from any bone or fat. Health Canada (2026) sets these minimum safe internal temperatures for beef steaks and whole cuts:
| Doneness | Internal temperature |
|---|---|
| Medium-rare | 63°C (145°F) |
| Medium | 71°C (160°F) |
| Well done | 77°C (170°F) |
| Mechanically tenderized beef (any doneness) | 63°C (145°F) |
Leave the steak on the grill until the thermometer reads at least the table value for the chosen doneness. These are minimum safe internal temperatures, so do not pull the meat below them.
Frequently asked questions
Why are there pale stripes between my grill marks?
The areas between the bars get less direct heat, so they brown less and stay lighter even when the marked areas look good. Rotating the steak onto a hotter part of the grate after the first mark sets helps even out the crust.
How do I get a crosshatch (X) pattern on steak?
Place the steak at 10:00 on the clock face and cook it about 2 minutes over direct heat, then turn it to 2:00 without flipping it. Repeat the same rotation on the second side to finish the crosshatch.
Do grill marks show that a steak is cooked through?
No. Marks reflect surface contact and browning, so you need a thermometer to check the minimum safe internal temperature. Health Canada lists 63°C (145°F) for medium-rare beef steak, 71°C (160°F) for medium and 77°C (170°F) for well done.