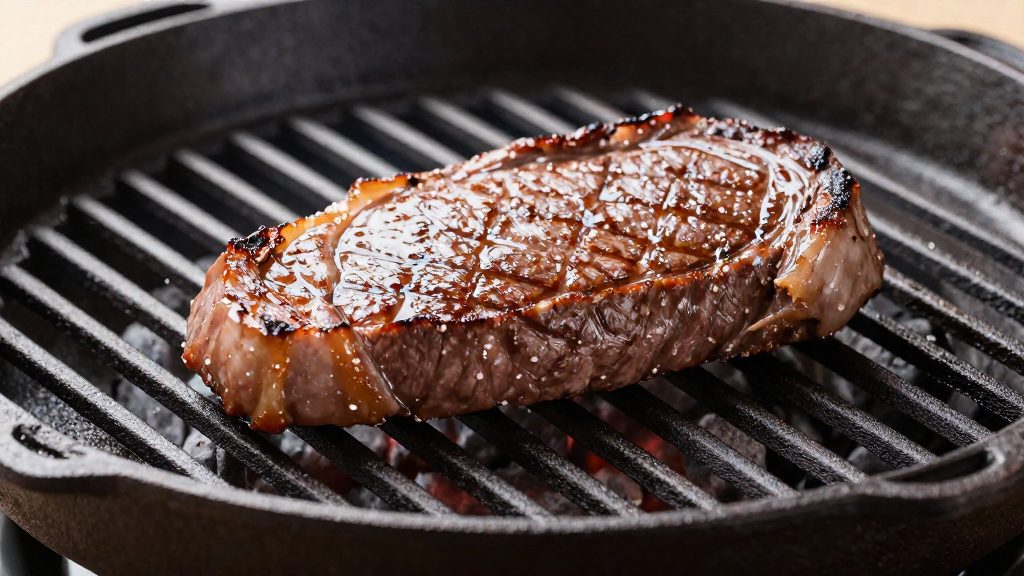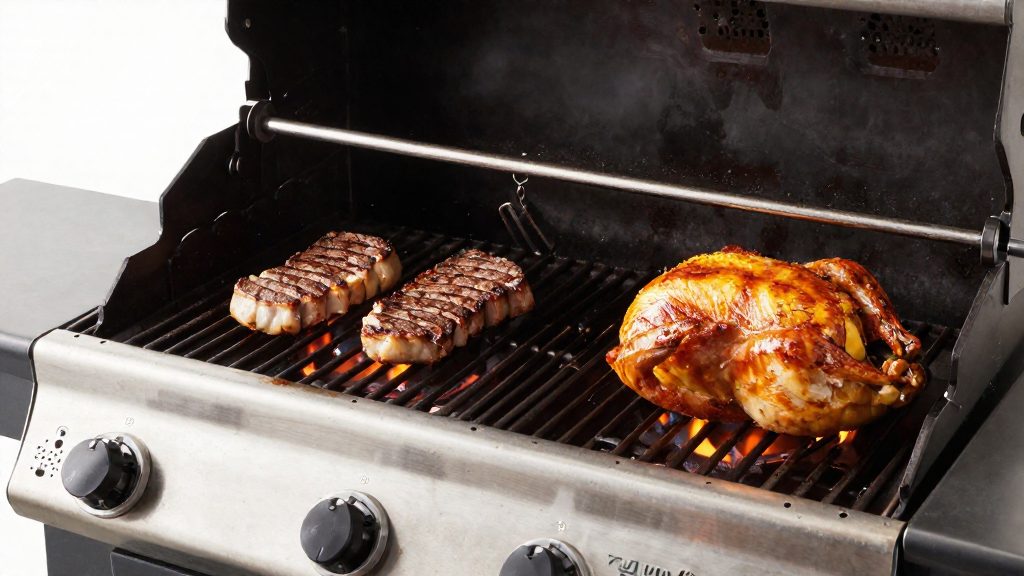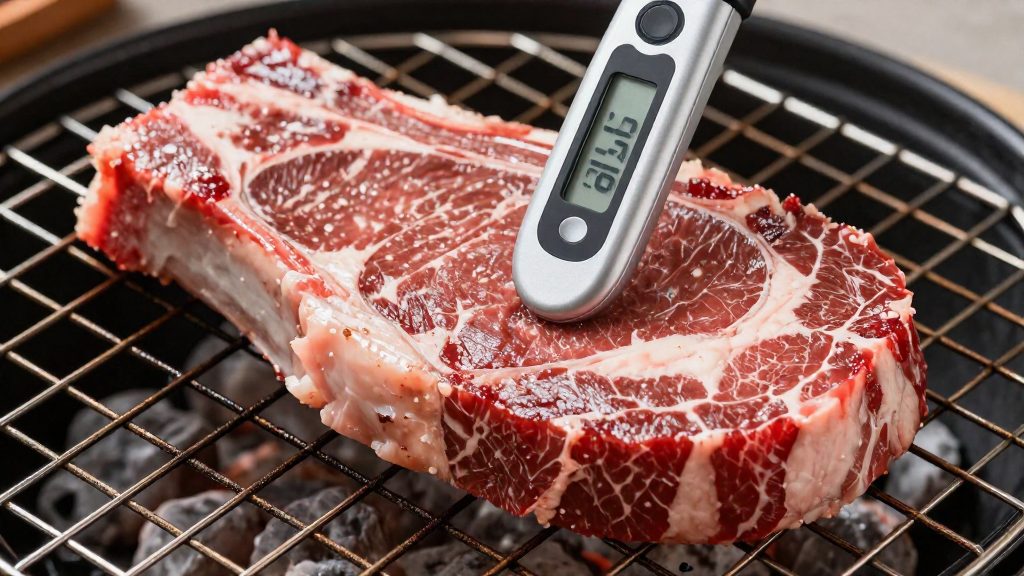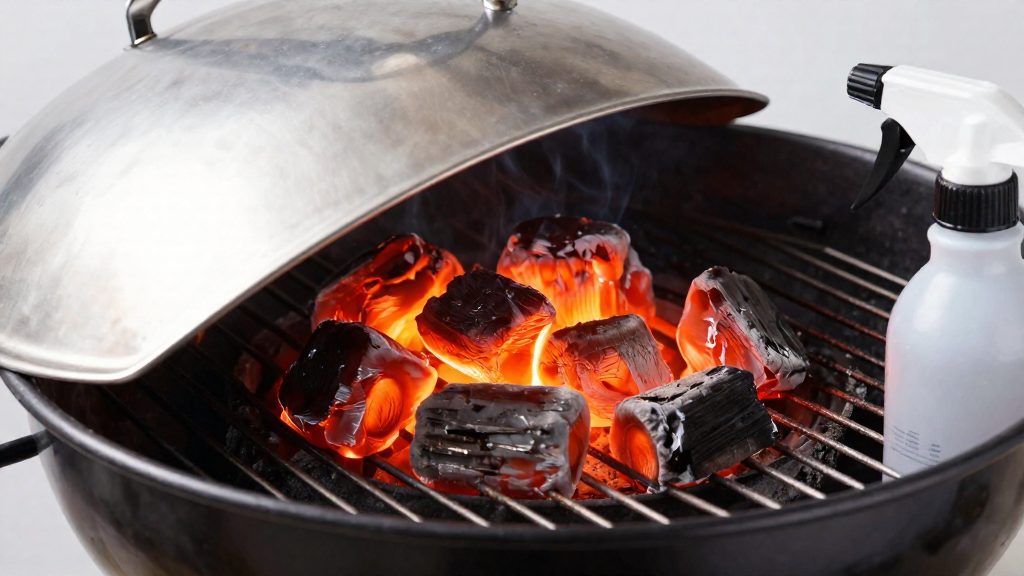
Flare-ups on a charcoal grill happen when fat dripping from the meat lands on hot coals and ignites, according to Kingsford (2026). A small burst of flame is a normal part of grilling, and it usually needs no response. A flare-up that rises to the food and begins to scorch it is the one that calls for action, so telling the two apart is the first step in controlling the fire.
Why do charcoal grills flare up?
When fat renders out of the meat, it falls through the grate onto the coals. Coals burning at grilling temperature ignite the fat almost immediately, so the flame appears in the space just below the food. Because the flame comes from the drips and not from the coals themselves, it can flare without any change to the fire you set up.
Harmless flames versus dangerous flare-ups
The height of the flame and its contact with the food decide how you respond. The Meatwave (2014) gives the core rule: small flare-ups that do not reach the food usually need no action.
| Flame behaviour | Response |
|---|---|
| Small flames that stay below the food | No action needed |
| Larger flames that reach the food | Move the food to the coal-free zone |
| Flames on sugary or delicate foods | Move the food right away |
Sugary glazes and delicate foods burn faster than meat, so they should not be left in a flare-up even briefly.
How grease quantity drives flame height
The amount of fat reaching the coals in a short period determines how large the flame becomes. A fattier cut, or a thick layer of fat rendering at once, sends more fuel onto the fire and produces a taller flame. Flare-ups can be more intense on fatty cuts, where more fat renders onto the coals. Controlling the grease quantity reaching the coals therefore reduces the size of the flames, but the handling of the cut itself is covered separately.
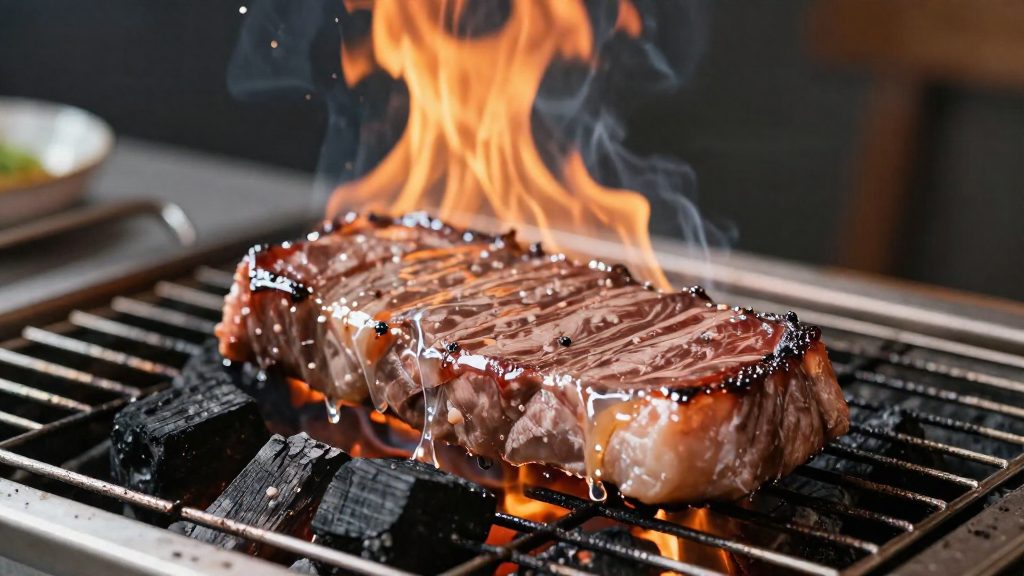
Set up a two-zone fire
Kingsford (2026) recommends a two-zone fire, with coals on one side of the grill and none on the other. The same setup also lets you cook with direct and indirect heat from one fire, so build it before any food goes on the grate.
Banking the coals is the first step. Once the charcoal is lit and mostly grey, pile the coals into a dense layer on one half of the charcoal grate and leave the other half empty. Keeping all the fuel on one side creates the coal-free zone. A thin, evenly spread bed would leave no area clear of heat.
Sizing the coal-free zone
Size the empty side to the food you plan to cook. It should hold the cuts you may need to move, with room left for tongs and a resting spot for cooked pieces. A small load of chops needs a modest clear area. A full grate needs a larger one, which means banking the coals more tightly on the opposite side so that the empty half is not reduced.
Using both zones
Each zone has a distinct job:
| Zone | Coal placement | Typical use |
|---|---|---|
| Direct | Over the banked coals | Searing and browning, thin cuts |
| Indirect | Over the coal-free side | Finishing thick cuts, holding cooked food warm, parking food during flare-ups |
Start thick cuts over the coals to build colour, then move them to the indirect side to finish cooking through without burning the surface. Place the lid on to hold heat in the indirect zone. Use the direct zone only for searing and quick cooking, so fat drippings have less time to reach the fire.
How do you put out a flare-up safely?
The safe response is to separate the food from the flames, not to extinguish them with liquid. Kingsford (2026) advises moving the food to the cooler side and waiting for the flames to die down.
Step 1: Judge the size of the flame
If the flame is small and stays below the food, leave the food in place and let the flame burn down on its own, staying at the grill. If the flame reaches the food, go to Step 2.
Step 2: Move the food away from the flames
For larger flare-ups, move the food to the coal-free zone. This works only if the grill is set up as a two-zone fire, with coals on one side and none on the other. Sugary or delicate foods should be moved right away, before the flame reaches them, rather than after the flames have spread across the grate.
Step 3: Cut off the oxygen
Alternatively, close the lid. Closing it cuts off the oxygen feeding the flame. Moving the food to the coal-free zone and closing the lid are the two options for bigger flare-ups. The Meatwave (2014) describes both moves as the standard response to a flare-up that reaches the food.
Tools to avoid
| Response | Verdict | Reason |
|---|---|---|
| Pouring or spraying water | Avoid | Creates ash and is a fire hazard (Kingsford, 2026) |
| Squirt bottle | Avoid | Leaves ash and often fails to stop the flare-up (The Meatwave, 2014-08-21) |
| Moving food to the coal-free zone | Use | Removes food from the flames without extinguishing the fire |
| Closing the lid | Use for larger flare-ups | Cuts off the oxygen feeding the flame |
Water and squirt bottles fail for the same reason: they add residue to the charcoal and do not reliably stop the burning fat. Moving the food and controlling oxygen do not remove the cause of the flare-up, which is fat dripping onto hot coals. They protect the food or starve the flame, while trimming and cleaning reduce the fuel.
Control airflow with the vents and lid
Vent openings and lid position are the two main controls for routine temperature on a charcoal grill, because they determine how much air reaches the fire. Oxygen feeds combustion, so more air produces a hotter, faster-burning fire and less air produces a cooler, slower one. According to Kingsford (2026), opening the vents increases airflow and heat, and closing them lowers heat.
Set the vents to a baseline before you start adjusting. Kingsford (2026) advises that the vents should always stay partly open so the fire does not suffocate completely. Treat that partly open position as your starting point, and adjust from there instead of moving straight to fully open or fully closed.
The table below shows how each vent setting affects the fire:
| Vent setting | Airflow | Heat output |
|---|---|---|
| Fully open | Maximum | Highest, fire burns fastest |
| Partly open | Moderate | Steady, easiest to hold |
| Mostly closed (never fully shut) | Restricted | Lower, slower burn |
The lid is the second control. Keeping it closed holds heat around the food and limits the oxygen the fire receives, so the temperature stays more even. Lifting it releases heat and admits fresh air, which raises the fire’s intensity. Open the lid only when you need to check, turn or move food, and close it again straight away so the temperature does not drop. Adjusting the vents and lid together gives finer control than either one alone.
Trim and prep food to cut grease
The preparation stage is where you can reduce how much fat reaches the fire. Three preparation steps address this: trimming, drying the surface, and controlling marinade. According to Luxe BBQ (2026), these preventive measures help limit grease dripping onto the fire.
Trim the excess fat
Before the meat goes on the grill, remove loose pieces of fat and any thick fat cap that will not render into the meat. Less surplus fat means less fat available to drip onto the coals. Keep a thin layer of fat where it helps the cut stay moist, and remove only the excess fat.
Pat the meat dry and limit oily marinades
Pat the surface dry with paper towels before seasoning. Use only a light coating of oily marinade, because liquid fat running off the meat adds to the grease reaching the fire. Wipe off any excess marinade so it does not pool on the grate or drip into the coals.
Score thick fat in a crosshatch pattern
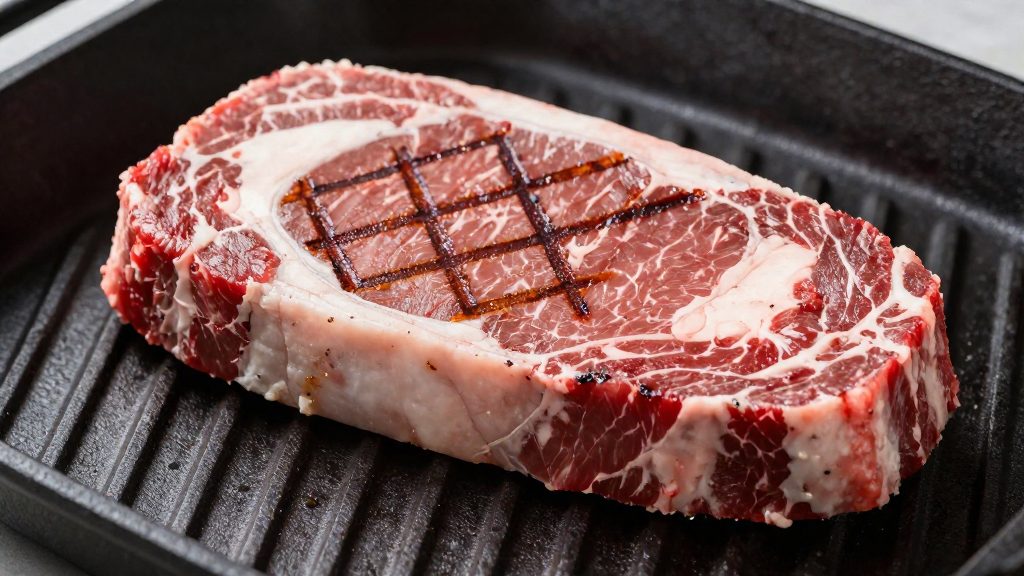
For cuts that keep a thick fat layer, make shallow cuts in a crosshatch pattern across the fat without reaching the meat. Per Luxe BBQ (2026), this scoring lets the fat render slowly rather than all at once, which reduces sudden dripping and the flare-ups it can trigger.
Keep the grill clean
Grease buildup and ash that accumulate between cooks are what feed flare-ups. Grease left in the drip areas or on the grates is the material for the next flare-up. Clearing it before it builds up is easier than managing a fire mid-cook.
Clearing grease from grates and drip areas
- Scrape the cooking grates after each session while they are still warm, so residue lifts off before it hardens.
- Empty and wipe the drip pan or grease tray so fat does not pool under the cooking area.
- Check the area directly beneath the grates, where dripping fat lands on the coals, and remove any fat that has collected there.
Removing ash that blocks airflow
Ash that builds up in the bottom of the firebox restricts the air reaching the coals, which makes the fire harder to control. Remove ash only once the grill is fully cool, then check that the air openings are clear before lighting the next fire.
Cleaning before and after each session
| Moment | Task |
|---|---|
| Before cooking | Scrape residue from the grates and confirm the drip tray is empty |
| Before cooking | Confirm that ash has not blocked the vent openings |
| After cooking, once cool | Scrape the grates, empty the grease tray, and remove ash from the firebox |
Safety rules for Canadian backyards
Before lighting a charcoal grill in a Canadian backyard, check three things: that a fire extinguisher is within reach, that the grill has enough clearance from the house and anything that can burn, and that local rules allow it. Each check takes a few minutes and applies to every cook.
Fire extinguisher placement
The Meatwave (2014) advises keeping a fire extinguisher nearby. Place it where you can reach it without walking past the grill or the flames, ideally on the side where you normally stand to work. Keep it inside the reach of the person tending the grill, not on a shelf in the house or in a shed. Make sure everyone who uses the grill knows where it is before the first cook of the season.
Minimum clearance from structures
Luxe BBQ, a Canadian retailer and specialist (2026), gives the following minimum distances for placing a grill:
| Object | Minimum distance |
|---|---|
| House walls | about 3 m (10 feet) |
| Deck railings | 10 feet (about 3 m) |
| Overhanging branches | 10 feet (about 3 m) |
Choose a level, stable surface that is not under a deck, awning or tree canopy. Before lighting, check the wind direction and position the grill so smoke and sparks drift away from the house, fences and outdoor furniture.
Provincial and municipal rules
The rules that apply to your property must be checked locally. Start with your municipality’s municipal bylaws on open-flame cooking, which often cover distances from buildings, fire permits and seasonal bans. If you rent or live in a condominium, read your lease or strata rules, since these can restrict grills on balconies and shared patios even where municipal law allows them. Your local fire department can confirm the requirements for your address and answer questions about placement before you buy or install a grill.