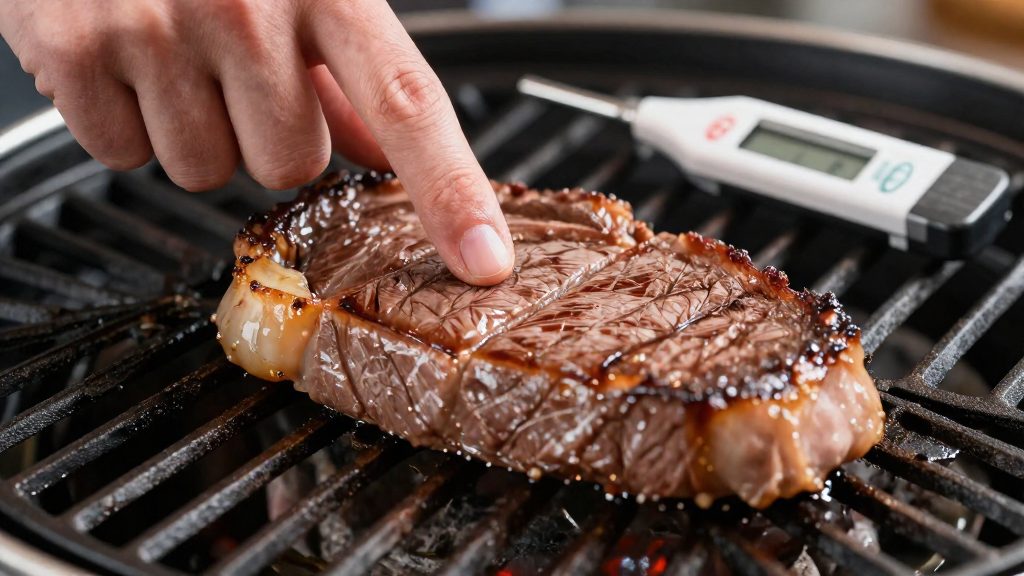
The finger test estimates how cooked a steak is by comparing its firmness with the firmness of your own hand. According to Healthline (2026), the approximate internal temperatures for the five doneness levels run from 52°C (125°F) for rare to 71°C (160°F) for well done. The method works because a steak’s firmness increases as it cooks, so the feel of the meat can be matched to a fixed hand reference.
What is the finger test for steak doneness?
How muscle firmness tracks doneness
The method rests on muscle firmness. A steak that has barely cooked yields easily under pressure, while a more thoroughly cooked steak resists and springs back more firmly. Rather than judging that resistance in the abstract, the cook matches it to a reference the hand can reproduce every time. Because the reference stays the same from one steak to the next, the comparison can be repeated across cuts and cooking sessions.
The hand as a comparison scale
The hand reference is an ordered scale. Each finger corresponds to a doneness level, and the pad at the base of the thumb firms progressively from the index finger to the pinky. A relaxed open hand marks the softest end, which corresponds to rare, and the pinky marks the firmest end, which corresponds to well done. The steak is judged by where its firmness sits between those two points.
Doneness levels from rare to well done
| Doneness | Hand reference | Approximate internal temperature |
|---|---|---|
| Rare | Open hand | 52°C (125°F) |
| Medium-rare | Index finger | 57°C (135°F) |
| Medium | Middle finger | 63°C (145°F) |
| Medium-well | Ring finger | 66°C (150°F) |
| Well done | Pinky | 71°C (160°F) |
The steps on this scale are not evenly spaced. The gap between rare and medium-rare is 5°C (10°F), and the gap between medium-rare and medium is 6°C (10°F). The gap between medium and medium-well is only 3°C (5°F), the smallest step on the scale. Because those two middle positions sit closest together in temperature, they may be harder to tell apart by hand reference alone.
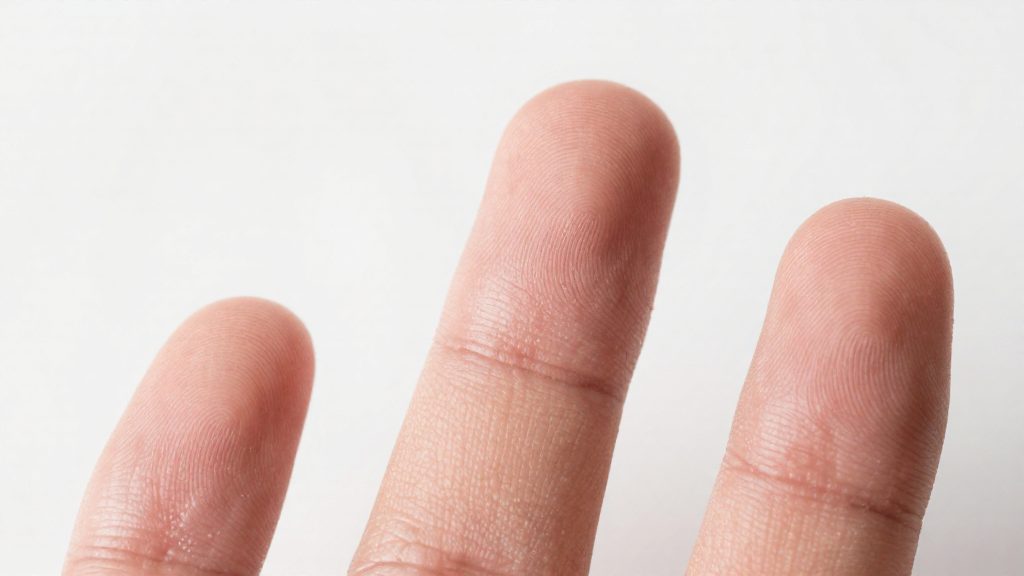
How to do the touch test step by step
The touch test, also called the finger test, judges doneness by comparing the firmness of a steak with the firmness of the pad of your own thumb at different hand positions. According to Healthline (2026), the method depends on a fixed sequence, so the steps below should be followed in the same order each time.
Step 1: Relax your hand
Let your hand hang loose with the fingers slightly curved and the palm open. Do not clench the thumb or tense the wrist. The test compares the steak against this neutral state, so any tension changes the reading.
Step 2: Locate the base of the thumb pad
Find the base of the thumb pad, the fleshy area below the thumb near the wrist, rather than the thumb tip. Healthline (2026) identifies this area as the part to press during the test.
Step 3: Touch the thumb to each finger in sequence
Bring the tip of the thumb to the index finger, then move it in turn to the middle, ring and pinky fingers. Pause briefly on each finger. Notice the firmness at each stage, since you will match the steak against one of these stages.
Keep the movement consistent. Touch each finger the same way and with the same pressure, so that each stage is comparable from one test to the next.
Step 4: Press the steak at the centre
Press the centre of the steak with one finger, using the same gentle, firm pressure you applied to your thumb pad. Testing the centre keeps the reading representative of the thickest part of the meat rather than the edges, which cook faster.
Step 5: Compare the feel against the hand
Compare how the steak resists your finger with the firmness of each stage in your hand’s sequence. Select the stage that feels closest. A steak that yields easily is closer to the softer stages at the index finger, and a steak that resists firmly is closer to the pinky stage.
Tip: Compare the steak with your hand in the same relaxed position each time, because the sequence is only a reliable reference when your hand is in the same state.
What does each finger feel like?
Each finger of the hand works as a firmness reference. Each step matches a doneness level, so the steak is judged by comparing its resistance with the feel of a specific point on the hand.
| Hand reference | Relative firmness | Doneness level |
|---|---|---|
| Open hand | Softest reference | Rare |
| Index finger | Soft | Medium-rare |
| Middle finger | Moderately firm | Medium |
| Ring finger | Firm | Medium-well |
| Pinky | Firmest reference | Well done |
The open hand is the rare reference because its relaxed pad is the most yielding. The index, middle and ring fingers cover the intermediate levels, medium-rare through medium-well, with each step noticeably firmer than the one before. The pinky is the firmest reference and corresponds to well done.
The method depends on comparison rather than on memorising absolute sensations. Press the steak with a fingertip or a tongs tip, then compare its resistance with the reference points on your hand, looking for the closest match. Because the steps are relative, the reference is most useful when a steak of known doneness is available to calibrate against. The same steak can also feel different depending on its thickness and how recently it came off the heat, so judge the reading alongside the cooking time and the steak’s appearance.
How accurate is the touch test?
The touch test estimates doneness by comparing the firmness of a steak with the firmness of a relaxed hand. It does not measure temperature directly, but Healthline (2026) assigns an approximate temperature to each level, which makes the method usable as a rough guide.
| Doneness | Approximate internal temperature |
|---|---|
| Rare | 52°C (125°F) |
| Medium-rare | 57°C (135°F) |
| Medium | 63°C (145°F) |
| Medium-well | 66°C (150°F) |
| Well done | 71°C (160°F) |
The gaps between adjacent levels are uneven. Rare to medium-rare is 5°C (10°F), medium-rare to medium is 6°C (10°F), medium to medium-well is 3°C (5°F), and medium-well to well done is 5°C (10°F). A misjudgement of one level therefore shifts the estimate by roughly 3 to 6°C, depending on which levels are confused.
Evidence for the method’s reliability is limited. Healthline (2026) reports that little research has tested the touch test, and that a 2015 study found its accuracy was rather low. Because the feel of a steak depends on the cook’s judgement, two people can assign the same steak to different levels.
The practical result is that the touch test works best for narrowing down the doneness level during cooking, not for confirming a precise internal temperature. It is also not a food-safety check. The approximate temperatures for rare to medium-rare (52–57°C) and the ones Healthline gives for medium (63°C) and well done (71°C) are below the Health Canada minimums of 63°C, 71°C and 77°C. Confirm the steak with a probe thermometer against the Health Canada minimum before serving. Cooks who want a specific result should compare their touch estimates against a probe reading on several steaks before relying on the method for a particular cut.
What internal temperature is safe in Canada?
Health Canada sets minimum internal temperatures for beef steaks and whole cuts according to doneness level. Each figure is a minimum that the meat should reach before it is served. The table gives the Celsius and Fahrenheit values for each level:
| Doneness | Minimum internal temperature (Health Canada, 2026) |
|---|---|
| Medium-rare | 63°C (145°F) |
| Medium | 71°C (160°F) |
| Well done | 77°C (170°F) |
Each step up in doneness raises the target. The gap from medium-rare to medium is 8°C (15°F), and the gap from medium to well done is 6°C (10°F). A steak cooked to medium-rare has reached the lowest target on this list, so it meets that threshold at 63°C (145°F) and no lower.
Mechanically tenderized beef follows its own rule. It should reach 63°C (145°F), the same figure as medium-rare whole cuts. Health Canada also advises turning mechanically tenderized steak over at least twice during cooking rather than cooking it on one side only.
Ground beef, including burgers, has a higher target of 71°C (160°F). A patty cooked only to the 63°C (145°F) figure used for medium-rare steak therefore does not meet the ground beef target, so the steak figures should not be applied to minced meat.
Why use a thermometer on the grill?
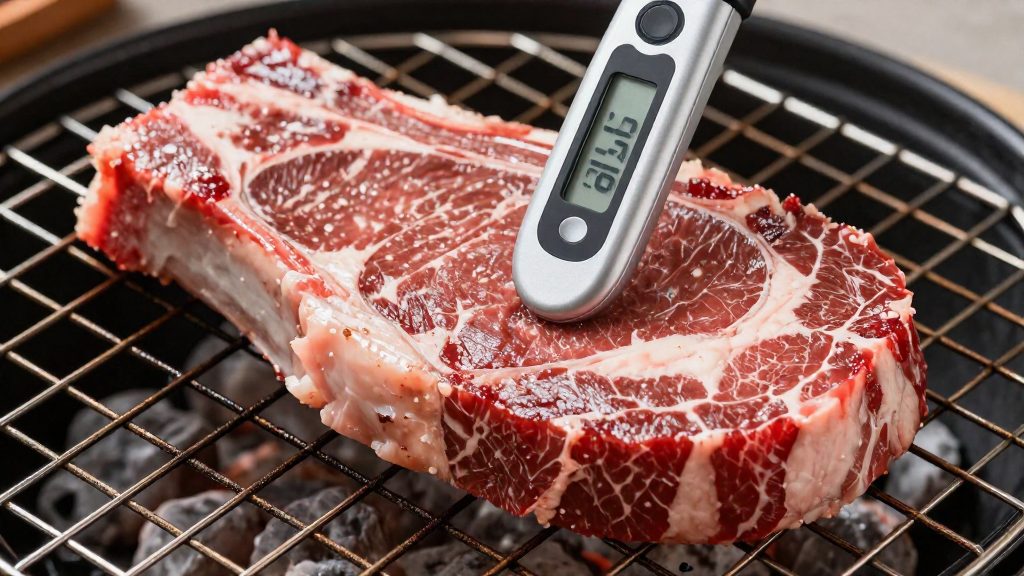
Checking steak by touch means comparing the firmness of the meat with the firmness of your own hand. That is an estimate, not a measurement. A probe thermometer replaces it with the internal temperature, the value that determines whether the steak has reached the doneness you want. According to Healthline (2026), a meat thermometer is the safest and most reliable method, and it removes the guesswork that the finger test involves.
Surface firmness depends on the cut, its thickness, the time spent on the grill and the heat under it. Two steaks that look and feel alike can therefore sit at different internal temperatures. A probe gives a number you can compare directly with your chosen target, so you remove the steak at the right moment rather than relying on memory of how the last one felt.
Probe placement
Probe placement matters as much as the instrument itself. Insert the tip into the thickest section of the steak, away from the bone, from pockets of fat and from the grill grate, because these areas read hotter or cooler than the surrounding muscle. Where possible, enter from the side so the tip reaches the centre of the thickness rather than sitting near the surface. Take the reading once the steak is off direct heat, and check a second point if the first result seems unexpected.
Choosing a probe thermometer
For grill use, the choice comes down to two types of probe. An instant-read probe gives a reading within seconds and suits checking several steaks near the end of cooking. A wired or leave-in probe stays in the meat and reports temperature continuously, so you can monitor the cook without opening the lid. Look for a thin tip that slides into a steak without tearing it, and a display you can read in low light beside a hot grill.
Tips for grill, plancha and kamado steaks
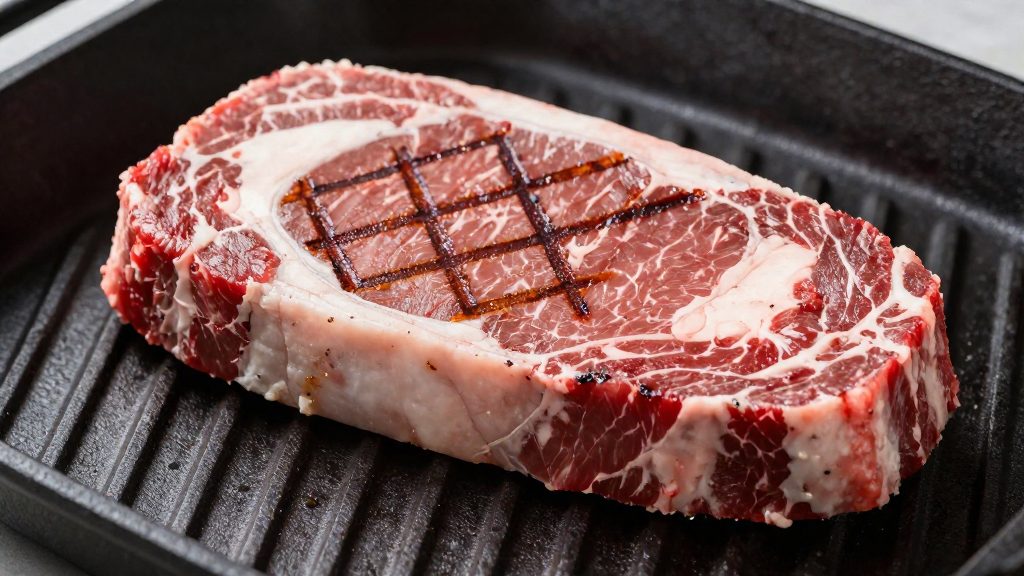
Surface heat is the main variable that changes how a steak feels under the fingers. On a charcoal grill, heat concentrates above the lit coals, so the area over the fire browns faster than the rest of the grate. Gas grills follow the same pattern by burner. A plancha, or flat-top, gives more even contact, but its surface still varies if it is not fully preheated. A kamado holds heat inside a ceramic dome, and its hot zone depends on charcoal placement and vent settings, so it can shift during a long cook.
| Setup | Typical heat pattern | Implication for touch checks |
|---|---|---|
| Charcoal grill | Hottest directly above the coals | Press the steak in a cooler zone, not over the coals |
| Gas grill | Varies by burner | Compare the same spot on each cook |
| Plancha | Most even contact, but uneven if under-preheated | Wait for full preheating before judging feel |
| Kamado | Shifts with charcoal and vent position | Recheck the zone after adjusting vents |
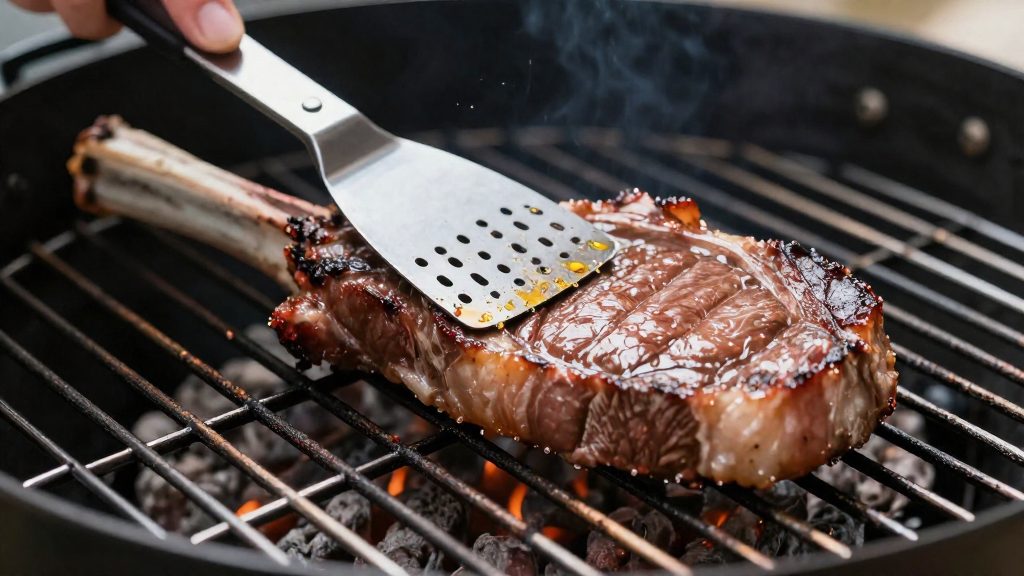
Preheating and cleaning come first. Heat the grate or plancha until the surface is fully hot before the steak goes down, because a cold patch browns unevenly and gives a misleading feel. Brush the grate while it is hot to remove residue from earlier cooks, then oil it lightly just before cooking. Leftover debris sticks to the meat, tearing the crust and making the steak harder to move.
Sear over the hottest zone briefly, then move the steak to a cooler zone to finish. This lets the centre firm up gradually rather than leaving the outside overcooked.
Check doneness before removing the steak as well as after. Carryover heat continues to raise the internal temperature after the steak leaves the grill, so allow for it when you choose the moment to remove the steak. Confirm with a probe thermometer that the steak has reached at least the Health Canada minimum for the doneness you serve.
Resting comes before slicing. Let the steak sit on a board so the juices redistribute through the meat. Cutting immediately lets them run out onto the board, which dries the slices.
Healthline (2026) notes that little research has tested the finger test, and that a 2015 study found its accuracy rather low. On a grill, where surface heat varies, a touch check should be treated as an estimate rather than a measurement.
Frequently asked questions
Can I use the finger test on mechanically tenderized steak?
Health Canada (2026) advises cooking mechanically tenderized beef to 63°C (145°F) and turning the steak over at least twice during cooking. Treat the finger test as a rough guide for these cuts, and confirm that the internal temperature has reached the minimum.
Does the finger test work for burgers?
No. Health Canada (2026) sets 71°C (160°F) as the safe internal temperature for ground beef, including burgers. That is well above the 57°C (135°F) of the medium-rare finger position, so a patty that feels medium-rare can still be unsafe.
Why do the finger-test temperatures differ from Health Canada’s minimums?
Healthline (2026) gives 63°C (145°F) for medium and 71°C (160°F) for well done. Health Canada (2026) sets minimum safe temperatures of 71°C (160°F) for medium and 77°C (170°F) for well done. If food safety is the priority, follow the Health Canada minimums rather than the finger-test estimates.