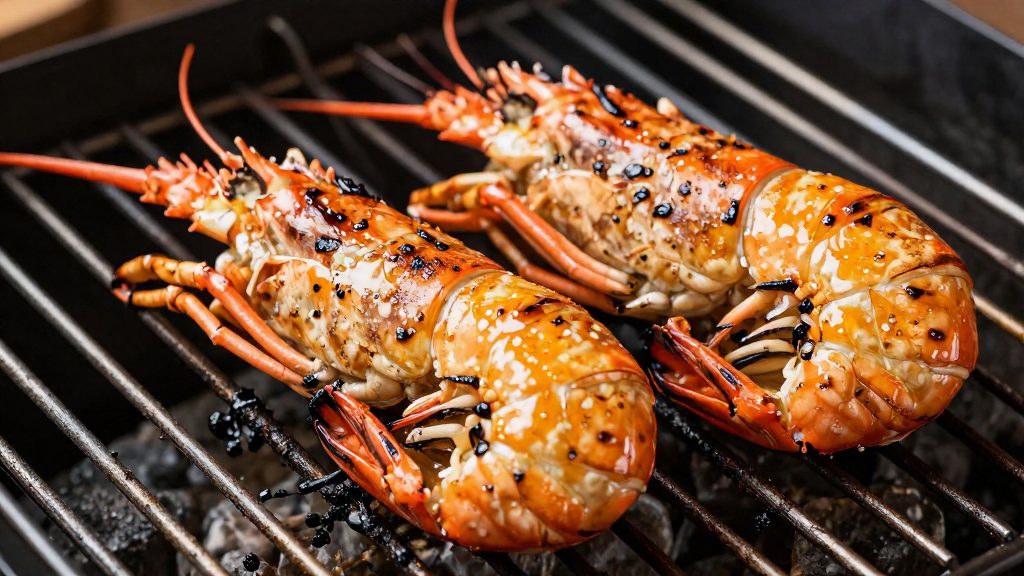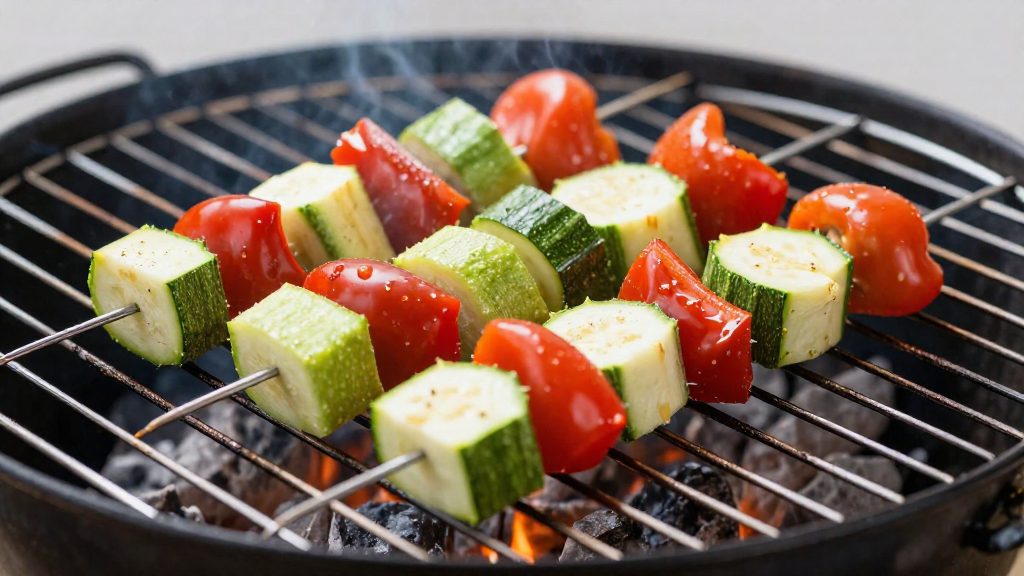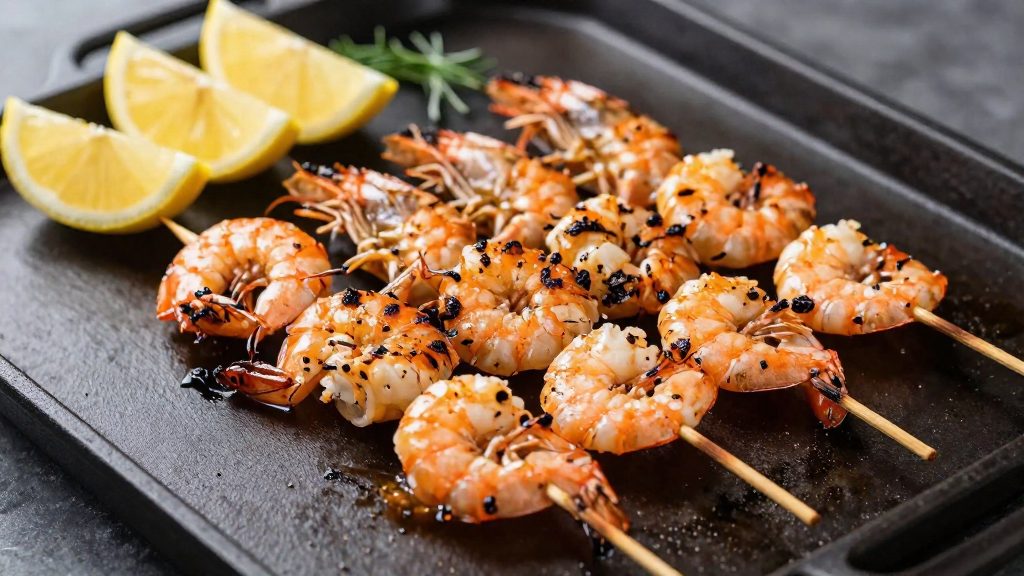
A flat plancha suits small shrimp better than open grates because its continuous steel surface leaves no gaps for small pieces to drop through. A skewer keeps the shrimp lined up. Open grates work against this, since small pieces can drop between the bars and touch the heat unevenly.
Why cook shrimp skewers on a plancha?
A flat surface stops small shrimp slipping through
Open grates have gaps between the bars. Small shrimp, especially peeled and deveined pieces, can slip through or rest partly on a bar while the rest of the body is exposed to open air. A flat surface removes those gaps, so every piece sits on the same hot metal and cooks at the same rate.
Full contact produces even browning
Browning forms where the shrimp touches the hot surface. On a plancha, the underside of each piece lies flat across the steel, so the colour develops evenly rather than in stripes or patches. This matters because the browned side is the one most visible when the skewers are served. Steven Raichlen’s plancha method starts by letting the bottoms brown before any turning, which depends on every piece making contact with the surface (Barbecue Bible (Steven Raichlen), 2015-01-13).
Skewers keep the shrimp aligned
Threading shrimp on a skewer holds them in a row with the same orientation. Turning the skewer rotates every piece at once, so no single shrimp is lifted and flipped separately. Loose shrimp must be picked up one by one, which disturbs pieces that have already started to brown and leaves some sides darker than others. Skewers keep alignment and make the turning step quicker and more uniform, so the whole skewer can be turned in one motion.
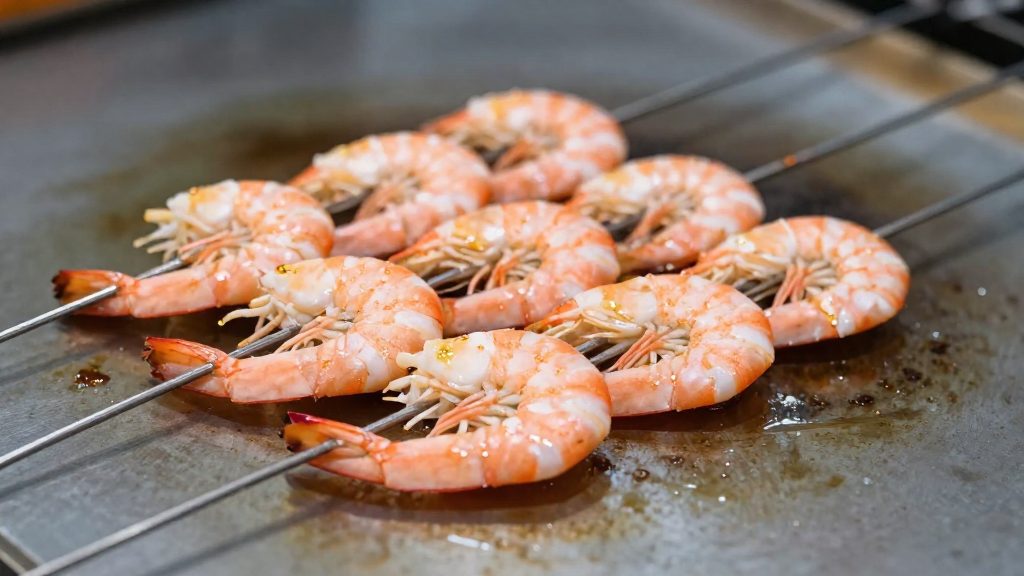
What equipment and shrimp size should you choose?
Shrimp size and skewer type decide how evenly a batch cooks on a plancha. Shrimp are graded by count per pound, which tells you how many pieces make up one pound. A lower count means larger shrimp, and larger shrimp need more time on the plancha. Buy one size per batch so every skewer finishes together. Mixing sizes on one skewer leaves the small pieces overcooked by the time the large ones are ready.
Skewer material is the second decision. Metal skewers are rigid, reusable and stay straight on the plancha, which makes it easier to turn several at once. Bamboo skewers are inexpensive and disposable, but their exposed ends char on a hot surface, so soaking them in water before use reduces scorching. Choose a length that leaves a clear handle beyond the grill edge, so you can turn the skewer without reaching over the hot surface.
Shell-on and peeled shrimp behave differently when skewered. Shell-on shrimp are sturdier to thread and hold their shape better during turning, but the shell must be removed before eating, which adds handling time at the table. Peeled shrimp are quicker to serve and let the flesh contact the plancha directly, which promotes browning on the bottom. Whichever you choose, dry the shrimp before threading, as explained in the marinating section.
How hot should the plancha be?
Preheat the plancha to medium-high before any skewers go on. Tasting Table (2024) gives a target of about 350–400°F (about 175–205°C) for shrimp a la plancha. Steven Raichlen’s Barbecue Bible (2015) preheats to about 400°F (about 205°C) over indirect medium-high heat, so the upper end of the range is a reliable reference. Set the burners or heat zones so the surface holds steady in that range before you start cooking.
Confirm the temperature with an infrared thermometer or the water-drop test rather than relying on the burner dial alone. The table also recalls the target range and the oil step.
| Check | Target or signal | What it confirms |
|---|---|---|
| Surface temperature | 175–205°C (350–400°F) | The surface is inside the working range |
| Infrared thermometer | Reading within 175–205°C | The surface is ready before contact |
| Water-drop test | Drops evaporate in 2–3 seconds | A quick check without a thermometer |
| Oil | 1–2 tablespoons spread across the surface | The cooking surface is coated before the shrimp touch it |
Point the infrared thermometer at several spots across the cooking surface, not only the centre, and check that the readings are consistent. For the water-drop test, flick a few drops onto the surface. If they do not evaporate within 2–3 seconds, the plancha needs more time to heat.
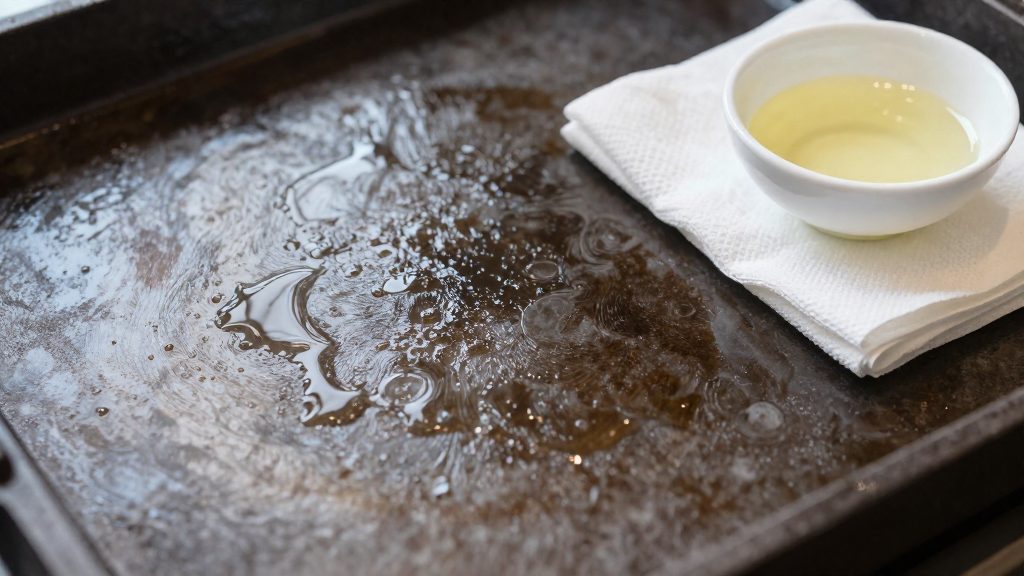
Spread the oil only after the temperature is confirmed, so it goes onto a hot surface and is ready when the skewers are laid down.
How to marinate and skewer the shrimp
Pat the shrimp dry with paper towels before adding any marinade. Surface moisture dilutes the seasoning and stops it from clinging, so the coating ends up thin and uneven. Dry shrimp also brown better on the plancha, because surface water has to evaporate before the flesh can sear.
Build the marinade around a balance of fat, acid, salt and aromatics. Fat carries the flavour and helps spices stick. Acid, such as lemon juice or a small amount of vinegar, adds brightness. Salt should be measured against the rest of the mix rather than added by feel. Aromatics such as minced garlic, chilli flakes, smoked paprika and chopped parsley or coriander add depth. A simple base combines olive oil, lemon juice, garlic, paprika and herbs.
Keep the acid in check. Shrimp are delicate, and a long soak in strongly acidic liquid breaks down the texture, leaving it soft and mealy. A short marinating time, with the shrimp kept refrigerated until they go on the plancha, is the safer approach. Shake off excess marinade before threading, so that dripping liquid does not burn on the plancha surface.
Single versus double skewering
The way the shrimp are threaded determines how they behave on the plancha. A shrimp curls as it cooks, and an unsupported curve lets it rotate when you turn it.
| Layout | How to thread | Effect on the plancha |
|---|---|---|
| Single skewer | Pass one skewer through each shrimp, near the head end, in a gentle curve | Quick to assemble, but shrimp can spin when flipped |
| Double skewer | Thread a second skewer parallel to the first, through each shrimp | The paired skewers hold the curve steady and resist spinning |
For double skewering, place the two skewers about the width of a shrimp apart. Arrange the shrimp in a single row with the curved sides facing the same direction. This keeps the pieces even, so they finish at the same time.
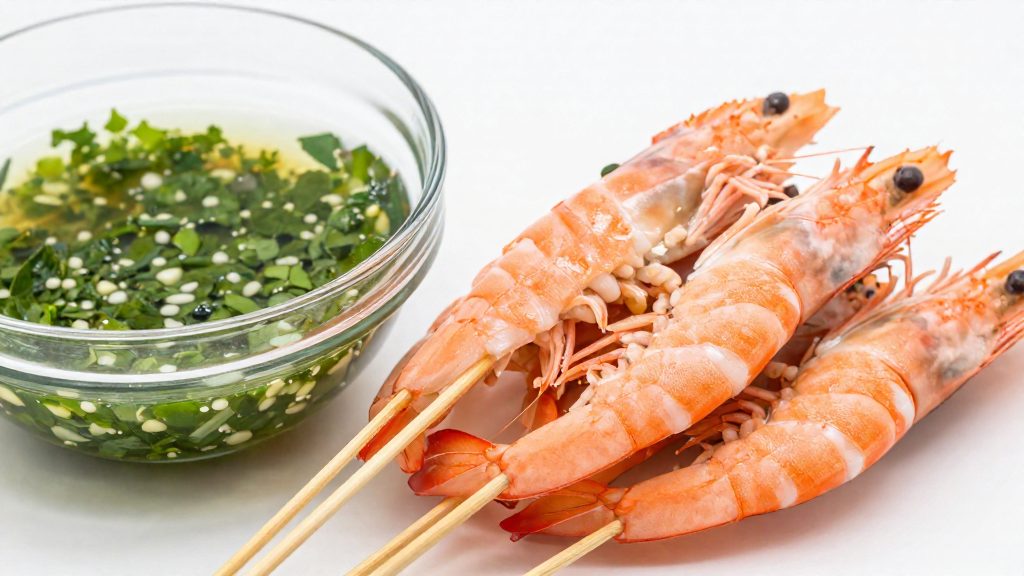
Cooking time and doneness temperature
Shrimp on a plancha cook fast, and published sources give two different sear durations. Tasting Table (2024) recommends about 3–5 minutes per side, with a total cook time under 10 minutes. Steven Raichlen’s Barbecue Bible (2015) describes a shorter method: sear for 1–2 minutes until the bottoms brown, flip, then close the lid for 1–2 more minutes. The two approaches are reconcilable because they describe different cooking styles. Tasting Table’s range covers a full cook on the plancha surface, while Raichlen’s is a brief sear followed by a covered finish.
| Approach | Sear stage | Second side | Total cook time |
|---|---|---|---|
| Tasting Table (2024) | 3–5 min per side | 3–5 min per side | Under 10 min |
| Raichlen (2015) | 1–2 min, until bottoms brown | 1–2 min, lid closed | About 2–4 min |
Raichlen’s “per side” figure applies only to the first side. The second side cooks during the closed-lid stage, so the total is shorter than a full per-side sear.
Using the smoke-chip finish
Raichlen’s method adds unsoaked hardwood chips to the coals or smoker box during the closed-lid stage. The chips should not be soaked, because the method specifies unsoaked wood. Keep the lid closed for the 1–2 minutes, so the smoke flavours the shrimp in the enclosed space.
Judging doneness
Opaque flesh is the visual cue to use. Raw shrimp look translucent and grey, and they turn opaque as they cook. Check the thickest part of each skewered piece. Because the total cook time is under 10 minutes, begin checking at the early end of the windows above rather than waiting for the full time.
Recommended approach: start with Raichlen’s 1–2 minute sear and a brief closed-lid finish. Use Tasting Table’s 3–5 minutes per side only as an upper limit for larger or thicker pieces. Remove the skewers only once the flesh is opaque and a thermometer probe in the thickest part of a shrimp reads 74°C (165°F). The under-10-minute total is a guide, not a doneness test.
What internal temperature makes shrimp and fish safe to eat?
Health Canada gives a safe internal cooking temperature of 74°C (165°F) for shrimp (Health Canada, 2024-06-04). The agency lists shrimp under shellfish and crustaceans, so this threshold applies whether the shrimp are cooked alone or threaded onto a skewer. The figure refers to the internal temperature of the shrimp itself, so the reading must come from inside the flesh, not from the grill surface or the air around the food.
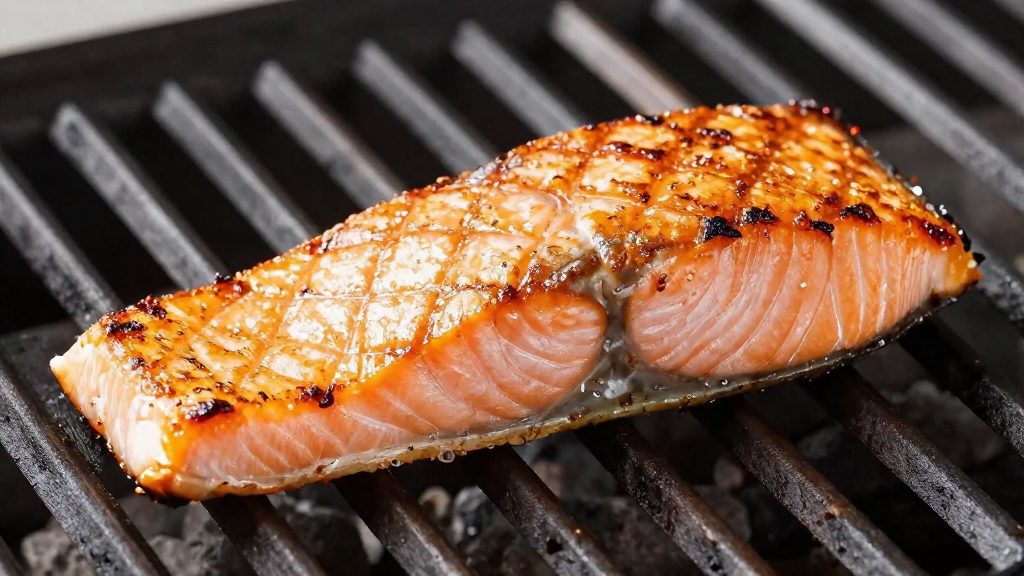
Mixed skewers need a different check. Health Canada gives 70°C (158°F) for fish, which is 4°C lower than the shrimp target. A skewer that combines both cannot be judged by one reading. Each food type has its own threshold, and each must be confirmed separately.
Because the shrimp target is the higher of the two, the skewer is not finished until the shrimp reaches 74°C. Fish pieces that reach 70°C have met their own threshold, but each food must still be confirmed separately: check the shrimp at 74°C and the fish at 70°C. Do not assume one reading covers the whole skewer.
Shellfish and fish have different thresholds in the Health Canada guidance, and mixed skewers are where that difference matters most in practice. Apply the 74°C target to the shrimp and the 70°C target to the fish, and do not treat the whole skewer as one food.
Cleaning the plancha and food safety
After shrimp skewers come off the plancha, the surface holds post-cook residue: shellfish juices, marinade solids, and burnt oil. Clean it before it hardens, but let the plate cool enough to handle safely before you work on it with metal tools.
Cool the plancha before scraping
Turn off the burners or switch off the heat source, and leave the plate to cool. Working on a hot surface increases the risk of burns from steam and from the metal itself, and it makes residue spread rather than lift. Once the surface is cool enough to touch with a gloved hand, you can begin cleaning.
Scrape and wipe the residue
Use a flat metal scraper held at a low angle to push solids toward the grease trap or collection channel. Work in one direction, then wipe the surface with a folded paper towel or a cloth to remove remaining grease and loose particles. Dispose of the used towels rather than reusing them, and keep the scraper head clean so it does not redeposit debris.
Keep raw shrimp tools separate from cooked skewers
Raw shrimp carries bacteria that cooked food must not contact, so the cleaning and serving stages need distinct tools. Assign each item to one role only:
| Item | Use for raw shrimp | Use for cooked skewers |
|---|---|---|
| Tongs | Loading and turning raw skewers | Lifting and plating finished skewers |
| Cutting board | Trimming, marinating, and skewering | Slicing lemon or garnish only |
| Platter | Never used | Serving only |
| Brush or spatula | Cleaning the plate before cooking | Not used on finished food |
Wash hands between handling raw and cooked food, and clean any surface that touched raw shrimp before it is used for plating.
Frequently asked questions
How do I know when the shrimp are safe to eat?
Visual cues like opaque flesh only indicate doneness roughly. Health Canada (2024-06-04) sets a safe internal temperature of 74°C (165°F) for shrimp, so use a probe thermometer to confirm it.
How can I tell if the plancha is hot enough before adding the skewers?
Steven Raichlen (2015-01-13) preheats the plancha to about 400°F (205°C) and checks it with a water drop test: drops should evaporate in 2–3 seconds. Then spread 1–2 tablespoons of oil on the surface before the skewers go down.
Can I cook shrimp and fish on the same skewer?
You can, but they need separate doneness checks. Health Canada (2024-06-04) gives 70°C (158°F) as the safe internal temperature for fish and 74°C (165°F) for shrimp, so pull each piece once it reaches its own minimum temperature.