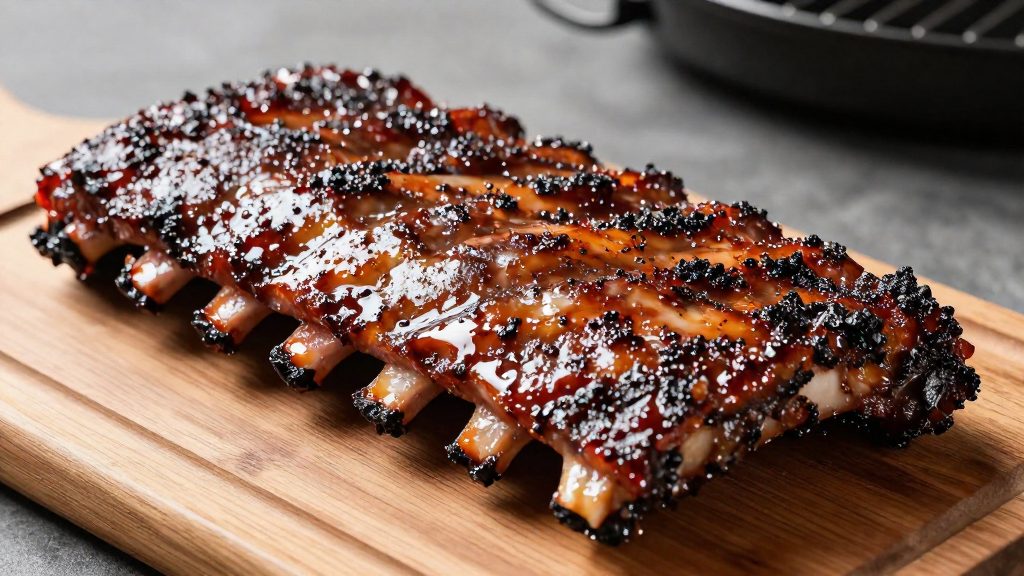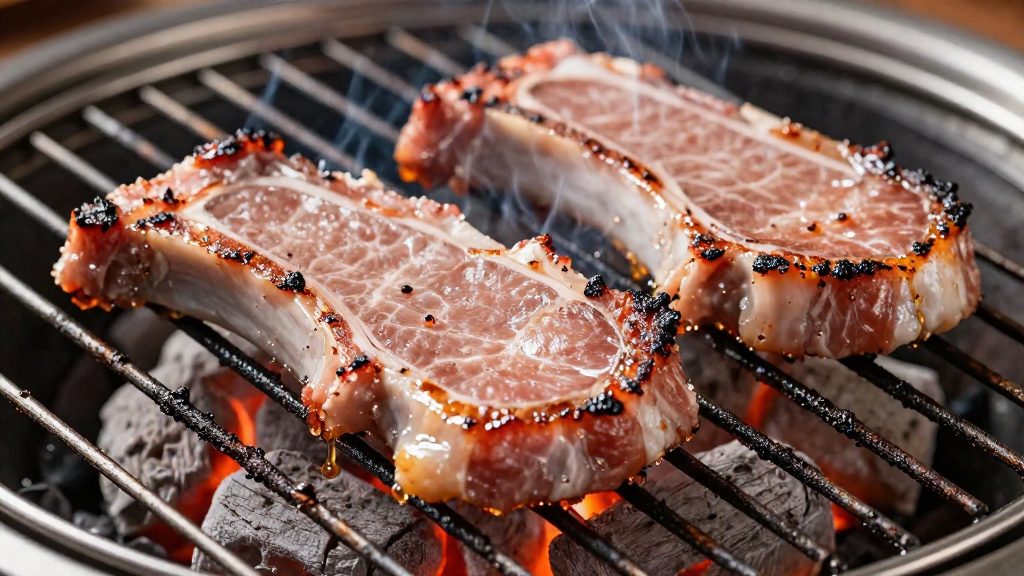
Buy bone-in pork chops between 1 and 1¼ inch (about 2.5 to 3 cm) thick, and plan on four chops for a first batch. Kingsford’s beginner recipe uses exactly this thickness range and batch size (Kingsford, 2026).
Which bone-in pork chops should beginners buy?
Thickness range: 1 to 1¼ inch
Choose chops in the 1 to 1¼ inch range. Thinner cuts leave less margin: the chop reaches its finished state during the sear, so there is little time left for gentle finishing. Thicker cuts take longer to cook through. For a first attempt, stay within the 1 to 1¼ inch range of Kingsford’s beginner recipe. If you buy noticeably thicker chops, switch to the sear-then-finish sequence.
Why thick chops suit searing then gentle finishing
The method is a sear-then-finish sequence. America’s Test Kitchen sears thick chops about 3 minutes per side over the hot side of a two-zone fire, then moves them to the cooler side for about 7 to 9 minutes (America’s Test Kitchen, 2026). The cooler zone lets the interior come up to temperature while the outside keeps its crust, and a chop of 1 to 1¼ inch has enough mass to take that second phase.
Kingsford’s recipe takes a different route, cooking 6 to 7 minutes per side and brushing the chops with maple syrup after the flip (Kingsford, 2026). For a beginner, start with Kingsford’s per-side timing for 1 to 1¼ inch chops. Keep the sear-then-finish sequence for noticeably thicker chops. With either method, the thermometer decides when the chops are done.
Buying four chops for a beginner batch
- Count: buy four chops, the batch size in Kingsford’s beginner recipe.
- Cut: keep the bone in, since the recipe specifies bone-in chops.
- Matching thickness: choose chops of similar thickness so they cook through at the same pace.
- Handling: Kingsford lets the chops rest at room temperature while the grill heats (Kingsford, 2026), so take them out before you light the fire.
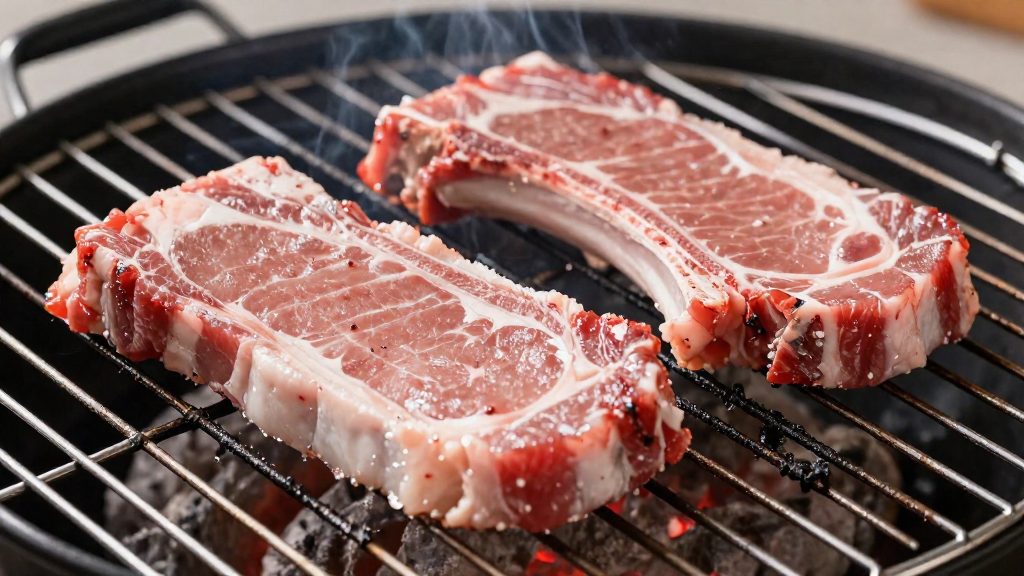
How do you set up the grill for two-zone heat?
A two-zone setup divides the grill into a hot side for searing and a cool side for finishing. Kingsford (2026) sets the grill at about 400°F (204°C), which it describes as medium, for this method on charcoal or pellets. The steps differ by fuel type. Kingsford’s 400°F target is given for charcoal or pellets, and the sections below cover charcoal and gas setups.
Charcoal
Pile the lit coals on one side of the firebox and leave the other side empty. The side with coals becomes the hot side, and the bare side becomes the cool side. America’s Test Kitchen (2026) uses this arrangement for its charcoal two-zone setup.
Charcoal gives the most direct control over the split. Adding or removing coals changes the heat on each side.
Gas
Turn all burners to high and close the lid. America’s Test Kitchen (2026) heats the grill this way for about 15 minutes. Then turn the other burners down to medium-low and keep the primary burner on high. The area over the high burner is the hot side, and the area over the lower burners is the cool side.
Because gas burners respond quickly to the dial, you can make small changes to either zone during cooking. Preheating for the full 15 minutes before adjusting helps the grates reach a steady temperature before the meat goes on.
How to season and prep the chops
Prep for bone-in pork chops is an oil and spice rub applied while the grill heats. A salt brine is an optional extra that needs advance planning. For thick chops, America’s Test Kitchen (2026) uses a brine of 3 tbsp salt per 1½ US quarts of water (about 1.4 L), with the chops soaking for one hour. Start the brine before you light the grill, because the one-hour soak is the only fixed timing in this stage.
Kingsford’s beginner recipe seasons the chops with olive oil and a spice rub, without a brine.
| Method | Thickness or ratio | Timing |
|---|---|---|
| America’s Test Kitchen brine | 3 tbsp salt per 1½ quarts water | 1 hour |
| Kingsford recipe | Chops 1 to 1¼ inch thick | Rest at room temperature while the grill heats |
After the brine, remove the chops and pat their surfaces dry before seasoning. Coat both faces with olive oil, then apply the spice rub evenly so that the oil helps the seasoning adhere. Use a rub that you have tasted in advance. Kingsford’s recipe also brushes the chops with maple syrup after the flip.
Set the seasoned chops on a plate or tray and leave them at room temperature while the grill preheats. This is the same step Kingsford describes for its beginner recipe, and it lets the meat lose some of its chill before it reaches the grate. Do not leave the chops out for longer than the preheat takes, and keep them covered if the room is warm.
How long do you grill bone-in pork chops?
Two published recipes give different grill times for bone-in pork chops. Kingsford (2026) cooks 1 to 1¼ inch chops for 6 to 7 minutes per side, flipping once. America’s Test Kitchen (2026) uses a sear-then-finish sequence: about 3 minutes per side over the hot side, then 7 to 9 minutes on the cooler side. Both methods are timed and both work from a two-zone grill, but they spread the cooking time differently.
| Kingsford (2026) | America’s Test Kitchen (2026) | |
|---|---|---|
| Chop thickness | 1 to 1¼ inch | Thick chops, brined for 1 hour |
| Searing time | 6 to 7 minutes per side | About 3 minutes per side |
| Finishing time | Included in the per-side total | 7 to 9 minutes on the cooler side |
| Total grill time (calculated from the stated figures) | About 12 to 14 minutes | About 13 to 15 minutes |
The totals are close, but the method differs. Kingsford’s timing is a single even cook on each side, which keeps the sequence simple. America’s Test Kitchen separates the sear from the finish, so most of the time is spent away from direct heat.
Recommended timing for beginners
For a first attempt, follow Kingsford’s approach with chops of 1 to 1¼ inch: plan roughly 6 minutes on the first side, flip, then check the second side at about 6 minutes. Reaching 71°C (160°F) may take longer than the printed time, so keep checking with a thermometer. A single flip keeps the process easy to track.
For thicker chops, the America’s Test Kitchen sequence is a better fit. The 3-minute sear builds colour quickly, and the longer 7 to 9 minute finish on the cooler side gives thick meat more time to cook through without burning the outside. Time the sear with a kitchen timer.
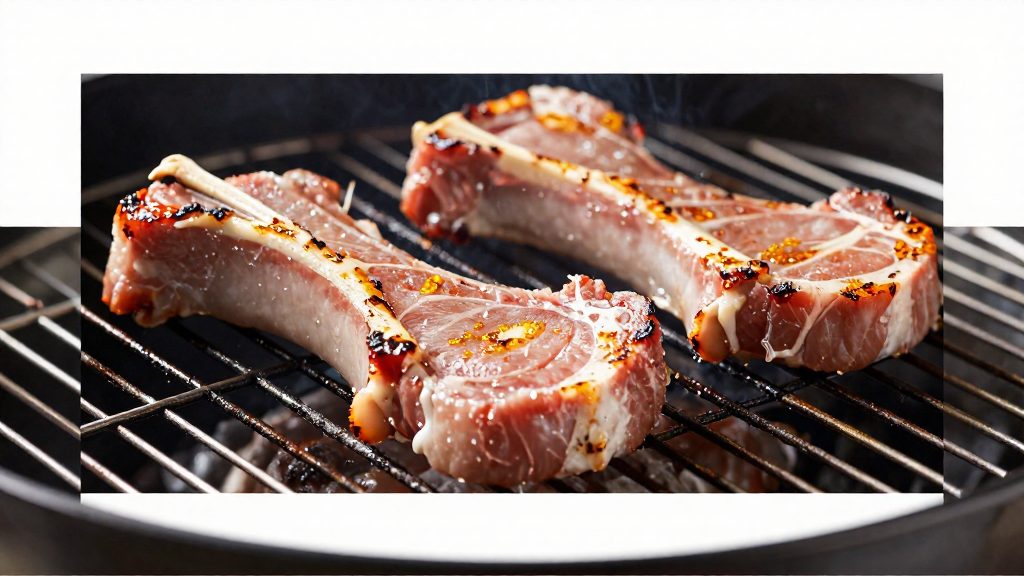
What internal temperature is safe for pork chops in Canada?
For bone-in pork chops cooked in Canada, the reference value is 71°C (160°F). Health Canada’s safe internal cooking temperature chart (Health Canada, 2024) lists this figure for pork pieces and whole cuts, including bone-in chops. Many American recipes stop earlier. Kingsford (2026) and America’s Test Kitchen (2026) both aim for 145°F (63°C), and this gap is the main source of confusion for Canadian cooks who follow US recipes.
The two figures are not interchangeable. A 145°F endpoint is a recipe target, and it does not replace the Canadian guideline. The practical way to reconcile them is to treat the thermometer reading as the decision point, not the cook time. Kingsford’s method, for example, cooks the chops until a digital thermometer reads 145°F. A Canadian cook should apply the same method but continue cooking until the chop reaches 71°C (160°F).
Using one single target avoids switching standards between recipes. Adopt 71°C (160°F) for every pork chop you cook at home, whatever the recipe’s printed number. The temperature you check is the one at the thickest part of the chop, so insert the probe there and keep it clear of the bone. Read the temperature at the end of cooking, not during the sear, because the surface of a chop runs hotter than its centre.
Because the 145°F recipes were written to a lower endpoint, their cook times per side will often be shorter than what is needed to reach 71°C (160°F). Use the thermometer, not the timer, to decide when the chops are done. A digital probe that reads quickly is the most reliable tool for this check on a charcoal, gas, pellet, or kamado grill.
Why rest the chops before serving?
Resting is the step between taking the chops off the grill and cutting them. Kingsford’s beginner recipe specifies a rest of at least 5 minutes (Kingsford, 2026), and America’s Test Kitchen (2026) recommends 5 to 10 minutes with the chops tented in foil. Both treat the rest as part of the cook, not an optional pause.
The reason is how moisture behaves in the meat. While the chops cook, heat drives liquid away from the outer layers and toward the centre, and the muscle fibres contract. Straight off the grill, that liquid is concentrated and the fibres are tight. As the chop rests, the fibres relax and the juices spread back through the meat. Cut too early, more of that liquid runs out onto the board and the meat tends to be drier.
Rest duration and foil
- Minimum rest: Kingsford sets a floor of at least 5 minutes. A longer rest is within that guidance.
- Extended rest: America’s Test Kitchen gives a range of 5 to 10 minutes, which is the better option when the chops are thick or when you are serving several people and need time to plate.
- Foil tenting: Drape a sheet of foil loosely over the chops without sealing the edges. A loose tent keeps the surface warm while letting steam escape, so the outside does not turn soggy.
Practical setup
Move the chops to a clean plate or a wire rack rather than leaving them on the cutting board, where they cool faster and can pick up juices from the raw-meat surface. Keep the tent loose and avoid pressing on the meat, which squeezes out the juices the rest is meant to redistribute.
Resting helps all chops, bone-in included, because the juices can settle while the chop is still whole. Plan the rest into your timing so the chops are ready to serve when the grill is finished.
Common beginner mistakes to avoid
Most dry or unevenly cooked bone-in chops come from three habits: skipping grate preparation, cooking by the clock, and cutting too early. Each is simple to correct once you understand what it does to the meat.
Skipping grate oiling
Bone-in chops are thick and spend several minutes on each side, so they stick to bare grates. Kingsford (2026) advises oiling the grates before cooking. Fold a paper towel, dip it in a neutral high-heat oil, grip it with tongs, and wipe the grate just before the chops go on. A slick surface lets the crust form without tearing when you flip. Sticking also pulls juices and seasoning off the meat, which leaves the outside dry and the centre uneven.
Judging doneness by time
Kingsford’s recipe gives 6 to 7 minutes per side for chops 1 to 1¼ inches thick. Use that as a starting point, not a finish line. Thickness, the chop’s starting temperature, and how long it sits over the hot zone all change cooking speed. Chops pulled according to the clock often come off dry or undercooked near the bone.
Cutting in before the rest ends
Slicing straight off the grill lets the juices run onto the board, which dries out the meat that remains. America’s Test Kitchen (2026) tents its chops loosely with foil after cooking. Keep the chops covered during the rest, and wait until it is complete before cutting, so the juices settle back into the meat and each bite stays moist.
Frequently asked questions
How do I know when bone-in pork chops are safe to eat?
Health Canada (2024) lists 71°C (160°F) as the safe internal temperature for pork, including bone-in chops. Kingsford’s beginner recipe pulls the chops at 145°F (63°C) and rests them at least 5 minutes, so use the thermometer to check the centre of the thickest chop before you rest it.
Can I cook these chops on a gas grill instead of charcoal?
Yes. America’s Test Kitchen (2026) heats all burners on high for about 15 minutes, then sets the other burners to medium-low and keeps the primary burner on high to create a two-zone setup. Kingsford’s 400°F target applies to charcoal or pellets, so use a thermometer at the grate to confirm the heat on your gas grill.
What does the maple syrup add, and can I skip it?
Kingsford’s recipe brushes the chops with maple syrup after the flip, so the syrup forms a sweet glaze on the second side as they finish. Because the base seasoning is olive oil and a spice rub, you can leave the syrup out and still follow the recipe’s core method.