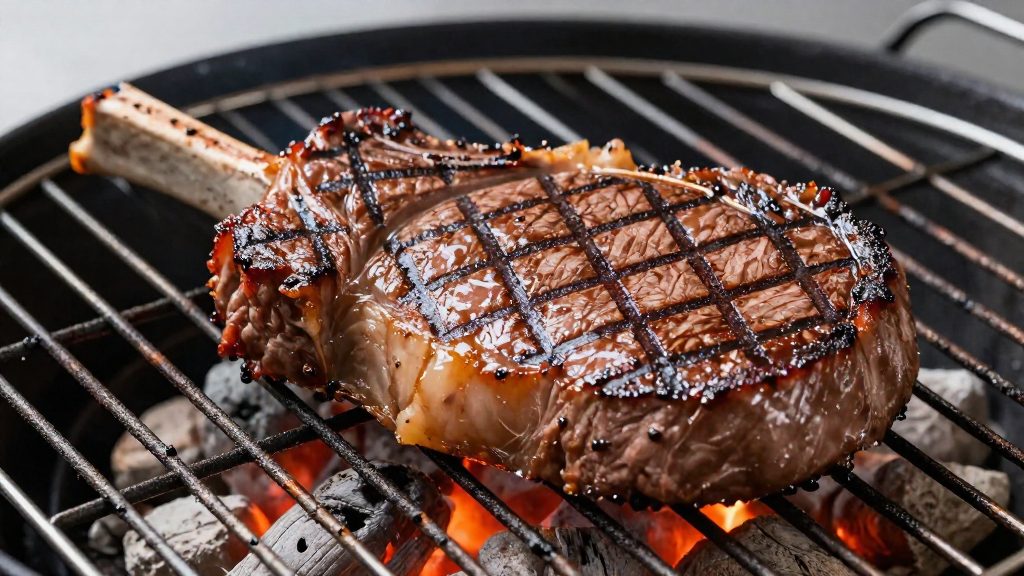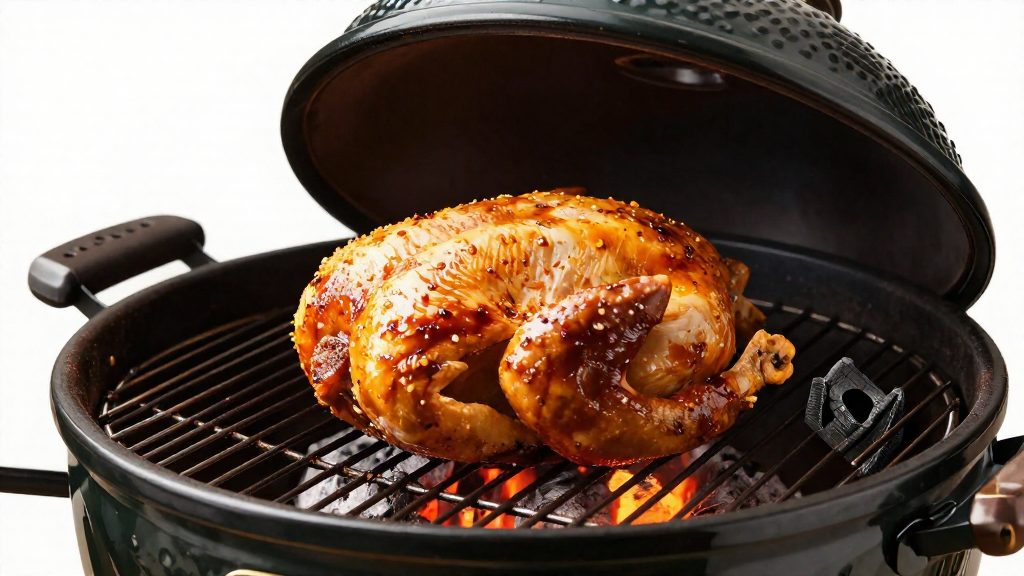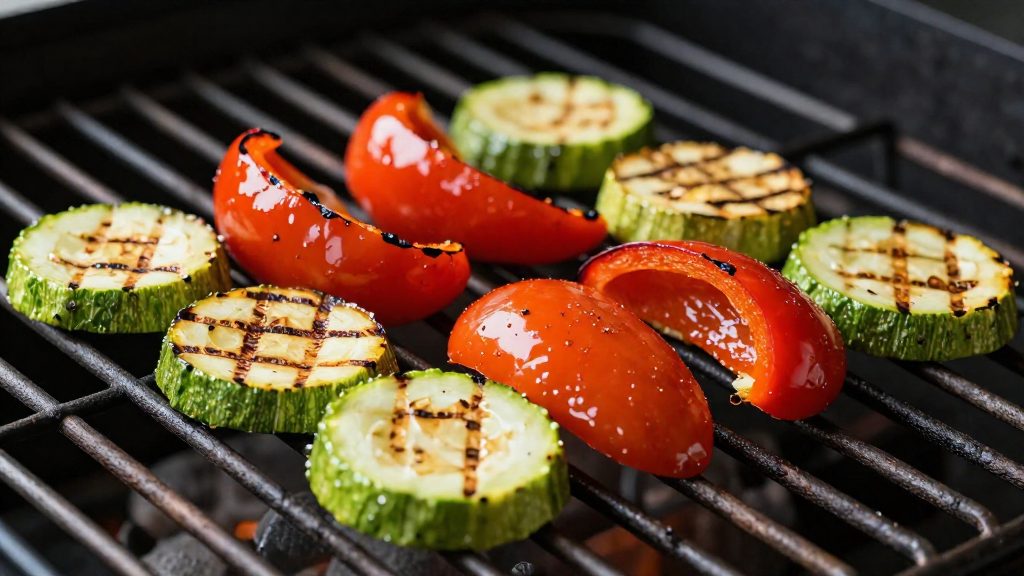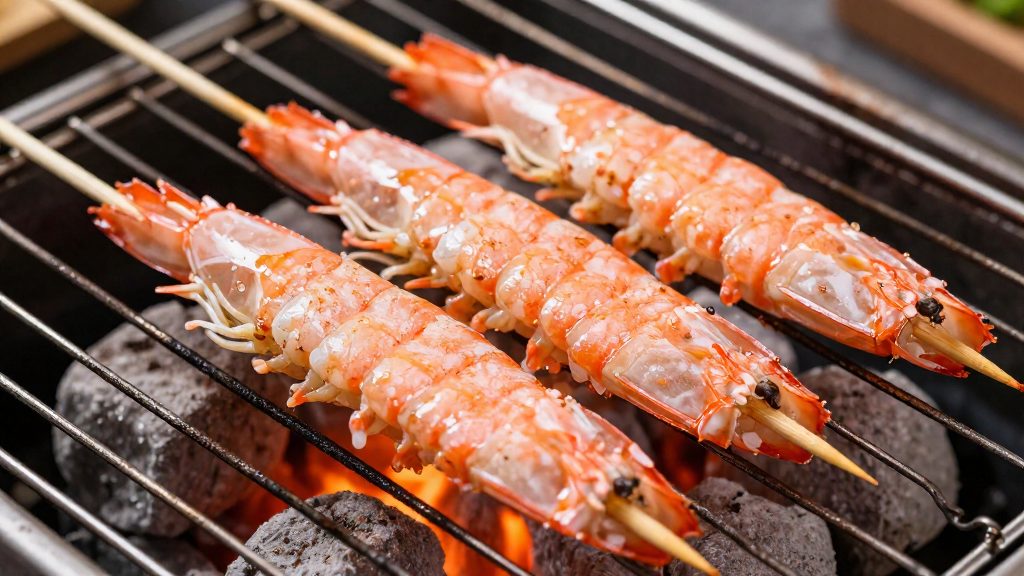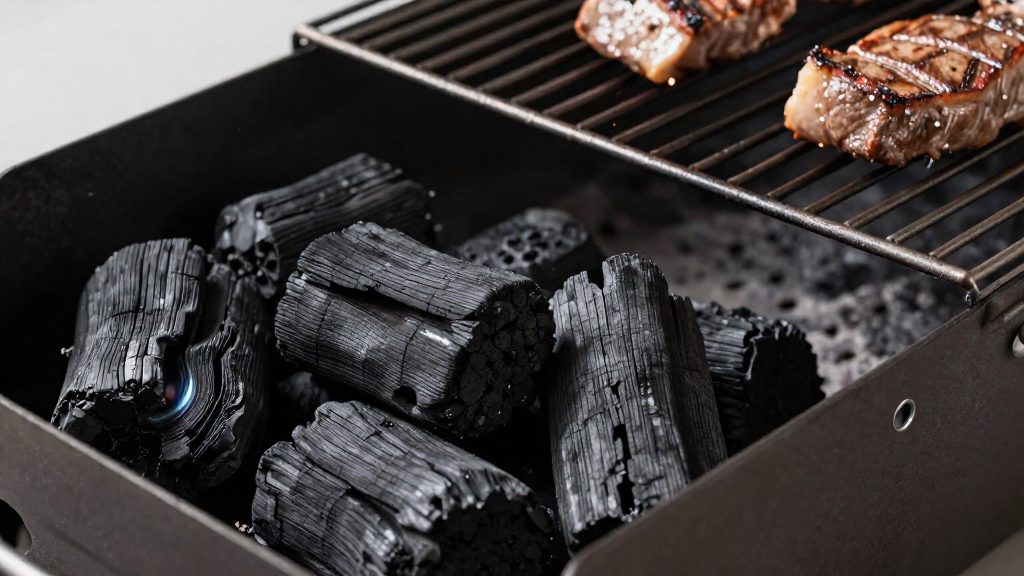
A two-zone fire is a charcoal layout with two heat levels on one grill: a direct heat zone where coals sit under the food, and an indirect heat zone beside the coals where food cooks with the lid closed. Keeping both zones available lets you sear food quickly on the hot side and cook it through on the cool side, so you can manage different cuts on the same grill.
What is a two-zone fire?
A two-zone fire divides the charcoal grate into two areas of different intensity. Most of the coals are concentrated on one side, and the other side holds few or none. The area above the coal bed receives the strongest heat, while the area beside it stays cooler.
Direct heat zone
The direct heat zone is the side with most of the coals. Food placed here sits directly over the fire. Because these foods cook fast, they need the intense heat to brown in a short time.
Indirect heat zone
The indirect heat zone is the side with fewer coals, where food sits beside the fire rather than above it. According to The Takeout (2026), the cool side lets thick cuts cook through without burning.
Why both heat levels matter together
Weber states that having both kinds of heat available at once is important. Direct heat handles browning, while indirect heat handles the slower cooking of thicker or larger pieces. Using only one zone leaves you with fewer options: food that needs a hard sear has no matching area, and food that needs gentle, even cooking has no safe place to rest away from the flames.
How to set up a two-zone charcoal fire
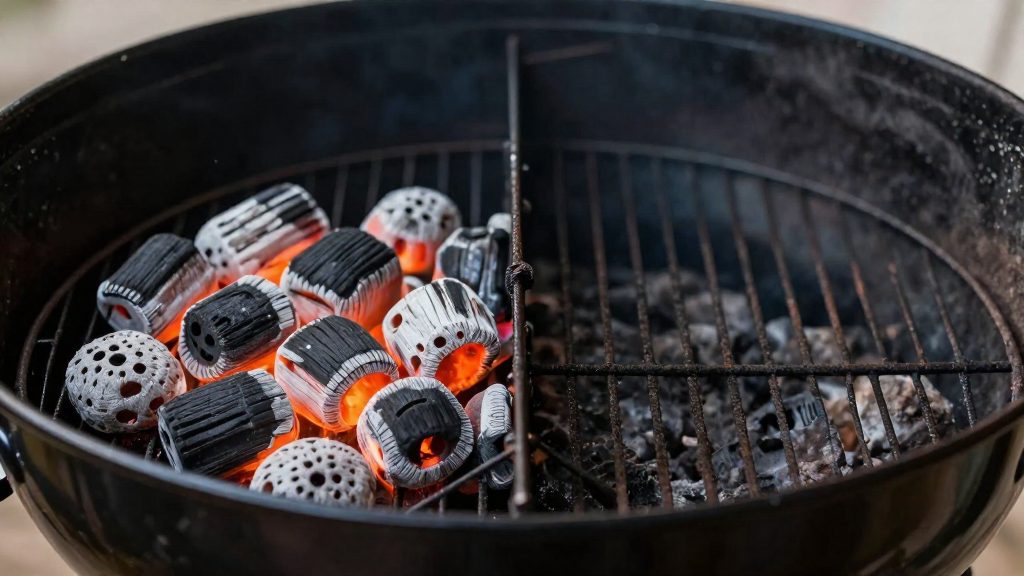
A two-zone setup concentrates most of the charcoal on one side of the grill to create a hot zone for direct heat, while the other side holds fewer coals for a cooler indirect zone.
Step 1: Light the charcoal until white hot
Light the charcoal and wait until the coals are fully white hot before you arrange them. Arranging coals that are still dark or ashy gives you an uneven fire that is harder to control.
Step 2: Rake the coals to one side
Once the coals are white hot, use a grill rake or tongs to push most of them to one side of the charcoal grate. The Takeout (2026) describes this as raking most of the coals to one side for the hot zone, leaving fewer on the other side for the cool zone.
Keep the two areas clearly separate. A clear gap between the coal banks makes it easier to move food between them.
Step 3: Place the disposable water pan between the coals
Set a disposable pan of water between the coals to catch drippings. According to Weber, this keeps the grill cleaner.
| Step | Action | Result |
|---|---|---|
| 1 | Light charcoal | Coals reach full white heat |
| 2 | Rake most coals to one side | Hot zone on one side, cool zone on the other |
| 3 | Place water pan between coals | Drippings collected, cleaner grill |
Once the zones are set and the pan is in place, the grill is ready for cooking.
How much charcoal do you need?
For a two-zone setup, size the load by grill space rather than by weight. Fill about two-thirds of the grill with charcoal, light it, and rake most of the coals to one side. That creates a dense bed for direct heat and a thinner bed on the other side for indirect cooking.
Leaving the last third of the grill free gives you room to rake the coals to one side and keep a cooler area. The cool side needs enough fuel to hold a steady indirect heat, but it should never carry the same load as the hot side.
Charcoal baskets help the fuel last. Weber states that baskets keep the coals clustered so they burn longer. Confining the charcoal in a basket, rather than spreading it loose across the grate, keeps the coals together and extends burn time, which matters for longer cooks where both zones must hold their shape from start to finish.
| Element | Charcoal placement | Effect |
|---|---|---|
| Overall load | About two-thirds of the grill | Leaves room to rake coals into two zones |
| Hot zone | Most of the coals, raked to one side | Direct heat for searing |
| Cool zone | Fewer coals on the opposite side | Indirect heat for thick cuts |
| Charcoal baskets | Coals held in a cluster | Longer burn time |
To check the split during a cook, compare the two sides before adding food. To check the split during a cook, compare the two sides before adding food. The hot side should hold most of the coals and the cool side only a few.
What should go on the hot side?
The hot side is the direct-heat zone, where food sits over the coals. Its examples fall into five groups:
| Food group | Weber’s examples |
|---|---|
| Ground meat | Burgers |
| Beef and pork | Steaks, chops |
| Poultry | Boneless chicken |
| Seafood | Fish fillets, shellfish |
| Vegetables | Sliced vegetables |
These foods suit direct heat because they are small or thin and have little connective tissue to break down. Their short cooking time lets them brown on the outside while the inside reaches the target temperature.
Searing thin cuts over high direct heat
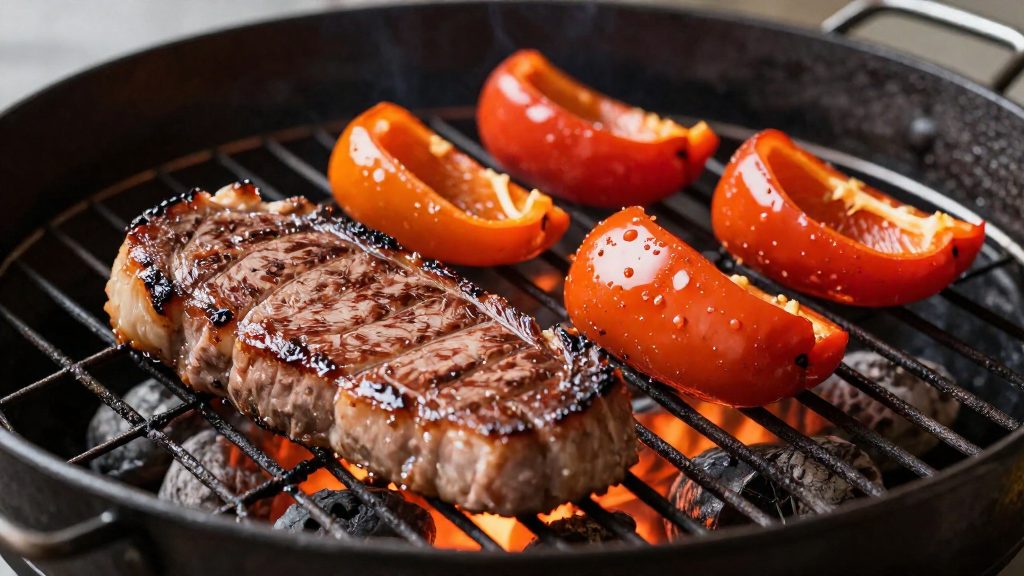
According to The Takeout (2026), the hot zone is where searing and thin cuts that cook quickly belong. Place thin steaks, chops and fillets over the hottest part of the fire, and turn them once the surface has browned. Because they are thin, they cook quickly over direct heat. If a thicker steak or chop browns before the center is done, move it to the cool side with the lid closed to finish, as described below.
Fish and shellfish
Keep them on the hot side only for the short time needed to cook them, and turn them carefully to avoid breaking the flesh.
Sliced vegetables
Cut them to an even thickness so they finish at the same rate. Thin slices take the least time, and thicker pieces need to be moved to the cooler zone if they are still raw in the middle.
Items to keep off the hot side
What belongs on the cool side?
The cool side of a two-zone charcoal fire is the indirect zone, where food sits beside the coals rather than over them.
Large, tough cuts
Weber names three foods for indirect heat: roasts, whole chickens and ribs. It describes them as larger, tougher foods.
- Roasts: a large joint of beef, pork or lamb needs sustained, even heat rather than a short, intense blast.
- Whole chickens: the thickest parts of the bird, such as the thighs and the cavity side, take longer than the outer skin to cook through.
- Ribs: a thick rack needs time for the heat to travel through its full depth, so placing it on the cool side keeps the surface from scorching first.
Thick cuts that need time
The same logic applies to any thick cut that would scorch before its centre is ready. A practical approach is to treat the cool side as the place for the longer part of cooking. Keep the hot zone for brief work, and let the cool zone carry the bigger pieces through to the centre.
Should you close the lid?
Yes, during the finishing phase. The cool side is the indirect zone because it sits beside the coals rather than over them. Closing the lid keeps the heat circulating so the food cooks through from the surrounding heat rather than from direct contact with the coals. According to The Takeout (2026), the recommended method is to sear first and then move the food to the cool side with the lid closed to finish.
The sear-then-finish sequence
| Step | Zone | Lid | Purpose |
|---|---|---|---|
| 1 | Hot (direct) zone | Open | Brown the surface |
| 2 | Cool side (indirect zone) | Closed | Cook the food through |
Pork chops and New York strip steaks
The Takeout names pork chops and New York strip steaks as the two examples for this method. Because the cool side provides indirect heat, the interior continues to cook without the surface continuing to brown, which lets the meat reach doneness without the exterior burning.
Common two-zone mistakes
Most failed two-zone cooks come from treating the grill as a single heat source. The first error is expecting one heat level to suit every food. The second is spreading the coals evenly, which leaves no usable cool area.
Using one heat level for every food
| Food type | Zone to use | Examples named by Weber |
|---|---|---|
| Small, tender, quick-cooking | Direct | Burgers, steaks, chops, boneless chicken, fish fillets, shellfish, sliced vegetables |
| Larger, tougher | Indirect | Roasts, whole chickens, ribs |
Spreading the coals evenly
The two-zone layout depends on uneven coal distribution. When coals are spread evenly across the grate, the whole cooking surface runs at similar heat. There is then no area to move food to when the surface begins to brown too quickly, and the grill behaves like a single-zone setup regardless of how the food is arranged.