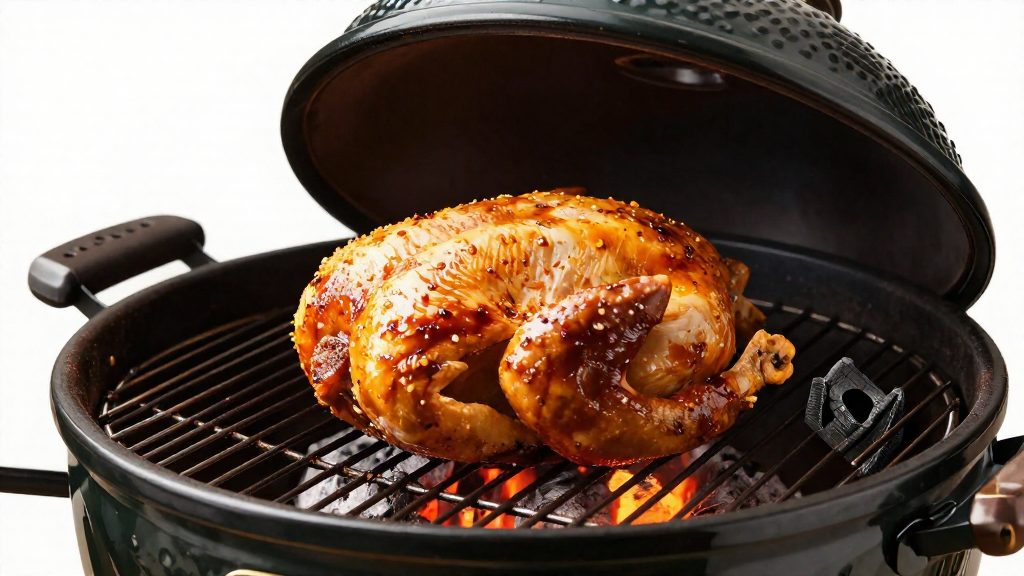
A kamado suits a whole chicken because its thick ceramic body and tight-fitting lid keep the air around the bird stable and humid, which favours moist, evenly cooked meat. According to Kingsford (2026), the bird goes breast side up in the centre of a two-zone fire, over a water pan and away from the coals, with the lid closed for most of the cook. That setup, rather than heat alone, is what makes the dome well suited to poultry.
Why cook a whole chicken on a kamado?
Ceramic heat retention matters for a large bird that cooks slowly. Once the dome is up to temperature, the ceramic walls release heat gradually, so the cooking environment changes less than it would in a thin-walled open grill, where heat escapes quickly whenever the lid is lifted. Fewer lid openings mean fewer temperature swings during the long middle stage of cooking, when the thighs and breast of a whole bird are most exposed to drying out.
Moisture within the dome is the second advantage. The closed lid holds in the humidity the bird releases, and the water pan placed beneath the chicken adds moisture to the enclosed air. An open grill vents that moisture freely, which tends to dry the surface of a large roast more quickly.
Roasting one whole bird also simplifies the cook compared with grilling the same meat as separate pieces. A single chicken needs one lid-closed period, one set of temperature checks and one rest. Pieces of different sizes, such as breasts and drumsticks, reach doneness at different times on the same grate, which makes uniform results harder to achieve. Keeping the bird in one piece lets the kamado’s stable environment work on a single, consistent mass of meat.
For poultry, the main practical gain over an open grill is control. A kamado can hold indirect, lid-closed cooking for an extended period, which Kingsford presents as its standard method for a whole chicken.
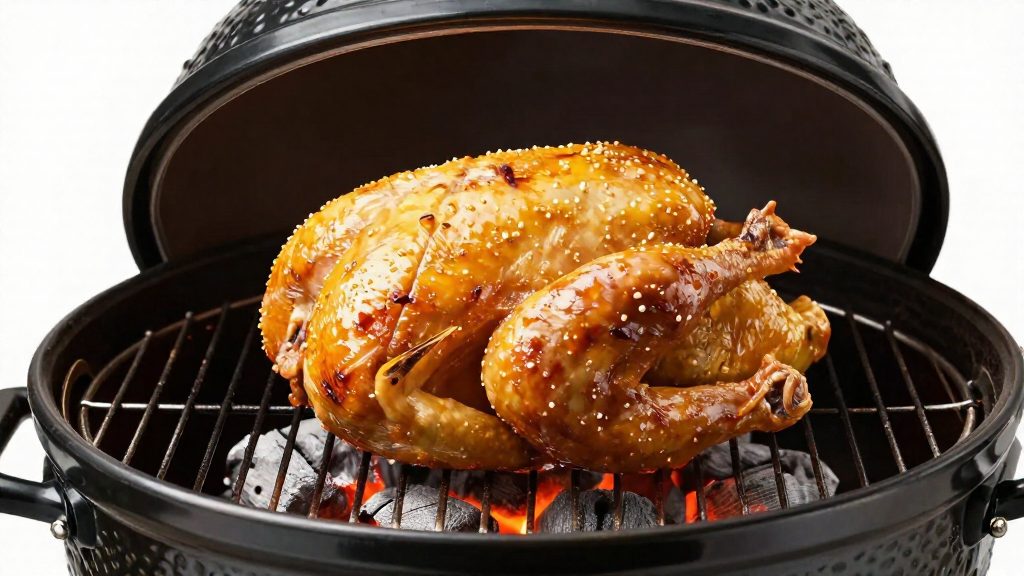
Kamado setup for indirect heat
Indirect cooking on a kamado depends on keeping the bird out of the direct flame. Kingsford’s charcoal method for a whole chicken uses a two-zone fire: the lit lump charcoal sits on one side of the firebox, leaving the other side free for the bird (Kingsford, 2026). The chicken therefore cooks from the heat circulating under the dome, not from the coals beneath it.
Building the two-zone lump charcoal fire
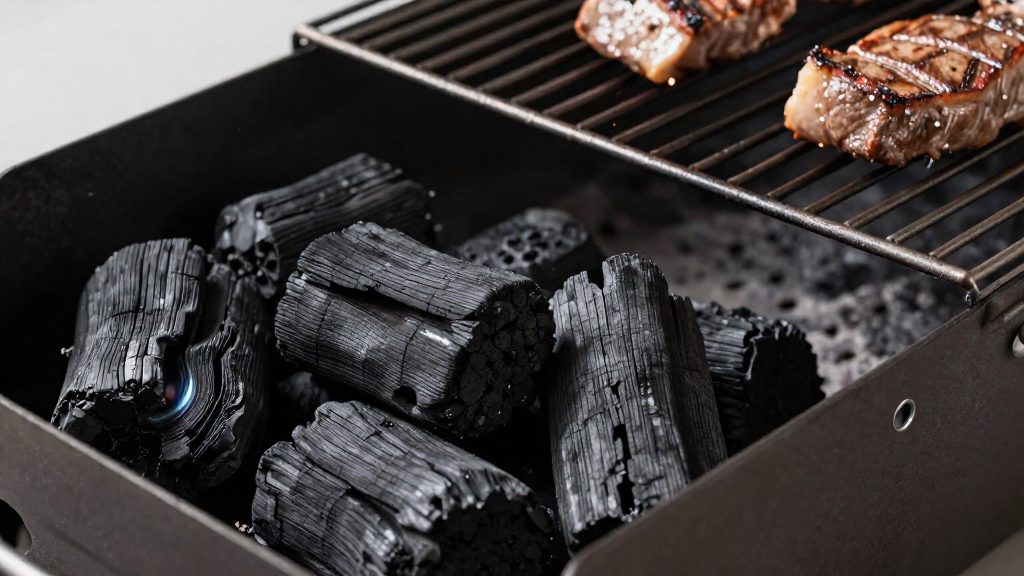
- Load the lump on one side only. Fill one half of the firebox with lump charcoal and leave the opposite half empty. The empty half becomes the cooking zone.
- Light the lump on the loaded side. Let the coals establish before placing any food, so the fire is stable when the lid closes.
- Place the water pan on the empty side. Set the pan directly beneath the position where the chicken will sit, so the bird rests over it, as Kingsford specifies.
- Position the chicken in the centre. Place the bird breast side up over the pan, centred on the grate and clear of the coal zone.
Using a deflector to offset the fire
When the firebox cannot be split cleanly with lump alone, a deflector creates the separation. Char-Griller’s kamado recipe for a 5–6 lb whole chicken on an AKORN Jr. uses a Smokin’ Stone insert to offset the fire (Char-Griller, 2026). The stone acts as a heat shield between the burning charcoal and the food, so the chicken receives indirect heat rather than radiant heat from the coals.
The table below summarises how each component fits into the setup:
| Component | Position | Role |
|---|---|---|
| Lump charcoal | One side of the firebox only | Heat source, kept away from the bird |
| Water pan | Directly beneath the chicken, on the cool side | Sits under the bird in Kingsford’s method |
| Chicken | Centre of the grate, breast side up | Cooks by indirect heat |
| Smokin’ Stone insert | Between the lit charcoal and the food zone | Offsets the fire |
Before adding the bird, confirm that the cooking zone has no coals directly beneath it. If coals migrate across the firebox during the cook, the heat distribution changes and the bird may cook unevenly on the side closest to the fire.
What temperature works best for whole chicken?
Dome target is the temperature the lid thermometer should read once the grill is stable. Kingsford’s charcoal method for a whole chicken aims for about 450°F with the lid closed, while Char-Griller’s kamado recipe cooks at 400°F.
| Source | Dome target | Bird and setup |
|---|---|---|
| Kingsford (2026) | About 450°F, lid closed | Whole chicken, breast up, center of a two-zone fire |
| Char-Griller (2026) | 400°F | 5–6 lb bird on an AKORN Jr. with a Smokin’ Stone insert |
| America’s Test Kitchen (2026) | About 400°F | Bird centered on indirect charcoal heat |
Heat suitability for a 5–6 lb bird
Char-Griller’s 400°F recipe is written for a 5–6 lb chicken, so the lower target is the one matched to a bird of that weight. Kingsford’s 450°F figure is paired with timing for a 4 lb bird, which makes the higher setting the reference for a lighter chicken. For a heavier bird, a moderate dome temperature gives the thighs more time to reach doneness, and reduces the risk of the skin darkening before the centre is cooked. Treat 400°F as the starting point for a 5–6 lb bird, and use 450°F only if you are working from Kingsford’s method with a bird closer to 4 lb.
Adjusting intake and exhaust vents
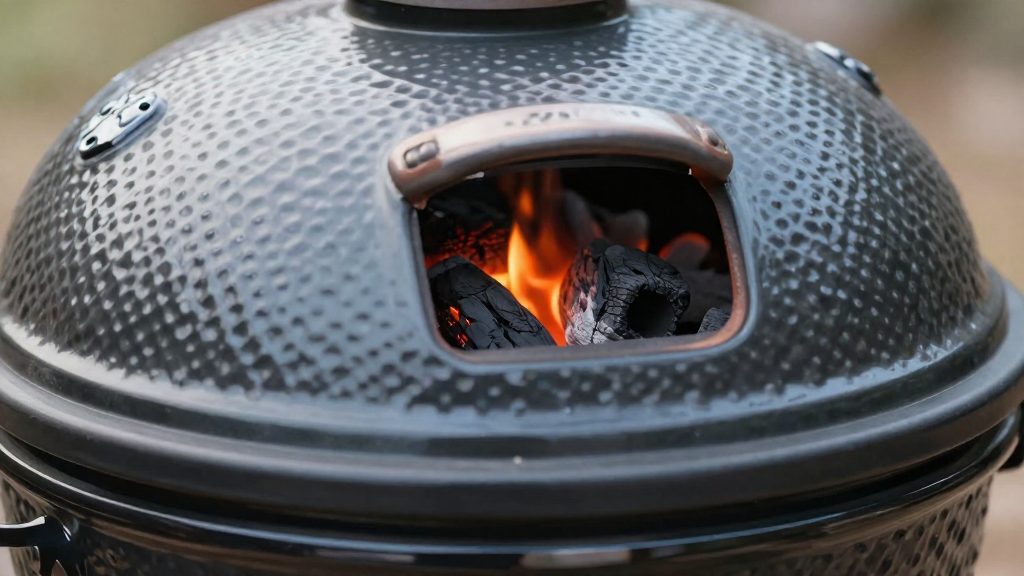
The intake vent controls how much air reaches the fire. Opening it raises the dome temperature, and closing it lowers the temperature. The exhaust vent governs how air leaves the chamber, so use it to fine-tune the airflow once the intake is set.
- Set both vents before closing the lid.
- Keep the lid closed during the first 60 minutes, as Kingsford advises.
- Make small adjustments, then wait several minutes for the dome reading to settle before changing anything else.
Spatchcock or whole bird?
Spatchcocking (butterflying) means removing the backbone and pressing the bird flat so the breast and thighs sit at a more uniform distance from the heat. Cut along both sides of the backbone with poultry shears, remove it, open the breastbone, and press the bird flat on a board before placing it on the grate. An intact bird keeps its natural curved shape, so the thickest parts sit higher in the dome and receive heat differently.
Kingsford (2026) states that spatchcocking gives more even cooking, a faster cook and crispier skin. The table sets these outcomes against the whole-bird figures from the same sources.
| Factor | Whole bird | Spatchcocked |
|---|---|---|
| Cook time | About 90 minutes for a 4 lb chicken at about 450°F, lid closed (Kingsford, 2026) | Faster than a whole bird |
| Evenness | Less even | More even |
| Skin crispness | Less crisp | Crisper |
The two whole-bird time figures are not directly comparable. Char-Griller’s kamado recipe cooks a 5–6 lb whole chicken at 400°F in about 60 minutes on an AKORN Jr. with a Smokin’ Stone insert (Char-Griller, 2026). Treat any minute count as specific to its weight and temperature.
Choose a whole bird when the intact presentation matters more than uniform doneness. Choose a spatchcocked bird when evenness and skin crispness are the priority, since it reaches both faster and more consistently.
How do you get crispy skin?
Crispy skin on a whole chicken depends on how dry the skin is and when it is exposed to direct heat. On a kamado, the usual sequence is to dry and season the skin, cook the bird with indirect heat, then finish it over the hotter side. America’s Test Kitchen’s grill-roasted method follows this pattern, using indirect heat with the bird in the centre before finishing it over the hotter side of the grill (America’s Test Kitchen, 2026).
Pat-drying and salting before cooking
Surface moisture has to evaporate before the skin can brown, so pat-drying is the first step. Dry the whole bird with paper towels, including the cavity and the skin under the wings and around the legs. Then salt the dried skin. If the skin looks damp after salting, dry it again before the bird goes on the grill.
Sugar-based rubs and burning risk
Sugar darkens much faster than salt and most dry spices. A sugar-based rub can turn dark or bitter before the breast is cooked, particularly if the skin sits over coals. Apply sugar-containing rubs sparingly, and add any sweet glaze late, when you can watch the colour closely.
Finishing with direct heat
The indirect phase cooks the breast gently, and the direct-heat finish produces the browning. The America’s Test Kitchen sequence moves the bird from indirect heat to the hotter side at the end:
| Stage | Breast temperature | Action |
|---|---|---|
| Indirect cook | Up to 130°F | Bird centred, away from the coals |
| Direct-heat finish | From 130°F | Move the bird over the hotter side to colour the skin |
| Removal (America’s Test Kitchen method) | 155°F | Take the chicken off the grill. This is below the USDA’s 165°F safe temperature, which this guide uses as its target |
How do you know it’s done?
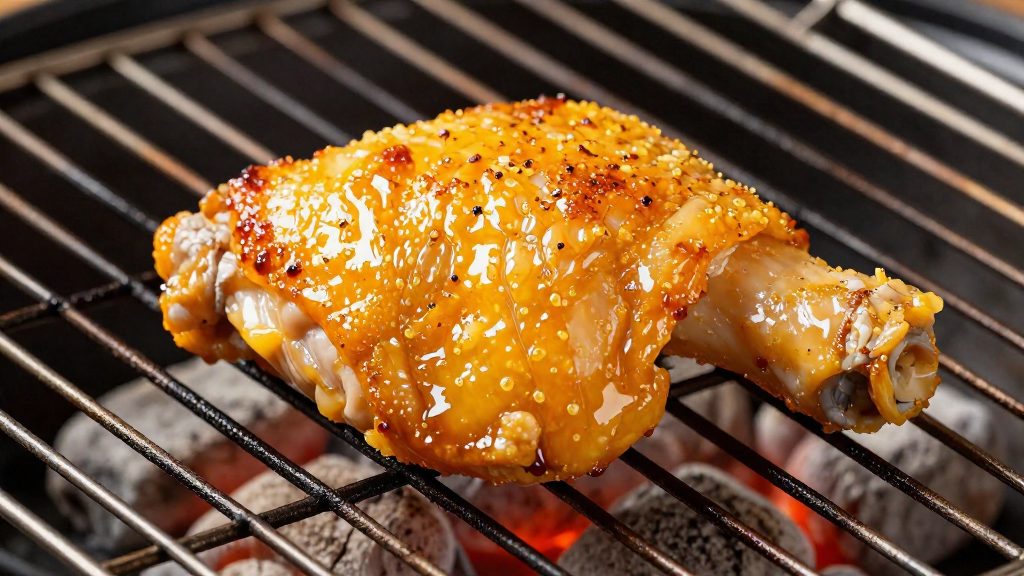
Kingsford sets the removal point at 165°F (Kingsford, 2026), which matches the USDA’s 2006 statement that 165°F is the safe temperature for poultry, killing Salmonella, Campylobacter and avian influenza viruses (CIDRAP, University of Minnesota, 2006-04-05). Use an instant-read thermometer to confirm this rather than relying on the clock. America’s Test Kitchen (2026) instead pulls the breast at 155°F and rests it uncovered for 20 minutes. Because the USDA threshold is the recognised safety figure, this guide uses 165°F as the target.
Where to place the probe
Insert the probe into the thickest part of the thigh, angled so the tip sits in the centre of the meat. Kingsford specifies that the tip must not touch bone. Bone conducts heat differently from muscle, so a probe resting against it gives a reading that does not reflect the surrounding meat. Keep the tip clear of the skin as well, pushing it in from the side or from the cavity end so the sensor is buried in the muscle.
When to check
Kingsford gives a timeline for a 4 lb bird, which takes about 90 minutes. The lid stays closed for the first 60 minutes, and checks begin after that point.
| Stage | Lid | Action |
|---|---|---|
| Minutes 0–60 | Closed | Leave the bird undisturbed |
| After 60 minutes | Opened only for checks | Probe the thickest thigh every 10–15 minutes |
| Thigh reads 165°F | Opened | Remove the bird |
Opening the lid for each check lets heat escape, so keep the reading session brief. Because the 90-minute estimate applies to a 4 lb bird, a heavier chicken will need more time.
Resting, carving and safety
Resting and carving are the final steps before serving, and they also carry the main handling risks. Kingsford (2026) advises resting the chicken for about 15 minutes under loose foil before carving. America’s Test Kitchen (2026) rests its grill-roasted bird uncovered for 20 minutes, so the two guides differ on covering. This guide follows Kingsford’s method.
| Source | Rest time | Covering |
|---|---|---|
| Kingsford (2026) | About 15 minutes | Loose foil |
| America’s Test Kitchen (2026) | 20 minutes | Uncovered |
Lifting the bird
Lift the chicken with tongs rather than a barbecue fork. Kingsford (2026) notes that a fork lets juices drip into the fire, so tongs keep the bird’s juices on the board and out of the coals. Move the chicken to a clean board or platter before you start to carve.
Carving
Work on a stable board with a sharp knife. Remove the legs and wings at their joints first, then cut the breast away from the carcass in clean slices. Carving after the rest keeps the meat from losing its juices onto the board.
Raw poultry and cross-contamination
Raw chicken carries bacteria on its skin and juices, so the cross-contamination risk starts before the bird reaches the grill. Use a separate tray and board for raw poultry, and wash your hands, tongs and knives after they touch the raw bird. Use a different platter for the cooked chicken.
Cleaning your kamado after chicken
Poultry leaves more rendered fat and drippings than most cuts, so the cleanup starts once the grill has cooled enough to handle safely. Clean the cooking grates, the drip pan and the firebox, working from top to bottom, because fat and ash that fall from the upper parts end up in the lower ones.
Clearing rendered fat from the drip pan
Rendered fat collects in the drip pan under the grate, or in the water pan if your setup uses one. Lift it out with heat-resistant gloves and let the fat cool until it sets. Scrape the solids into a disposable container, then wipe the pan with paper towels. For stubborn residue, use a grill-safe degreaser and rinse, then dry the pan completely before reinstalling it. A dry pan prevents moisture from mixing with ash and forming a paste in the firebox.
Removing ash and residue from the firebox
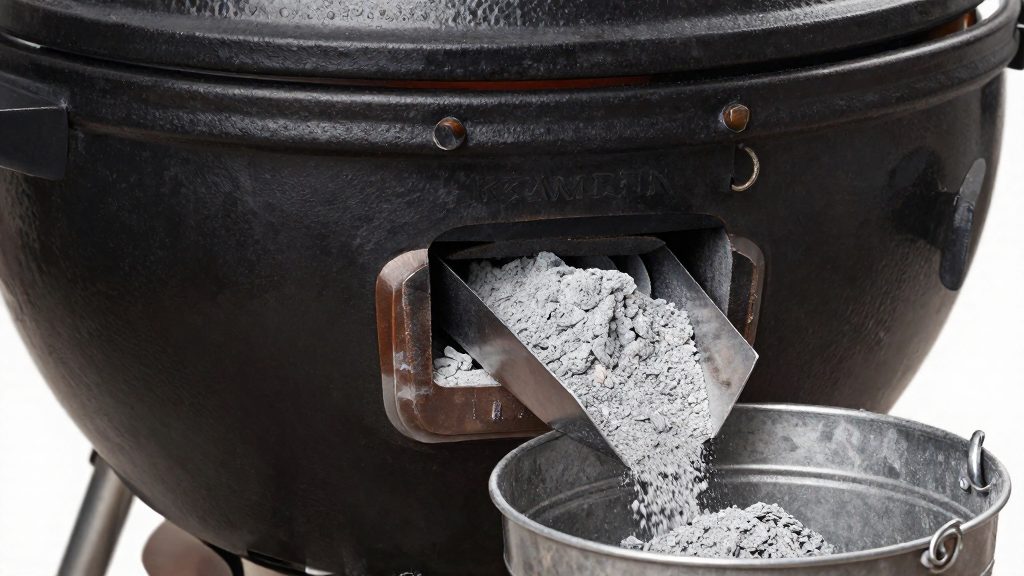
Wait until the ceramic body and the ash are fully cool before opening the ash drawer or removing ash by hand. Remove loose ash with a small metal scoop or a stiff brush and discard it in a metal container with a lid. Check the vent openings and the area around the fire ring for blocked airflow, since ash buildup there can affect how the grill draws air during the next session. Do not pour water into a hot kamado, because the sudden temperature change can damage the ceramic.
Cleaning grates and deflectors after poultry
Scrape the cooking grates with a stiff wire brush while they are still warm, but not hot enough to burn. Pay attention to the grate bars that sat above the bird, where dried juices and fat bond to the surface. Wipe the grates with a damp cloth and a little cooking oil once they are cool. Clean the deflectors, if your model has them, by brushing off fat and crumbs from both faces. Greasy deflectors can smoke or flare during the next high-heat cook, so clean them after every poultry session.