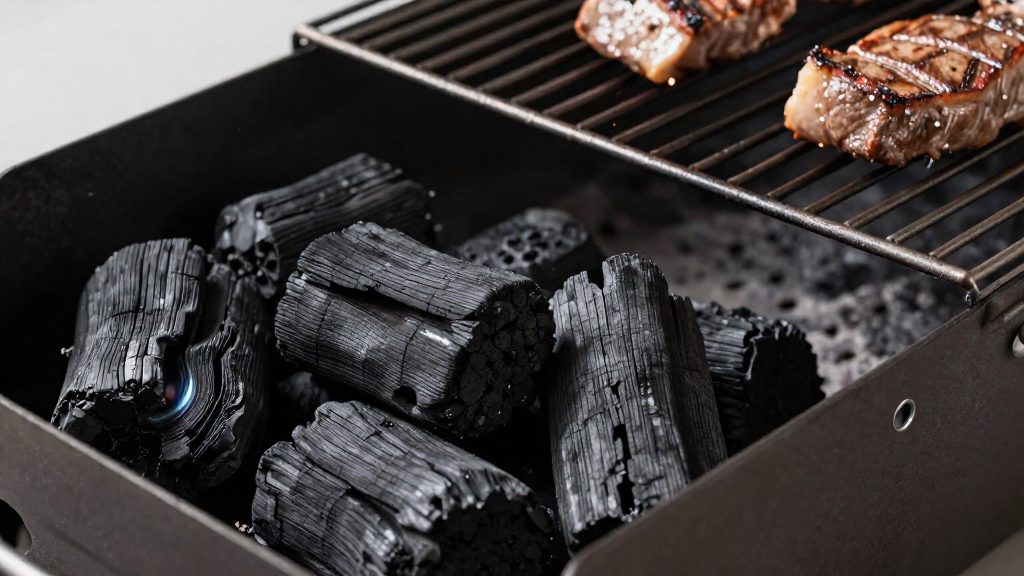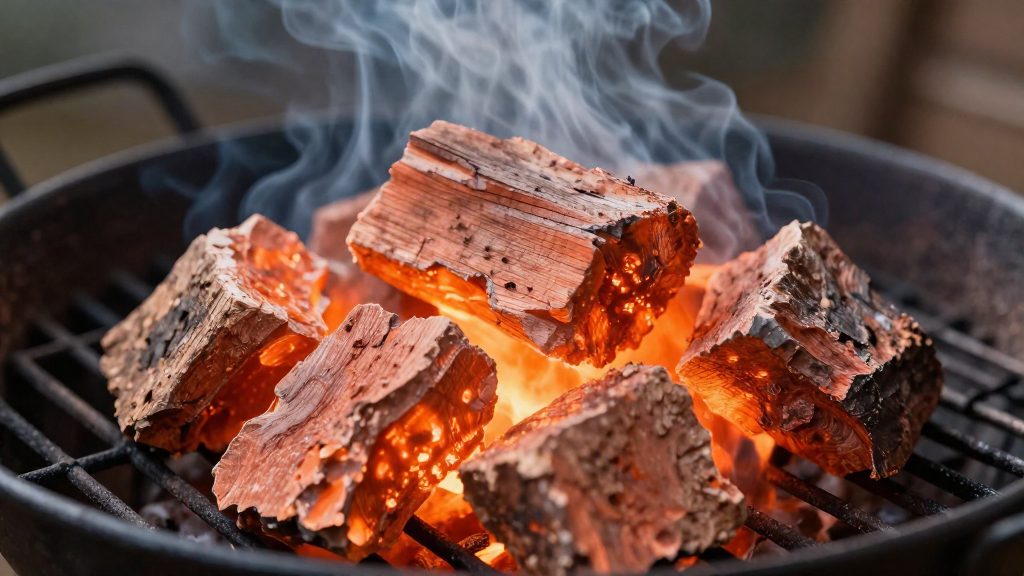
A charcoal chimney starter is an open-ended steel cylinder that lights a batch of charcoal outside the grill, so the coals are ready to transfer once they have caught. It is a lighting tool, not a fuel: the charcoal in the upper section is what burns, and the steel only holds and directs the heat. Its simple design makes it a common way to light charcoal for home grilling.
What is a charcoal chimney starter?
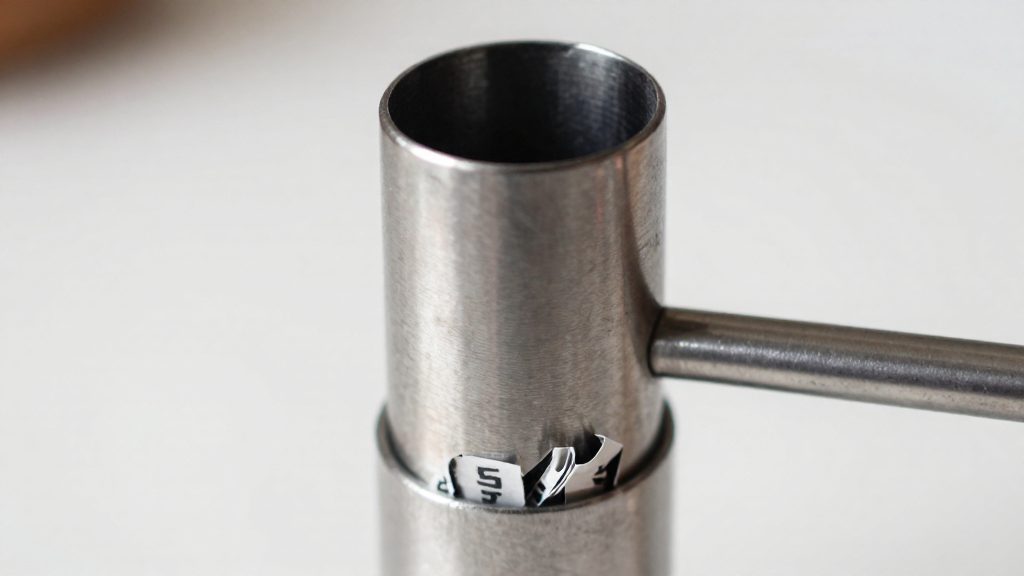
A chimney starter is a cylindrical steel body with two working parts. The lower section, the fuel well, is an open chamber that holds the paper or starter material. A perforated grate separates it from the upper chamber, which holds the charcoal. Because the chimney is open at both ends, it forms a vertical tube.
The lighting principle is convection. Heat from the fire in the fuel well warms the air inside the tube, and that hot air rises and draws flame up through the charcoal above. The coals therefore catch from the bottom up, and the top layer ignites as the heat travels through the stack. The steel walls keep this heat concentrated, which is why the starter needs no other equipment to work.
Capacity defines how much charcoal is lit in one batch, not how much fuel the grill can hold. Because the chimney only lights the charcoal, the amount you put in it determines how many coals are ready at once, and a larger chimney lets you light more coals per batch. Choose the capacity based on how much charcoal the cook needs, and remember that the starter does not store or burn fuel after lighting.
What do you need before you light it?
Two decisions come before any flame: the protective equipment you will use and how much charcoal you load into the chimney. According to Smoked BBQ Source (2026), hot coals can fall out the bottom of a chimney starter, so the equipment checklist is built around that risk.
Equipment checklist
- Heat-resistant gloves for lifting the chimney and pouring the coals.
- Closed-toe shoes, since hot coals can drop through the bottom of the chimney.
-
- Long tongs or a long match, to adjust coals or light the paper without bringing your hand close to the hot chimney.
Fill level by cook type
The amount of charcoal depends on the cook. The table covers hot grilling; for low-and-slow cooks, see the Minion method section below, which uses only a small lit batch.
| Cook type | Chimney fill |
|---|---|
| Hot grilling, short cook | About halfway full |
| Hot grilling, longer cook | Nearly to the top |
For hot grilling, the fill is the main variable: a shorter session needs a half load, and a longer one needs a nearly full chimney.
Capacity reference
Capacity varies by model. The Virtual Weber Bullet (2026) states that Weber’s Rapidfire chimney holds about 100 briquettes, or 5 lb 5 oz of Kingsford briquets. Use that figure as a reference for that specific chimney, not as a fill guide for other models. Fill to the level that matches your cook type instead of working from a fixed count.
How do you light a chimney starter step by step?
Lighting a chimney starter involves three steps: loading the charcoal, placing a fire starter in the bottom chamber, and igniting from below while the chimney stands upright. How much charcoal you load and where the chimney sits both affect how evenly the fire catches.
Load the charcoal and set up the starter
Fill the upper chamber according to the cook you plan:
| Cook type | Charcoal load |
|---|---|
| Short hot grilling | About halfway full |
| Longer hot grilling | Nearly to the top |
Next, insert the fire starter. Crumple two sheets of newspaper loosely and place them in the bottom chamber, beneath the charcoal. Keep the paper loose so air can reach it.
Ignite from below with the chimney upright
Keep the chimney upright throughout. Light the newspaper through the bottom chamber, then leave the chimney undisturbed while the fire travels upward. Wind slows the lighting process, so choose a sheltered spot where the chimney stands steady and does not tip.
Confirm the flame at the top
After lighting, check the top of the chimney. Flames rising through the top layer of charcoal show that the fire has spread upward. The Virtual Weber Bullet (2026) describes the fire as well established when a deep orange glow shows inside the charcoal and flames lick the top, but the coals are ready to pour only once gray ash starts forming on some top pieces.
How do you know when the coals are ready?
Charcoal in a chimney starter is ready to pour when the top pieces turn grey or ashen. According to Smoked BBQ Source (2026), the coals typically take 10 to 15 minutes to ash over, depending on weather. Other sources give longer times: The Virtual Weber Bullet (2026) says 10–20 minutes to light depending on wind, amount and charcoal type, and Cook’s Country (2026) expects 20 to 40 minutes until the top is covered in fine white ash. Treat the timer as a rough window and let the visual change confirm the moment.
The 10 to 15 minute ash-over window
The ash-over window is the period during which the outer surface of the top coals changes from black to a pale grey film. Check the top layer from around the 10-minute mark, and keep checking until the window closes at about 15 minutes. Weather changes the timing, so judge by the coals’ appearance rather than the clock alone.
Visual cues during ash-over
According to The Virtual Weber Bullet (2026), the following signs indicate the state of the fire:
| Cue | What it indicates |
|---|---|
| Orange glow visible deep inside the pile | Fire has spread through the charcoal |
| Flames licking the top layer | Active burn is reaching the upper pieces |
| Grey ash forming on some top pieces | Ash-over has started |
| Top fully covered in ash | Past the point to pour |
Pour once gray ash starts forming on some top pieces and before the top is fully ashed over (The Virtual Weber Bullet, 2026). Cook’s Country (2026) instead waits until the top layer is covered in fine white ash, so judge by the cook and the type of charcoal.
When the top has not greyed
If the top coals have not turned grey after about 15 minutes, the starter fire may have gone out (Smoked BBQ Source, 2026). Check whether glow or flames are still present, since lighting can take longer in wind or with some charcoal types. If the fire is out, light another starter and begin the readiness check again.
Related reading
- How to pour charcoal from a chimney starter
- How do you light a chimney starter
How to pour and arrange the coals
Pouring moves lit charcoal from the chimney onto the grate, and timing decides how evenly the fire will burn.
Pouring onto the grate
Pour in one controlled motion and keep the chimney’s bottom aimed at the grate, not at your hands or the grill’s lid. Pour the lit coals onto the charcoal grate, wearing heat-resistant gloves, so they can spread across the fuel bed.
Two-zone layout: direct and indirect sides
A two-zone fire separates the grate into two areas:
- Direct side: the charcoal is spread across this half. Use it for searing and for food that needs fast, high heat.
- Indirect side: this half stays free of coals. Use it to finish thicker cuts or to keep cooked food warm without scorching it.
Lay the coals in a single, even layer on the direct side only, and keep the indirect side empty so the transition between zones is clear.
Spreading coals for uniform heat
Spread the lit coals with long-handled tongs so they form a flat, even bed rather than a mound in the centre. A flat bed heats the grate uniformly, which reduces hot and cool spots during the cook. Once the coals are on the grate, place the cooking grate and allow it to heat before adding food.
Chimney starter safety mistakes to avoid
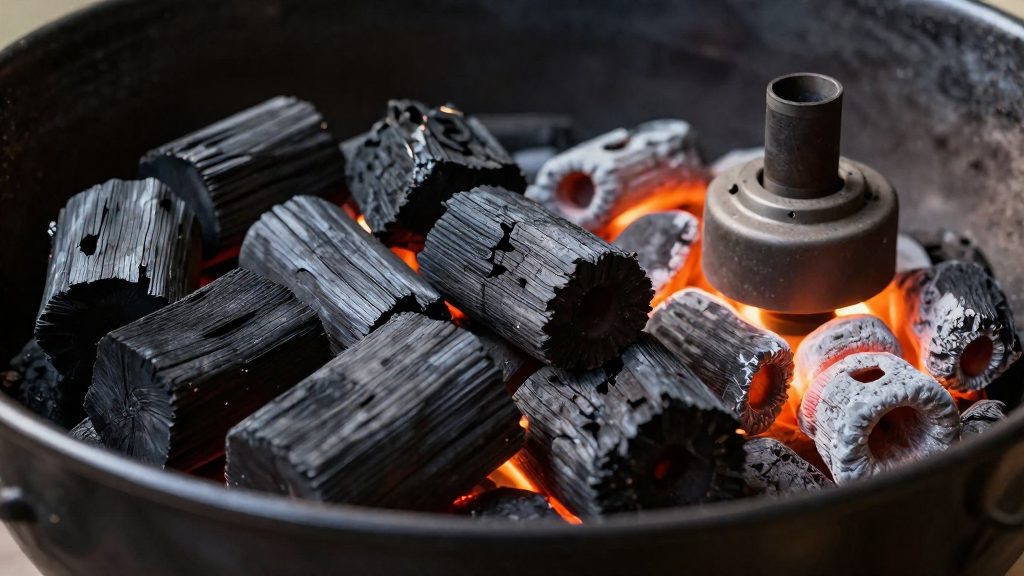
The most serious error is adding lighter fluid to a chimney starter. According to Smoked BBQ Source (2026), the chimney design can amplify the flame and cause serious fire damage. Use paper in the bottom chamber instead, and keep liquid accelerants away from the starter.
Placement causes the second group of risks. The Virtual Weber Bullet (2026) warns never to light or set a chimney starter directly on concrete, because the heat can cause concrete to explode. Safe surfaces are a grill’s charcoal grate or fire-safe bricks. The same source advises keeping the chimney away from wooden decks and dry grass, and keeping a fire extinguisher nearby.
Hot chimneys also create a risk to people nearby. Coals can fall out through the bottom, so wear closed-toe shoes, and set the chimney down away from guests and foot traffic. Smoked BBQ Source (2026) notes that falling coals are the main hazard at the base of the starter.
| Mistake | Risk | Response |
|---|---|---|
| Lighter fluid in the chimney | Chimney design amplifies the flame | Remove the fluid; use paper in the bottom chamber |
| Setting the chimney on concrete | Heat can cause the concrete to explode | Use the grill’s charcoal grate or fire-safe bricks |
| Placing it near wooden decks or dry grass | Fire spread | Keep the chimney away from both |
| Setting it down near guests or foot traffic | Contact with a hot chimney | Set it down in a separate, clear spot |
| Coals falling from the bottom | Contact with hot coals | Wear closed-toe shoes |
| No extinguisher nearby | No immediate fire control | Keep a fire extinguisher close by |
| Starter fire has gone out | Coals stay unlit | If the top coals haven’t greyed after about 15 minutes, light another starter |
How to use less charcoal for low-and-slow cooks
The Minion method lets you run a charcoal grill for long, low-temperature cooks without lighting a full chimney. According to Smoked BBQ Source (2026), only a small number of lit coals goes on top of a large pile of unlit coals, so a full chimney isn’t needed. The unlit charcoal supplies most of the fuel. The few lit coals ignite it gradually, so the fire is fed over the length of the cook instead of burning out early.
Placing the small lit batch
Light only a small batch of coals, then set them on top of the unlit pile once they are ready. Because the batch is small, it spreads heat slowly into the charcoal beneath it. The small size is the point of the Minion method: a full chimney would produce a hotter, faster fire than a low-and-slow cook needs.
Sizing the unlit pile
Match the size of the unlit pile to the planned cook duration. The pile is your fuel reserve, so a longer smoke needs a larger pile. Fill the grill’s charcoal area with unlit charcoal first, then add the lit batch on top of it.
Managing airflow
Airflow controls how quickly the fire burns and therefore the grill temperature. Set the vents to narrow openings for a low, steady temperature, and adjust them in small steps while watching the grill thermometer. Keep the lid closed between checks, because each opening adds oxygen and raises the temperature. Opening the vents wide can cause a sudden temperature spike.
What do you do with the ashes afterward?
Spent charcoal stays hot long after the grill looks finished, so treat the ash as a fire hazard until it is fully cold. According to Cook’s Country (America’s Test Kitchen, 2026), the coals should cool for at least 48 hours before disposal.
Cooling the ash before handling
Close the vents, cover the grill, and leave it alone during the cooling period. Do not bag, carry or dump the ash early, because embers can remain active inside a pile even when the surface looks grey.
Storing the ash in a metal container
After the coals have cooled for at least 48 hours, soak them in a metal bin, then put them in a noncombustible outdoor receptacle. Keep the ash contained in these containers until it goes to disposal, and never mix it with household waste that is not designed for it.
Clearing residue from the chimney and grate
After the ash has cooled, empty the chimney starter over the metal bin rather than over the ground, so that small remaining pieces stay contained. Tap the chimney gently to dislodge any residue stuck to the walls, then wipe out the remaining dust.
Brush the charcoal grate once it is cool. A clear grate allows air to reach the next fire evenly, so removing leftover ash before the next cook helps the coals light more reliably. Keep the grill’s ash catcher, if it has one, emptied on the same schedule.