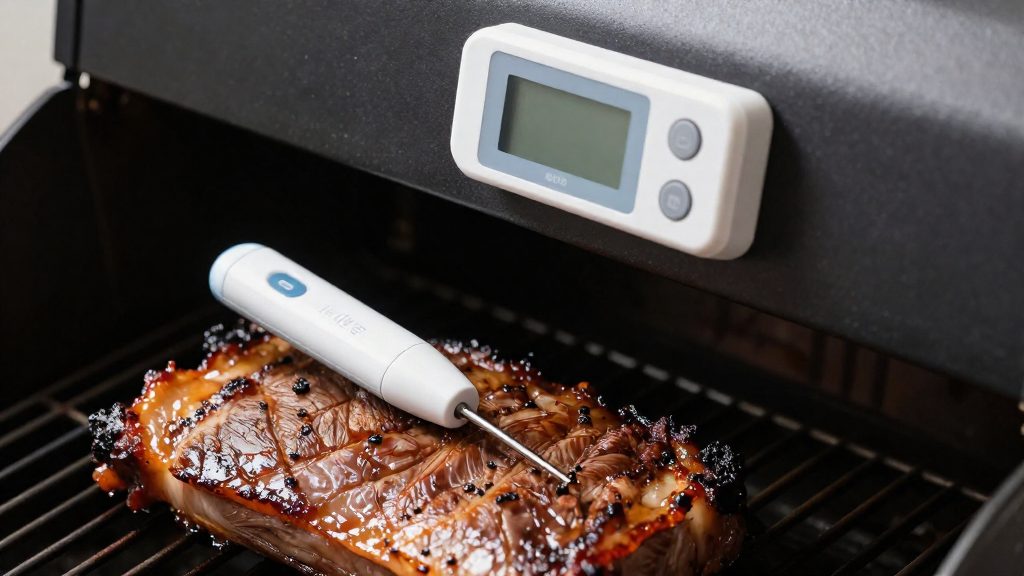
A wireless meat thermometer works as a three-part chain: a probe inserted into the food senses its internal temperature, a transmitter converts that reading into a radio signal, and a receiver, either a base unit or a phone, displays the value. Because the signal travels through the air rather than through a cable, the probe can stay in the meat while the cook monitors the reading from a distance.
How does a wireless meat thermometer work?
Sensing principles: thermistor and thermocouple
Most probes rely on one of two sensor types:
- Thermistor: a semiconductor whose electrical resistance changes predictably with temperature. The probe’s electronics measure this resistance and convert it into a temperature value.
- Thermocouple: two wires made of different metals joined at a tip. Heating the junction produces a small voltage proportional to the temperature difference between the tip and the wire ends, and the electronics convert that voltage into a temperature.
In both cases the display shows degrees, not raw resistance or voltage, so the conversion step is essential to an accurate reading.
Roles in the signal chain
| Component | Role | Signal handled |
|---|---|---|
| Probe | Sensor inserted into the food | Resistance (thermistor) or voltage (thermocouple) |
| Transmitter | Converts the reading and sends it wirelessly | Digital temperature data |
| Receiver | Base unit or phone shows the reading | Received temperature data |
In many models the transmitter is built into the probe’s handle. In others it is a separate unit connected to the probe by a short lead.
Base unit range and signal basics
The effective range of a base unit depends on the radio link, the distance between units, and obstacles such as walls. Stated range differs between models, so compare the figure in each manufacturer’s specification rather than assuming a standard distance.
Readings are only useful when compared with a target.
Related reading
Bluetooth vs. Wi-Fi: how do the two connections differ for a smoker?
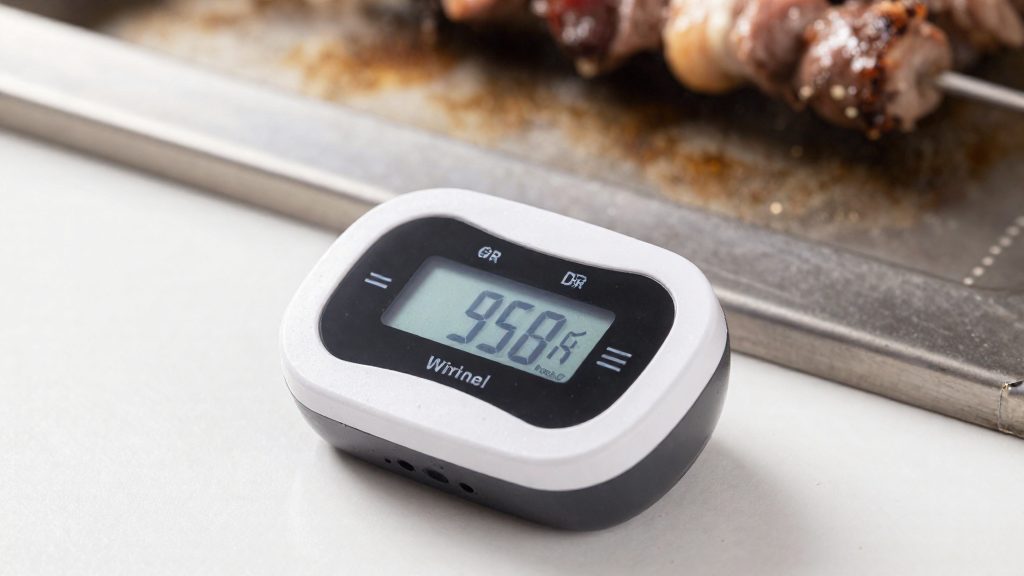
Both connections can send readings from a smoker to a phone, but they fail in different ways. Bluetooth links the probe directly to a phone or base unit, while Wi-Fi sends data through the home network. The choice matters most when the grill is at the far end of the garden or the lid is closed for hours.
| Factor | Bluetooth | Wi-Fi |
|---|---|---|
| Link type | Direct device-to-phone connection | Via the home router and internet |
| Where it works | Only within a short radius of the receiver | Anywhere the home network reaches, and remotely if the network is online |
| Main weakness | Walls, fences and distance between phone and grill | Dependence on router coverage at the grill |
| Setup needs | Pairing with a phone nearby | Network credentials and a stable router signal |
Dropout risk from metal lids and walls
Metal surfaces block or weaken radio signals, and thick walls can also reduce range. A closed metal lid, a steel cabinet or a masonry wall between the probe base and the phone can interrupt either connection. For this reason, a Bluetooth unit is usually better placed in the open, with the phone nearby, while a Wi-Fi unit depends on a router that covers the outdoor area.
Power and battery
Radio transmission draws more energy than the temperature sensing itself. Wi-Fi often draws more power than Bluetooth, so check battery life or use mains power for long cooks. Battery life for any probe should be checked before a long smoke.
A dropped link during a long cook means checking the meat by hand.
What features matter for grill and smoker use?
Three specifications determine whether a wireless meat thermometer suits grilling and smoking: the number of probe channels, the probe’s rated temperature limit, and the alert types the base unit or app supports. Check each one against how you cook.
| Feature | What to check | Why it matters |
|---|---|---|
| Probe channels | Count the inputs on the base unit or transmitter. | Each channel reads one probe. Multi-zone cooking, such as two cuts on a kamado or a roast alongside wings, needs one channel per cut you want to monitor separately. |
| Rated probe temperature limit | Find the maximum temperature in the manufacturer’s specifications for the probe. | Smoking and direct grilling put the probe in a much hotter environment than indoor roasting. A probe rated below your cooking temperature can be damaged or give unreliable readings. |
| Ambient (grill-level) sensor | Confirm whether the system measures the cooking chamber as well as the meat. | Smoking depends on steady chamber temperature. A grill-level reading shows fuel or airflow problems before the meat stalls. |
| Target alarm | Confirm the alarm can be set to a chosen internal temperature. | It signals when the meat reaches your target, so you can remove it without checking manually. |
| High alarm | Check that a maximum limit can be set. | It warns when a reading exceeds a threshold, which helps during long, unattended cooks. |
| Ambient alarm | Check that the chamber can be given a high and low limit. | It alerts you when grill temperature drifts, which is a common issue with charcoal and pellet units. |
A probe with alerts gives an objective reading you can act on.
Probe channels and rated temperature limit are the specifications most often overlooked. Target, high and ambient alarms are the features that turn a probe into a timing tool.
Where do you place the probe?
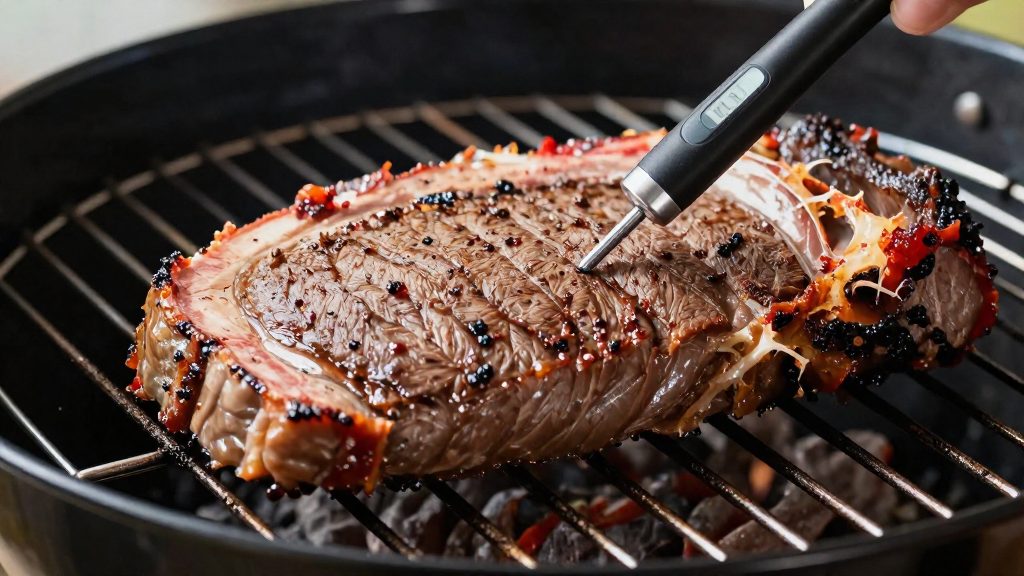
According to the University of Nebraska–Lincoln Food (Extension) (2024), a food thermometer is the only way to confirm that meat is safe, and it should go in the thickest part of the cut. Probe placement therefore decides whether the reading reflects the slowest-cooking zone of the meat, which is the point that matters for doneness.
Aim for the centre of the thickest section
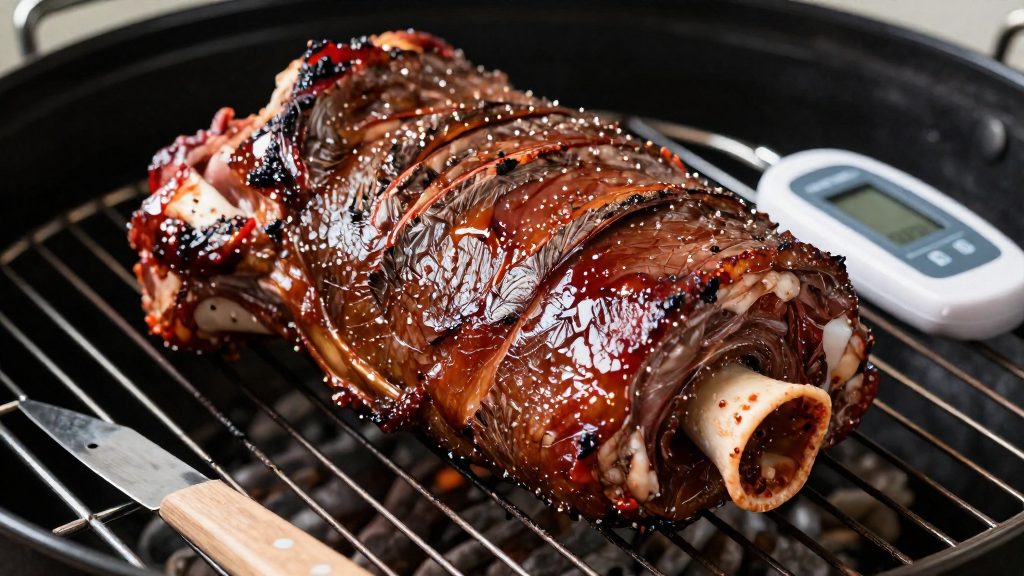
Insert the tip into the center of the thickest section, where heat reaches last. On a steak or chop, enter from the side and keep the tip in the middle of the muscle, not near either surface. On a roast or whole bird, target the thickest muscle. For ground meat or stuffing, the tip should reach the middle of the mass.
Keep the tip out of bone, fat and gristle
A bone, a fat pocket or a band of gristle can give a reading that does not represent the surrounding muscle. Before inserting the probe, look at the cut and choose an entry line that avoids these structures. If the reading jumps or stalls in a way that does not match the grill’s behavior, reposition the probe in lean muscle.
Position the tip away from direct heat
Keep the tip clear of flames, burner outlets, charcoal hotspots and the grate. A tip near the surface reads the heat of the cooking surface rather than the core of the meat, so the probe should sit deep in the cut, away from the side facing the heat source.
| Cut or preparation | Probe placement |
|---|---|
| Steak or chop | Side entry, tip at the centre of the thickest section |
| Roast or whole bird | Thickest muscle, clear of bone |
| Ground meat or stuffing | Middle of the mass |
What internal temperatures are safe?
Doneness is judged by internal temperature, not by appearance. According to University of Nebraska–Lincoln Food (Extension) (2024), the minimum safe internal temperatures are:
| Food | Minimum internal temperature |
|---|---|
| Poultry (whole birds, parts, ground poultry, stuffing) | 165°F (73.9°C) |
| Ground beef, pork, veal and lamb | 160°F (71.1°C) |
| Steaks, chops and roasts of beef, pork, veal and lamb | 145°F (62.8°C), then rest at least 3 minutes |
Poultry and ground meat
Poultry has the highest minimum in this group. Whole birds, parts, ground poultry and stuffing all need to reach 165°F (73.9°C) before they are served. Ground beef, pork, veal and lamb share a lower minimum of 160°F (71.1°C). When checking a bird on a smoker or grill, measure the thickest part of the meat and the center of the stuffing if one is used, since both must reach 165°F.
Whole cuts and the rest period
Steaks, chops and roasts reach a safe level at 145°F (62.8°C). The rest period is part of the guideline: the meat should rest at least 3 minutes after reaching 145°F before it is carved or served, and the rest should not be skipped or shortened.
Why colour cannot confirm doneness
Colour is not a reliable indicator. Meat can look brown before it is safe, and poultry juices can run clear before the bird is done. A food thermometer is the only reliable way to confirm that meat is safe. Cooking above these minimums is acceptable if the cook prefers a higher level of doneness, but it does not replace reaching the minimum.
Are wireless meat thermometers accurate and durable?
A wireless probe is only useful if its reading is correct. A probe that reads several degrees low can lead you to pull food too early, so a periodic accuracy check is part of routine use.
Calibration tolerance and ice-point verification
Probes drift over time, especially after drops, repeated exposure to high heat or long storage in a hot environment. The simplest check is an ice-point test:
- Fill a glass with crushed ice, then add cold water until the ice floats.
- Stir and wait a few minutes for the mixture to settle at 0°C (32°F).
- Insert the probe tip into the center of the mixture without touching the glass walls or bottom.
- Compare the display with 32°F (0°C) once the reading stabilises.
If the reading is off, use the app or receiver calibration offset if the model provides one. If it cannot be corrected, replace the probe before a cook where food safety matters. Run the test on a new probe before first use, and again after any impact.
Waterproof rating and heat resistance
Check the ingress-protection rating printed in the manufacturer’s manual before using a probe in rain, marinade or a water pan. This rating describes resistance to water and dust, not to heat. Heat resistance is a separate limit, usually stated as a maximum operating temperature for the probe tip and cable. Keep the transmitter and receiver away from direct flame and hot grates, even when the probe itself is rated for the cooking chamber.
Cable and connector wear
Repeated bending at the probe head and at the connector to the transmitter is where failures usually begin. After each session, inspect the cable for kinks, cracked sheathing and bent or corroded contacts. Avoid pulling the cable to remove the probe from meat, and do not let it rest on grill grates or in the flame path. A cable that shows damage should be replaced rather than taped, because damaged insulation can fail mid-cook.
How to clean and care for your probes
Cleaning a wireless meat thermometer after each cook protects the probe tip, the cable and the battery compartment from grease buildup and heat wear. Wait until the probe has cooled completely before handling it, then follow the same routine every time so residue doesn’t build up between sessions.
Washing the probe tip and housing
- Wipe the probe tip and the housing with a soft cloth dampened in warm, soapy water to remove fat and smoke residue.
- Rinse with a clean, damp cloth so no soap remains in the seams or around the sensor.
- Avoid abrasive pads and scouring powders, which scratch the surface and leave more places for grease to collect.
- Keep the wireless transmitter or display unit away from direct water unless the manufacturer’s manual states it is water-resistant.
Drying and storage to prevent corrosion
Dry every component thoroughly before putting the thermometer away. Moisture trapped in seams or in the battery compartment is the main route to corrosion on metal contacts. Store the probe in a dry drawer or case, coil the cable loosely rather than bending it sharply, and keep it away from the grill’s firebox and heat shelves.
| Component | Routine | Purpose |
|---|---|---|
| Housing and seams | Dry with a soft cloth | Limits moisture-related corrosion |
| Cable | Coil loosely, avoid sharp bends | Protects the insulation |
| Battery compartment | Air-dry, then inspect contacts | Helps prevent corrosion around the battery compartment contacts |
Removing the battery for long storage
If the thermometer will sit unused for an extended period, remove the battery before storing it. A battery left in an idle device can cause contact corrosion or leakage. Before inserting a fresh battery, check the compartment for residue and wipe it dry.
Frequently asked questions
Where should I put the receiver so the signal does not drop?
Keep the receiver away from the grill’s metal body and lid, because metal can interfere with the radio link. Walls and other obstacles also weaken the signal, and each model has its own stated range, so check the manufacturer’s specification before buying.
What internal temperature should I aim for?
Poultry should reach 165°F (73.9°C), and ground meat should reach 160°F (71.1°C). Steaks, chops and roasts of beef, pork, veal and lamb should reach 145°F (62.8°C) and then rest for at least 3 minutes, according to the University of Nebraska–Lincoln Food (Extension) (2024). Higher temperatures are acceptable if you prefer them.
Can I rely on the colour of the meat to tell when it’s done?
No. Meat can look brown before it is safe, and poultry juices can run clear before it is fully cooked, so use a food thermometer instead. Insert the probe into the thickest part of the cut, away from bone and fat, to get the most accurate reading.