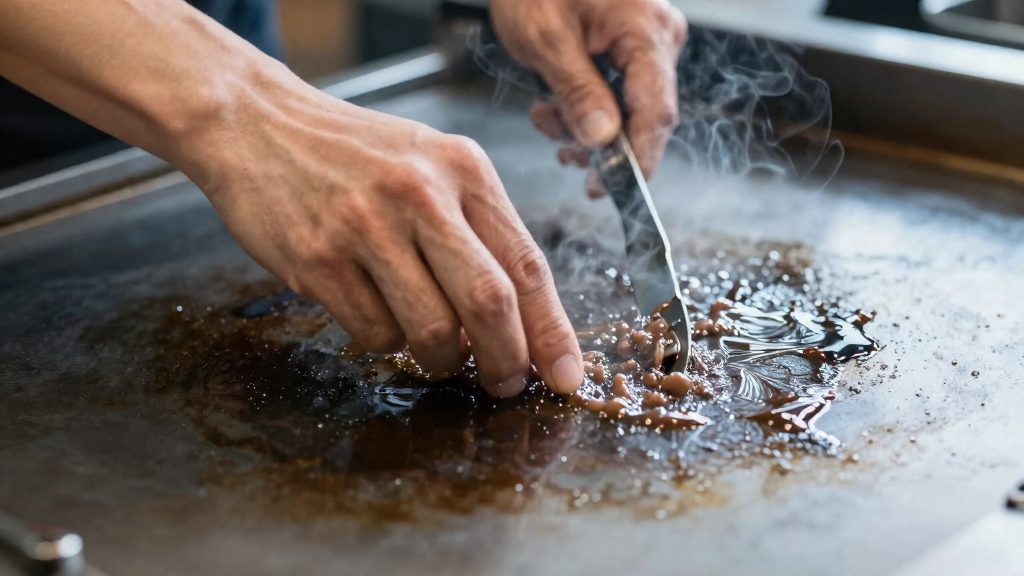
Seasoning a cast iron plancha means bonding a thin coat of oil to the bare metal so it hardens into a polymerized oil layer. This layer keeps food from grabbing the metal and slows the rust that forms on bare iron. Without it, the plancha sticks, discolors, and corrodes, so seasoning is the first step for a new plancha or one whose coating has worn away.
Why season a cast iron plancha?
Bare cast iron is reactive. Iron oxidizes when it contacts oxygen and moisture, so rust appears quickly, particularly on a plate that stays outdoors between cooks. The oxide also leaves the surface rough and uneven, which gives food more places to catch.
| Surface | What happens | Effect on cooking |
|---|---|---|
| Bare iron | Reacts with oxygen and moisture and forms rust | Food bonds to the rough, uneven metal |
| Seasoned iron | Oil bonds to the metal and hardens into a polymer film | Smoother surface with better release |
When oil is heated on the metal, its molecules break down and link into long chains. The result is a hard, nonstick surface that is far more resistant to moisture than raw iron. The aim is an even film rather than a thick coat, because a heavy coat does not form the hard layer evenly.
Food sticks to an unseasoned plancha because proteins from meat and fish settle into the pores and micro-roughness of the bare iron and bond to it as they cook. The polymerized layer fills those gaps and smooths the surface, so the food releases once it has browned.
Smith-Clark (2026) recommends building the layer over several rounds, suggesting 3 to 5 layers for best performance.
What oil works best?
The oil matters more than the brand. Tasting Table (2026) recommends a high-smoke-point oil for the seasoning layer and names three options: grapeseed, sunflower and canola. These oils can reach the temperature needed to bond with the iron before they break down and smoke. Smith-Clark Cast Iron (2026) takes a broader view and accepts any cooking oil, which means the choice is about how the oil behaves under heat, not whether it is allowed.
Oils named as high-smoke-point options
- Grapeseed: listed by Tasting Table (2026) as a high-smoke-point option.
- Sunflower: listed by Tasting Table (2026) as a high-smoke-point option.
- Canola: listed by Tasting Table (2026) as a high-smoke-point option.
Flaxseed: strong polymerisation, weaker adhesion
Flaxseed oil is widely discussed for its polymerization. Its unsaturated fats oxidize under heat and link into a hard, glossy film. The consulted sources do not address flaxseed directly, so this describes the general chemistry. The trade-off is adhesion: a thick or poorly bonded flaxseed film can chip or flake off the surface, leaving patches that need to be stripped and rebuilt. Flaxseed suits a plancha only when the layer is kept well bonded and the surface is not left to accumulate cooking residue.
Why olive oil and butter are poor choices
Olive oil and butter are not on the high-smoke-point list in Tasting Table (2026). Olive oil has a lower heat tolerance, so it can smoke before it forms a stable layer, leaving a sticky, uneven residue. Butter contains water and milk solids, which burn at lower temperatures and leave a crust rather than a bonded film. Neither oil is a reliable base for building seasoning layers on a plancha.
How to clean the plancha first
Before any seasoning, the plate needs to be free of rust, manufacturing residue and old grease. Tasting Table (2026) recommends using steel wool to remove rust from bare iron, followed by a wash with mild soap. Smith-Clark Cast Iron (2026) takes the opposite view on both points. The two methods differ mainly in how aggressively the surface is treated:
| Step | Tasting Table (2026) | Smith-Clark Cast Iron (2026) |
|---|---|---|
| Rust removal | Steel wool on bare iron | No steel wool |
| Cleaning agent | Mild soap | Warm water, no soap |
| Drying | Fully dried on a burner or in a 200°F oven | Dried before oiling |
Steel wool is effective on heavy rust, but it also abrades the surface. Once bare metal is exposed, that is the stage where a light, even seasoning matters most. A pan with pitting or flaking rust will not hold a smooth coating, so the rust needs to go before seasoning starts.
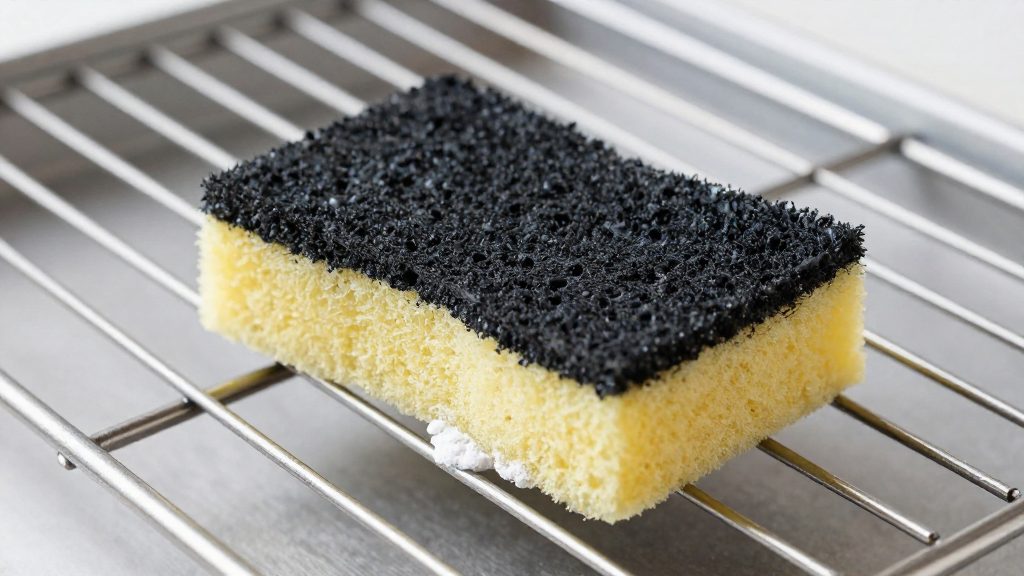
The soap question is less settled. Mild dish soap removes cooking oil residue that water alone may leave behind. Smith-Clark simply advises warm water with no soap or steel wool, and the consulted source gives no reason. For a new plancha with only factory residue, warm water and a stiff brush are usually enough. For a used plate with baked-on grease, a mild soap wash is the more practical choice. Rinse thoroughly in either case, so no residue remains on the cooking surface.
Drying is the step most often rushed. Any water left in the pores of the iron turns into flash rust within minutes, and that rust sits under the seasoning rather than on top of it. Tasting Table (2026) dries the pan on a burner or in a 200°F oven. Either method drives off residual moisture before the oil goes on. Check the surface by touch: if the plate still feels cool or slightly damp in the middle, keep heating it.
How do you season it in the oven?
Oven seasoning bakes a thin layer of oil onto the cast iron, and the two-stage method described by Tasting Table (2026) is a clear way to do it at home. The plancha goes into the oven upside down, first at a low temperature to set the oil, then at a higher temperature for a longer bake. The steps below follow that sequence.
Preparing the oil coat
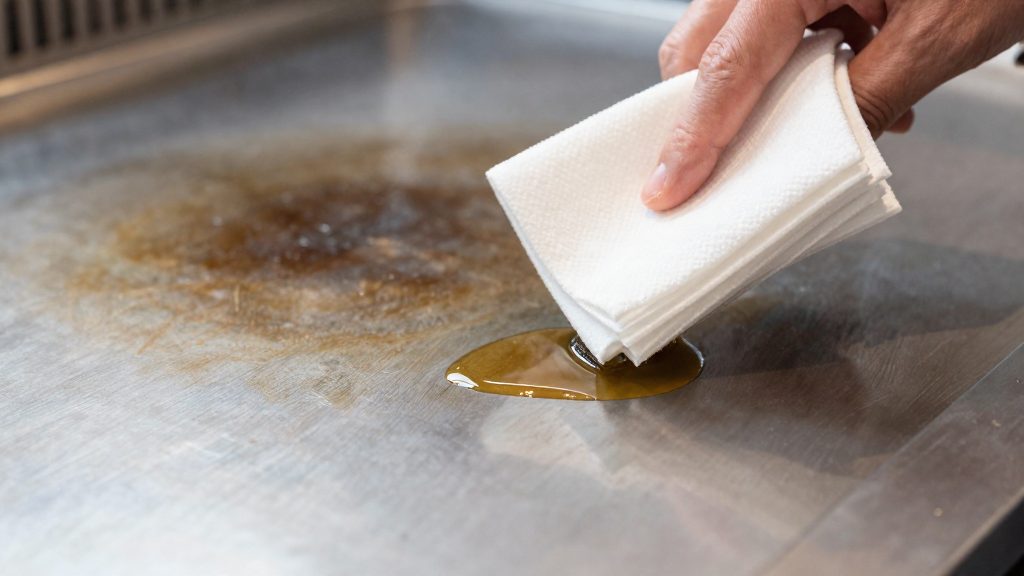
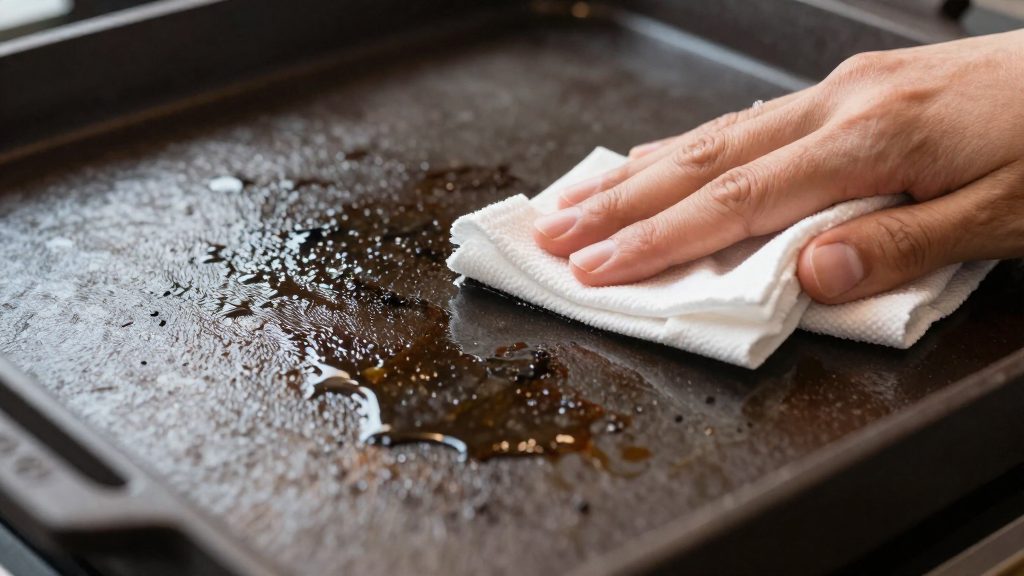
Apply an exceptionally thin layer of high-smoke-point oil, such as grapeseed, sunflower or canola, to every surface, including the underside and the handle. Wipe off the excess until the plancha looks almost matte. A glossy surface means too much oil is still present.
Positioning and the two-stage bake
Place the plancha upside down on an oven rack, with a baking sheet on the rack below to catch any drips. The bake runs in two stages:
| Stage | Oven temperature | Duration | Action |
|---|---|---|---|
| Stage 1 | 300°F | About 10 minutes | Bake, then wipe off any excess oil that has come to the surface |
| Stage 2 | 450°F | About 1 hour | Bake to polymerise the oil film |
The first stage at 300°F sets the oil before the temperature rises. Wiping off excess oil between the stages prevents the oil from pooling and turning sticky in the second stage.
Cooling and repeating
Leave the plancha in the oven to cool once the second stage ends. Removing it while still hot can cause uneven cooling, so the slow cool-down is part of the method. For a pan with rust, Tasting Table advises repeating the whole process once or twice. Each repeat adds another layer of baked oil, which builds up the non-stick surface gradually rather than in a single pass.
Seasoning on the grill if it won’t fit
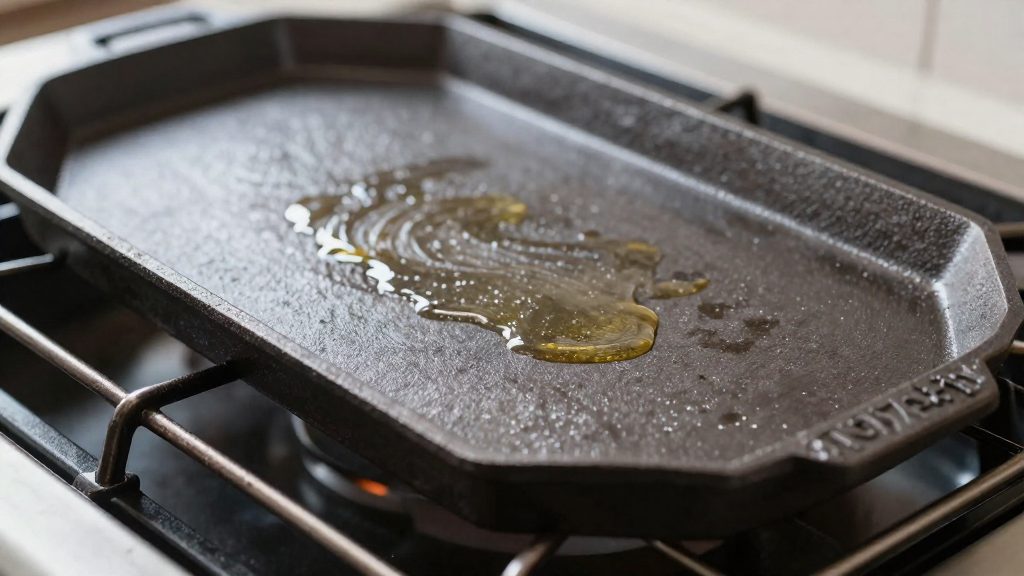
When the plancha plate is too large for an oven, the grill can do the job. The principle is the same: a thin film of high-smoke-point oil is heated until it polymerises, meaning it breaks down and bonds to the iron as a hard, non-stick layer. The difference is that you control heat from below, through the burners, instead of from the oven walls, so the work depends on managing the flame.
Reaching polymerisation heat
Too much oil will smoke heavily and leave a sticky finish instead of a hard coating.
- Set the burners to medium and let the plate heat for several minutes.
- Watch the oil. It first looks wet, then turns glossy, then starts to smoke and darken. Once the surface has taken on an even brown tint and the smoke has settled, that is the point to stop.
- Use an infrared thermometer, if you own one, to check the surface rather than relying on the knob setting.
- Turn the burners off and let the plate cool on the grill before adding the next layer, if you are building one.
Even heating across the plate
Uneven heat leaves patchy coating, so control the burners rather than running them all at full output.
- On a multi-burner plancha or gas grill, light every burner on low first, so the plate warms before any zone gets hot.
- Raise the output on one side at a time if a hot spot appears, instead of cranking the whole grill.
- Charcoal setups behave differently: spread the coals in an even layer and do not stack them in one area.
- Move the plate or rotate it on the grate, if your model allows, to balance the surface.
Ventilation and fire safety during smoking
Heating oil on a grill produces heavy smoke and can ignite drippings that fall onto the burners.
- Work outdoors, away from walls, eaves and overhanging vegetation, and follow your grill manufacturer’s guidance on lid position.
- Stand upwind of the smoke so it does not drift into your face.
- Keep a fire extinguisher or a box of baking soda within reach. Do not use water on a grease fire.
- Never leave the grill unattended while it is heating or smoking.
- For gas, shut off the cylinder valve or the main supply after use, not only the burner knobs.
How many coats does it need?
Smith-Clark Cast Iron (2026) recommends building three to five layers of seasoning in total, and it bakes each layer at 350°F for 2 hours with the pan upside down over foil or a baking sheet. Smith-Clark suggests 3 to 5 layers for best performance, and Tasting Table says a rusty pan should repeat its full process once or twice. Tasting Table (2026) says a rusty pan should repeat its full process once or twice.
The standard build
Each layer is one complete cycle: wipe on a thin coat of oil, bake upside down, and cool in the oven. Smith-Clark Cast Iron (2026) states that three to five layers give the best performance, but the consulted source does not say how to choose a number within that range for a particular plancha.
| Source | Layers or cycles | Bake per layer |
|---|---|---|
| Smith-Clark Cast Iron (2026) | 3 to 5 layers | 350°F for 2 hours |
| Tasting Table (2026), rusty pan | Repeat the full process once or twice | Not stated in this section |
Extra cycles for a rusty plancha
Rust is removed before any oil goes on, and the rust-affected areas need coverage before the pan counts as seasoned. Tasting Table (2026) treats this as a repeat of the full process rather than a separate treatment, so one or two extra cycles sit on top of the normal build. For heavily pitted cast iron, inspect the surface after each cycle and continue until the bare metal is no longer visible.
Keeping the seasoning in good shape
Routine care after each cook protects the seasoned surface more than any occasional restoration. The layer holds up best when the plancha is handled the same way every time it leaves the heat: cleaned while still warm, dried completely, and protected by a thin oil film. Smith-Clark’s seasoning method uses warm water with no soap or steel wool, then drying and a thin layer of any cooking oil. The same simple routine adapts well to everyday care.
| Habit | How to apply it |
|---|---|
| Wipe while warm | While the plancha is still warm, wipe the surface and reapply a light coat of oil. |
| Limit contact with water | Rinse quickly and dry at once instead of letting the plate sit wet. |
Acidic foods need attention after cooking. Marinades based on lemon juice, vinegar, tomato or wine can attack the seasoned layer if they stay on the surface. Scrape off residue once the plate has cooled slightly, then wipe it and oil it again.
Long soaking has the same effect. Leaving the plancha in a sink or in water loosens the seasoning and exposes bare iron, which then rusts. Avoid it by cleaning the plate with a brief rinse and a stiff brush, not with prolonged contact with liquid.
Storage completes the routine. Once the plancha is dry and lightly oiled, keep it in a dry place. Bare iron that stays damp is the main path to rust, so a covered, dry storage spot protects the seasoning between sessions.
Frequently asked questions
Which oil should I use to season my plancha?
Tasting Table (2026) names grapeseed, sunflower and canola oil as suitable options and advises wiping on a very thin layer. Smith-Clark Cast Iron (2026) accepts any cooking oil.
My plancha has rust. Do I have to start from scratch?
No. Tasting Table (2026) removes rust with steel wool and mild soap, then repeats the baking cycle once or twice for a rusty pan. Smith-Clark Cast Iron (2026) uses warm water only, with no soap or steel wool, so the two methods differ on how aggressively the surface should be cleaned.
How do I know when the seasoning is finished?
Check the surface after the pan has cooled, since Tasting Table (2026) describes the target as a pan that looks almost matte once the excess oil has been wiped away. Judge the finish of the surface rather than counting coats.