Why clean grill grates with baking soda?
Baking soda suits routine grate cleaning because it provides a mild abrasive action and costs little. It lifts grease and food residue without the aggressive scoring caused by metal tools. House Digest (2024) advises covering a wet grate with baking soda, especially where soiling is heavy, and waiting at least 10 minutes before scrubbing. Moisture helps the powder stay in contact with the residue long enough to work.
The choice of scrubbing tool matters as much as the powder. The table below compares the tools named in the reference material for baking soda cleaning.
| Tool | Documented limitation |
|---|---|
| Wire brush | Bristles can break off, stick to food and be swallowed |
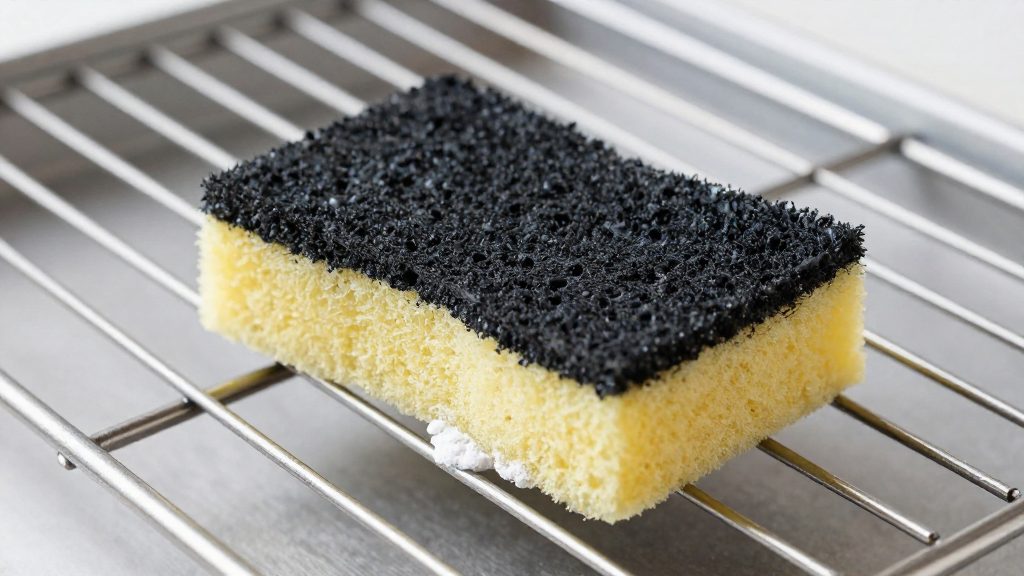
| Nylon brush or damp scour sponge | No limitation documented in the sources; suited to porcelain and enamel grates because it avoids the scratching risk of metal |
Because baking soda is an inexpensive household ingredient that many cooks already keep in the kitchen, it is practical to reach for after each session rather than reserving grate care for occasional deep cleans. This makes it a sensible default for routine cleaning between cooks. Residue that builds up slowly is easier to remove than baked-on grease, which keeps each cleaning session short.
Baking soda is best treated as a regular maintenance product for grease films and light soiling. Heavier buildup usually calls for a longer contact period or a paste, which is a different job from quick routine cleaning.
What you need before you start
Identify the grate material before you mix anything, because it determines which tools and paste are appropriate. The cleaning sources single out three cases: cast iron grates, porcelain or enamel-coated grates, and grills with aluminum components. Check the grill’s manual or manufacturer labelling to confirm what your grates are made of and whether any part of the unit is aluminum. Only then choose the paste and scrubbing tool.
Baking soda and water form the base of the method. According to Arm & Hammer (Church & Dwight), the foil method uses the following proportions:
| Ingredient or tool | Quantity or detail |
|---|---|
| Baking soda | 1½ cups, mixed into a thick paste |
| Water | ½ cup, added to the baking soda |
| Crumpled aluminum foil | A ball made from about 2–3 ft of foil |
| Dish soap | ¼ cup, used in the cast iron paste |
| White vinegar | ¼ cup, used in the cast iron paste |
Beyond the paste, you need a few scrubbing tools:
- Crumpled foil: used as a scrubbing pad with the baking soda paste.
- Nylon brush: a non-metal scrubber for porcelain or enamel grates, used with a damp scour sponge.
- Damp scour sponge: the second non-metal option for coated grates, so you do not need a metal brush.
- Heat-proof gloves: needed when handling hot grates, according to The Takeout (2025-05-21).
Finally, prepare a sink, basin or large garbage bag if you plan to soak the grates. For a deep clean, The Takeout (2025-05-21) describes a basin with about ½ cup of baking soda, while a no-scrub soak uses cool grates.
Basic baking soda paste method
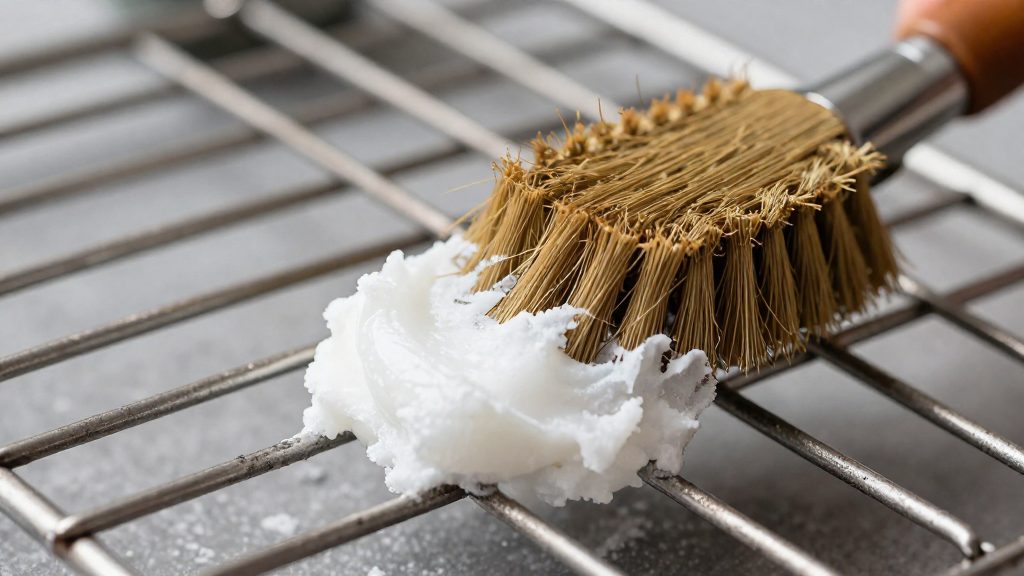
According to Arm & Hammer (Church & Dwight), the standard paste for general grates combines 1½ cups of baking soda with ½ cup of water. Mixed to a thick consistency, the paste is spread over the grates, left briefly to work, scrubbed with a crumpled ball of foil, and rinsed off. The method suits removable grates that carry only light to moderate residue.
Mixing the paste
| Ingredient | Amount |
|---|---|
| Baking soda | 1½ cups |
| Water | ½ cup |
Add the water gradually and stir until the mixture holds its shape. A thick paste clings to the bars, while a runny one drips off before it can loosen residue.
Scrubbing sequence for general grates
- Coat the grates with a generous layer of paste, covering the bars on both sides.
- Let the paste sit for a few minutes so it softens baked-on residue.
- Make the scrubber: crumple about 2–3 feet of aluminum foil into a tight ball.
- Scrub each bar in the direction of the bars, using the foil ball to lift softened residue.
- Rinse the grates thoroughly with water to remove all paste and loosened debris.
Porcelain-coated grates
Porcelain or enamel grates need a different sequence, because the coating is more easily damaged:
- Remove the grate from the grill and set it on a flat surface.
- Moisten the grate so the powder adheres.
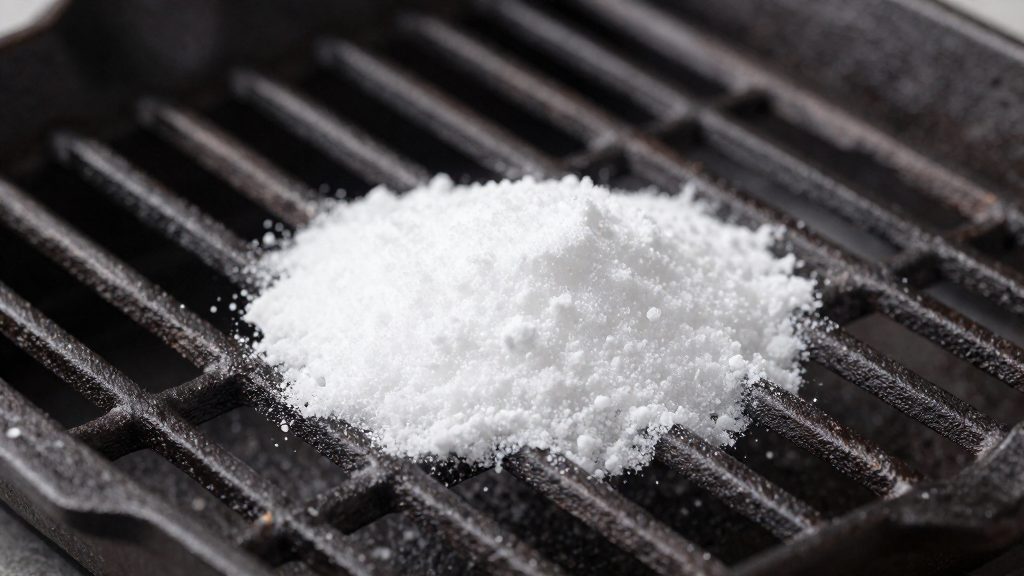
- Sprinkle baking soda evenly across the wet surface, concentrating on heavily soiled areas, then wait 10 minutes before scrubbing.
- Scrub with a damp scouring sponge or a nylon brush, then rinse.
How long should baking soda sit on grates?
Contact time depends on the form of the baking soda and the condition of the grate. A thick paste needs only a short dwell, while a sprinkled layer on a wet surface needs a longer wait to loosen residue. Three windows apply, from a few minutes to 30 minutes.
A few minutes for a basic paste
Arm & Hammer (Church & Dwight) mixes 1½ cups of baking soda with ½ cup of water into a thick paste. The paste is coated onto the grates and left for a few minutes before scrubbing with a crumpled ball of foil made from about 2–3 ft of foil. Because the paste clings to the bars, it does not need a long dwell to work.
Ten minutes on a wet surface
Baking soda works on a damp surface, so the grate should be moistened before the powder is sprinkled on. According to House Digest (2024-03-30), general grates need at least 10 minutes on a wet surface, a window that matches the one Arm & Hammer gives for porcelain and enamel grates. Heavily soiled areas benefit from being fully covered.
Thirty minutes in a basin
For a deep clean, The Takeout (2025-05-21) recommends adding about ½ cup of baking soda to a basin of water and soaking the grates for 30 minutes. A baking soda and dish soap paste can be applied first to loosen heavy buildup.
| Method | Baking soda form | Contact time |
|---|---|---|
| Foil scrub | Thick paste with water | A few minutes |
| Wet surface treatment | Sprinkled on moistened grate | 10 minutes minimum |
| Basin soak | About ½ cup in water | 30 minutes |
Choose the shortest method that removes the residue, and use the basin soak only when the grates are heavily caked.
Can you clean cast iron grates in place with baking soda?
Cast iron grates can be cleaned with a baking soda paste without being removed from the grill. Arm & Hammer (Church & Dwight) describes this as a method for cast iron grates left in place, which means the surrounding grill body needs as much attention as the grates themselves. Because the paste stays on the grates for an extended period, the grill must be kept in a state where no heat is involved and no paste reaches parts that are not meant to be cleaned.
The precautions that apply are set out below:
| Element | Precaution |
|---|---|
| Cast iron grates left in the grill | Apply the paste while the grates are installed. Do not remove them. |
| Grill power | Keep the grill off while the paste is on the grates. |
| Gas heating elements | Keep the paste off them. |
| Grates after scrubbing | Wipe and dry them, then coat them with vegetable oil. |
The first row matters because it changes the working setup. You are cleaning a grill in its normal position, so access is limited and the paste can drip onto the lower parts of the grill. The second row is the power-off rule: the grill should be cold and disconnected from fuel before you start, and it stays off until the paste is fully removed. The third row concerns the gas heating elements, which sit beneath the cooking grates on most gas grills. Paste that reaches them can interfere with their operation, so keep the paste confined to the grate surface.
Because the paste is painted onto the grates rather than set in a basin, check the grill’s interior before you begin and cover any areas you do not want to clean. The final row applies once the paste has been removed and the grates have been scrubbed: dry them thoroughly before oiling, so that the vegetable oil coats a clean, dry surface.
Cast iron paste with baking soda, dish soap and vinegar (8–12 hours)
For cast iron grates that stay in the grill and carry heavy buildup, Arm & Hammer (Church & Dwight) recommends a long-dwell paste rather than a quick scrub. The cast iron paste combines 1½ cups of baking soda, ¼ cup of dish soap and ¼ cup of white vinegar. Because the mixture is left in place for 8–12 hours, it has time to loosen baked-on residue before any scrubbing begins. This makes it better suited to heavy buildup than to light, fresh residue.
| Ingredient | Amount |
|---|---|
| Baking soda | 1½ cups |
| Dish soap | ¼ cup |
| White vinegar | ¼ cup |
Method
- Mix the three ingredients into a thick paste.
- Paint the paste onto the grates, covering the heavily soiled areas.
- Leave the paste on for 8–12 hours. The long dwell time does the loosening, so there is no need to press the paste in.
- Scrub the grates to remove the softened residue.
- Wipe the grates clean.
The timing matters more than the amount of scrubbing. A paste left for only a short period will not have the same effect as one left overnight, so plan the application for the evening before you intend to clean. Scrub gently at first and check the grates before increasing pressure, since the goal is to let the paste do most of the work.
What should you not clean with baking soda?
Baking soda is a mild abrasive, but it is not suitable for every part of a grill. The main limits concern aluminum parts and coated grates, where either the cleaning agent or the scrubbing tool can cause damage.
Aluminum components are the first exception. According to House Digest (2024-03-30), baking soda can oxidize aluminum, so it should not be applied to aluminum parts. If your grill has aluminum components, keep the paste away from them and clean those surfaces separately with a method suited to the material.
Coated grates are the second. Arm & Hammer (Church & Dwight) notes that metal tools such as a wire brush or foil can scratch coated grates. Scratches on a porcelain or enamel coating expose the underlying metal and make the surface harder to keep clean. For these grates, use a nylon brush or a damp scouring sponge rather than metal.
Wire brushes deserve particular caution even on uncoated grates. The Takeout (2025-05-21) reports that bristles can break off, stick to food and be swallowed, which can injure the mouth or throat and, in some cases, has required surgery. The same source advises heat-proof gloves when handling hot grates.
Foil is a further risk. Arm & Hammer’s foil method is designed for general cleaning, but a crumpled ball of foil should not be used on porcelain or enamel grates, for the same scratching reason as a wire brush.
| Item | Risk with baking soda or metal tools | Safer alternative |
|---|---|---|
| Aluminum components | Oxidation from baking soda (House Digest, 2024-03-30) | Clean separately, avoiding the paste |
| Porcelain or enamel grates | Scratching from wire brush or foil (Arm & Hammer) | Nylon brush or damp scouring sponge |
| Any grate, wire brush | Bristles break off and can be swallowed (The Takeout, 2025-05-21) | Nylon brush or scouring sponge |
Checking the grate material before choosing a tool prevents most of these problems. A quick look at the surface will show whether the grate is coated, uncoated or made of cast iron, and the cleaning method should follow from that.
Safety and upkeep tips
Rinsing ends most cleaning methods in this guide; the cast iron method ends with wiping, drying and oiling instead. Once scrubbing is finished, the grates need a rinse so that no baking soda residue or loosened food stays on the metal before they go back in the grill. The specific finishing step depends on the method:
| Method | Finishing steps |
|---|---|
| Foil scrub (Arm & Hammer) | Scrub with a crumpled foil ball, then rinse |
| Porcelain or enamel grates | Scrub with a damp scour sponge or nylon brush, then rinse |
| Cast iron, left in the grill | Scrub, wipe and dry, then apply a vegetable oil coat |
| No-scrub soak (Arm & Hammer) | Rinse after removing the grates from the bag |
| Basin soak (The Takeout, 2025) | Scrub, rinse, then reinstall |
| Wet-surface method (House Digest, 2024) | Rinse, scrub with a nylon brush and scouring sponge, rinse again, and repeat if needed |
The cast iron method is the only one that requires an oil step. Apply a thin layer of vegetable oil, then wipe away the excess with a paper towel so the surface does not become sticky.
Rinsing matters most on grates that have been cleaned with a paste or soak, since these methods leave the most residue. Check every grate after rinsing for any remaining spots, and repeat the rinse rather than moving on. Grates reinstalled while still damp can carry moisture into the grill body.
Frequently asked questions
Can I use baking soda on the aluminum parts of my grill?
No. House Digest (2024) warns that baking soda can oxidize aluminum, so check your manual or the manufacturer’s labelling before treating any part made of it. Keep the baking soda method for grates made of other materials unless the labelling confirms they are safe.
My cast iron grates are still in the grill. Do I have to remove them?
Arm & Hammer (Church & Dwight) describes painting a cast iron paste of baking soda, dish soap and white vinegar directly onto grates left in place. Leave it for 8–12 hours, then scrub, wipe, dry and coat the grates with vegetable oil. Keep the grill switched off while the paste is on, and keep it away from gas heating elements.
Can I skip scrubbing altogether?
Yes, according to Arm & Hammer (Church & Dwight), which describes a no-scrub soak. Place cool grates in a large garbage bag with 2 cups of white vinegar and 1 cup of baking soda, seal it, and leave it for 8–12 hours before rinsing. The mixture foams immediately on contact, which is expected.