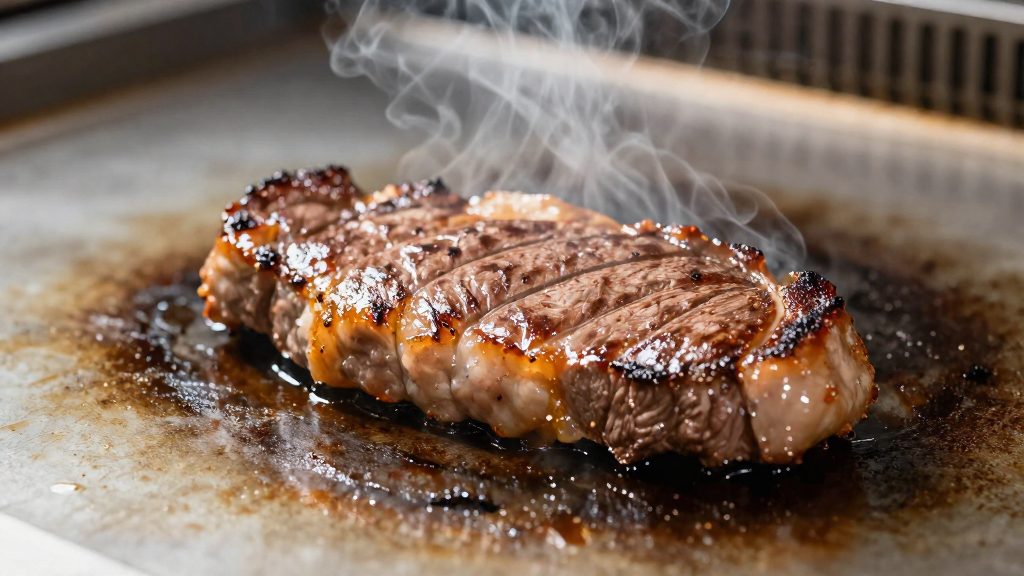
A plancha is a flat cooking plate, usually made of steel, that spreads heat across its entire surface instead of through separate grate bars. For steak, this design means the meat stays in continuous contact with the hot metal, so a browned crust forms over the whole underside rather than in stripes. The points below explain how that surface affects the sear, the evenness of the heat, and the room available for several steaks at once.
What is a plancha, and why is it good for steak?
Full-contact searing without grate marks
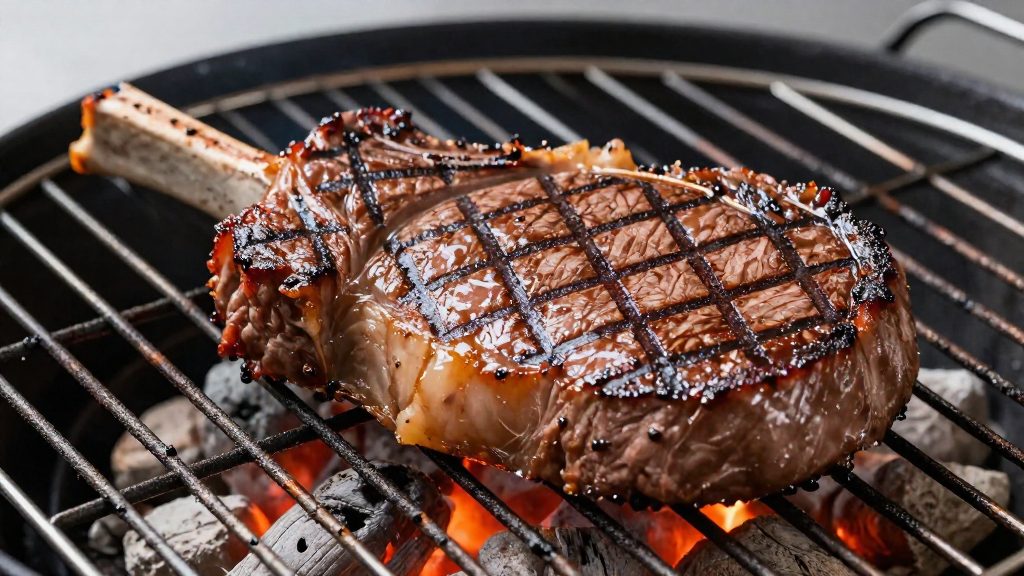
On a grill grate, a steak touches only the bars, which leaves the characteristic grid marks and exposes the gaps between them. A plancha’s solid surface removes those gaps, so the crust develops evenly across the whole cut.
How the flat surface compares for steak
| Surface feature | Effect on steak | Practical detail |
|---|---|---|
| Continuous steel contact | Crust forms across the full underside | — |
| Undisturbed contact | Crust develops before the flip | — |
| Heat zones on one plate | Butter and aromatics can sit away from direct heat | Melt butter in a cooler corner |
A wide cooking area for several steaks
A plancha does not divide the cooking surface into grate sections, so several steaks can share it. Leave space between pieces so each keeps full contact with the plate. Crowding them lowers the surface temperature where they touch, which slows searing and can make the meat steam.
Which steak cuts work best?
For a griddle steak, the two cuts recommended in the consulted sources are the ribeye and the New York strip. According to All-Clad (2026), both should be cut about 1-inch thick. At that thickness, the surface has time to develop a deep crust on a hot plancha while the centre stays below the target doneness. A thinner steak leaves less margin between a well-browned surface and an overcooked interior, and a thicker one needs a longer cook that can dry out the outside before the middle is ready.
The two cuts differ mainly in their marbling and fat distribution, which affect how the surface sears.
| Feature | Ribeye | New York strip |
|---|---|---|
| Recommended thickness | About 1 inch | About 1 inch |
| Fat within the muscle | Heavily marbled | Lean, with little visible marbling |
| External fat | Fat cap along one edge | Fat cap along one edge |
| Surface browning | Fat renders onto the plancha and keeps the surface moist during searing | Browning depends more on the oil and butter you add |
Ribeye
Ribeye has the highest level of marbling of the two cuts. The intramuscular fat melts as the steak heats, so the surface stays slick and browns evenly. The trade-off is more fat rendering on the plancha, which can produce more smoke and spatter. Choose a ribeye with an even fat distribution, so the sear is consistent across the whole face of the steak.
New York strip
The New York strip is leaner and has a firmer, more uniform texture. With less internal fat to baste the surface, a strip relies more on the oil and butter you apply. It also produces less smoke, which can make it easier to control on a hot griddle.
Choosing between them
If you want a richer, more tender result with more built-in fat, choose the ribeye. If you prefer a firmer bite and a cleaner sear with less rendering, choose the New York strip. In both cases, keep the steaks at the same thickness so they reach the same doneness at the same time.
💡 Tip: Buy both steaks at the same thickness and weight. Uneven thickness is a common reason one steak finishes early while another is still undercooked.
Related reading
- How hot should the plancha be?
- Step-by-step sear for a plancha steak
How hot should the plancha be?
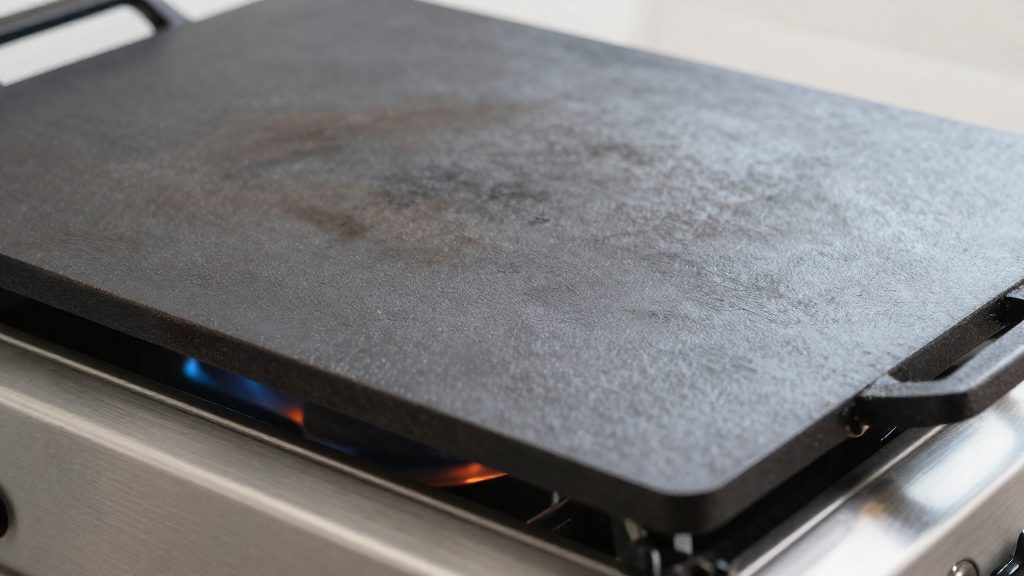
For a steak, aim for a surface temperature of 450–500°F. Mashed (2026) gives this range for a Blackstone griddle, a common outdoor flat-top, and notes that it usually takes 10–12 minutes to reach. All-Clad (2026) gives the same 10–12 minute window on high for its outdoor griddle, describing the surface as “screaming hot” at that point.
| Parameter | Target |
|---|---|
| Surface temperature | 450–500°F |
| Preheat time on high | 10–12 minutes |
| Visual readiness signal | Light wisps of smoke |
| Measured check | Infrared thermometer reading in the target range |
Start the timer when you light the burners, not when you place the steak. Once the timer reaches 10 minutes, look for the readiness signal. Light wisps of smoke rising from the surface show the plancha is close to ready. Use the smoke as the cue and the thermometer as the check: point an infrared thermometer at the center of the cooking zone and confirm it reads between 450°F and 500°F. If the reading is below 450°F, keep the burners on high and recheck after a few more minutes.
Take the reading at the spot where the steak will sit, not at the edge of the surface. Readings taken near the burners or the grease trap can differ from the centre of the cooking area, so measure where the meat will make contact.
Once the surface is in range, place the steak immediately. Waiting after the target is reached lets the temperature drop, so the window between confirming the reading and searing should stay short.
How do you sear steak on a plancha step by step?
Searing steak on a plancha follows a fixed order: salt, oil the meat, sear without moving it, and flip once.
Step 1: Choose a salting method
The two sources describe different timings:
| Method | Timing | Source |
|---|---|---|
| 30-minute tempering | Remove the steak from the fridge about 30 minutes before cooking, pat it dry, then season both sides with coarse salt and pepper | All-Clad (2026) |
| Dry-brine | About 1/4 teaspoon of salt per pound, refrigerated for a few hours or overnight | Mashed (2026) |
Use one method, not both. Tempering suits a last-minute cook, while dry-brining gives the salt more time to act on the meat.
Step 2: Oil the steak, not the plancha
Brush a thin layer of high-smoke-point oil, such as avocado oil, directly onto the steak. The cooking surface itself is not oiled.
Step 3: Start with the fat cap
Place the steak fat side down first. Sear the fat cap first so the rendered fat coats the cooking surface, which then serves as the cooking medium for the rest of the steak.
Step 4: Sear undisturbed and flip once
Leave the steak untouched for 3–4 minutes, then turn it over. Only one flip is made.
Press gently with a spatula only twice: right after the steak lands and again after the flip. Stop pressing once the single flip is done, so a crust can form on the surface.
When should you add butter and baste?
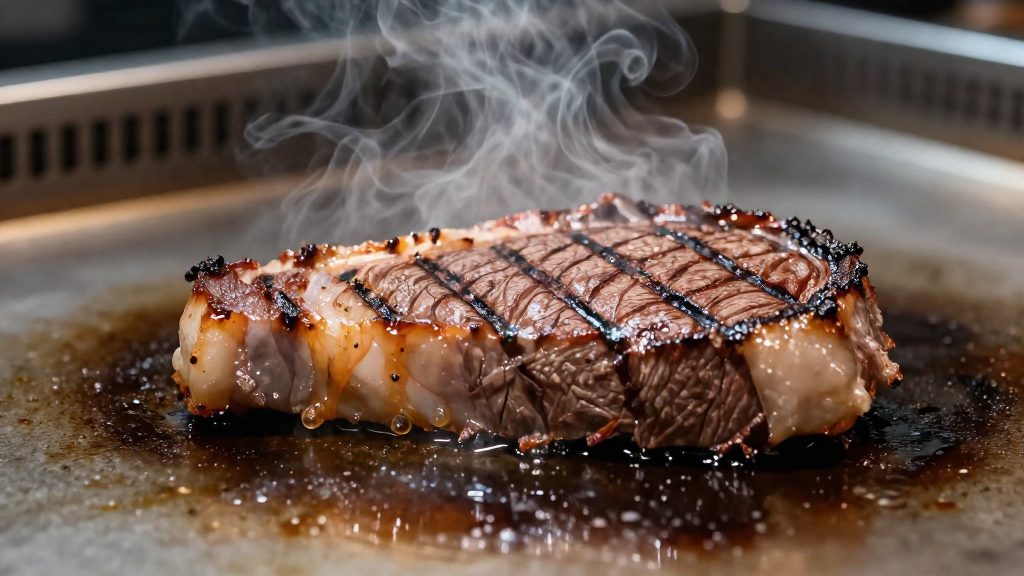
Butter, smashed garlic and thyme go onto the griddle after the steak has been seared and flipped once. All-Clad (2026) places them beside the steak and bastes for 3–4 minutes. Mashed (2026) takes a more cautious approach: the butter melts in a cooler corner of the griddle, away from peak heat, and basting starts only in the final minute or two. The two publishers disagree on duration, so the right window depends on how hot your zone runs.
| Approach | Baste duration | Butter placement | Typical outcome |
|---|---|---|---|
| Extended basting | 3–4 minutes | Beside the steak | Longer exposure to fat and aromatics |
| Late basting | Last 1–2 minutes | Cooler corner, away from peak heat | Lower risk of burnt butter |
Recommended approach: Start with the late method. Melt the butter in the cooler corner and keep the garlic and thyme in that zone too. Baste during the last 1–2 minutes. Extend basting toward 3–4 minutes only if the butter stays melted and does not darken on the cooler side of the griddle.
How to baste without scorching
- Once the flip is complete, move the butter, smashed garlic and thyme into the cooler corner.
- Let the butter melt slowly. Do not leave it over the hottest part of the surface.
- Spoon the melted butter over the top of the steak, repeatedly, for the chosen baste window.
- Keep the garlic and thyme in the butter pool rather than on the steak, so they flavour the fat without sitting directly on the surface.
- Remove the steak from the griddle once the probe reaches your chosen pull temperature, not simply when the basting window ends. If the window ends first, keep cooking and checking the temperature, then let the steak rest.
Basting adds flavour and a glossy finish, but the butter’s milk solids darken quickly. Watching the colour of the butter is the simplest way to decide whether to shorten the window.
What internal temperature is safe and done?
For a griddle steak, doneness is set by the pull temperature, the internal reading at which you take the meat off the heat. According to All-Clad (2026), the pull temperatures are 130°F (54°C) for medium-rare, 140°F (60°C) for medium and 150°F (66°C) for medium-well. Each target is a single figure, so choose one before the steak goes on the griddle. These are All-Clad’s doneness targets. The USDA’s safe minimum for beef steaks is 145°F followed by a 3-minute rest, so pulling at 130°F or 140°F is below that guidance and is a personal risk choice.
| Doneness | Pull temperature | Celsius equivalent |
|---|---|---|
| Medium-rare | 130°F | 54°C |
| Medium | 140°F | 60°C |
| Medium-well | 150°F | 66°C |
Check the temperature with a probe thermometer inserted into the thickest part of the steak, keeping the tip away from the edges and the griddle surface. A thicker cut gives the probe more room inside the meat, so its centre is easier to read accurately than that of a thin steak.
Using the thermometer reading rather than cooking time means the steak’s thickness, starting temperature and griddle heat all count. Take the first reading after the flip, then check again during basting, and compare each reading with your target. Remove the steak once it reaches the chosen figure, and avoid holding it on the griddle for longer than necessary, since the internal temperature continues to rise after the steak leaves the heat.
Why rest the steak, and how do you clean the plancha?
All-Clad recommends resting the steak for 5 minutes before slicing (All-Clad, 2026). The rest lets the meat settle after the intense heat of the sear, so less juice runs onto the board when you cut. Leave it uncovered or only loosely tented, because a tight cover traps steam and softens the crust.
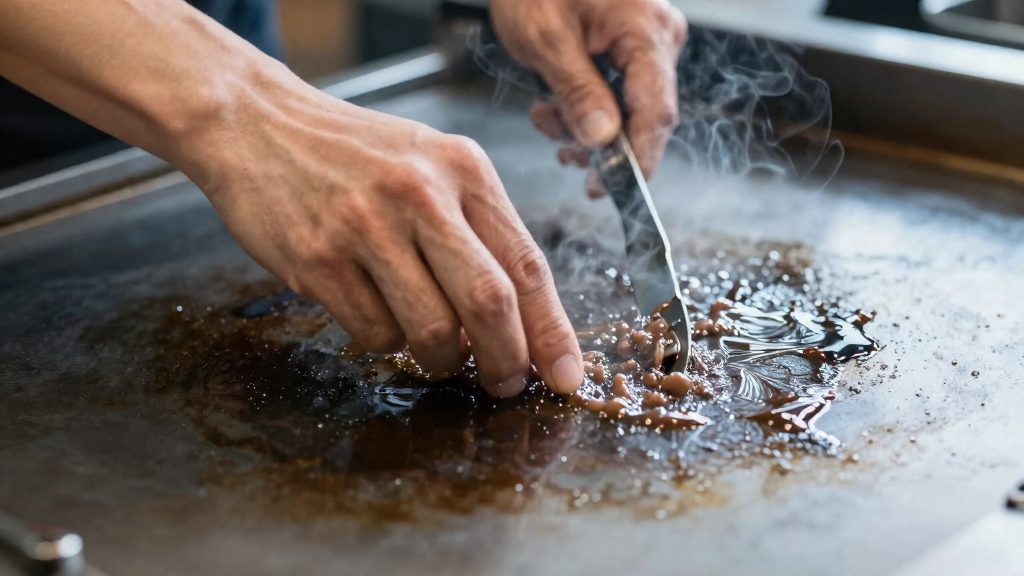
Clean the plancha once it has cooled enough to handle safely. Residue is easier to lift from a surface that is still slightly warm than from a cold, fully set one.
- Scrape the surface. Push food residue and burnt fat toward the grease trap with a metal spatula or plancha scraper, working in the direction of the grease channel.
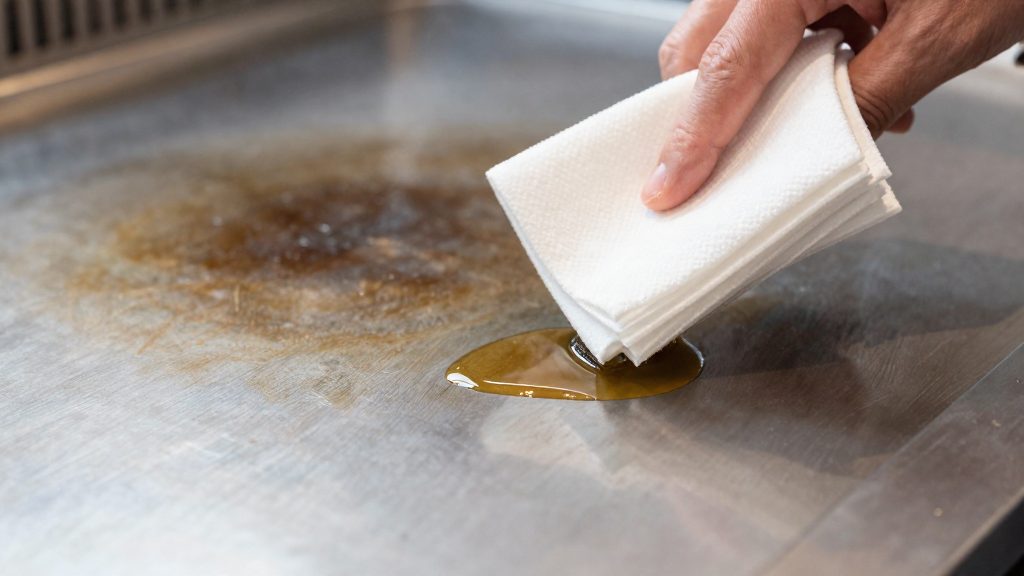
- Oil the cooled surface. Wipe a thin film of oil over the cooked area. This protects the metal between sessions.
- Empty the grease trap. Empty it before the next preheat so that nothing bakes onto the surface when you heat it again.
Frequently asked questions
Which internal temperature should I pull my steak at?
Choose one pull temperature before the steak goes on the plancha. All-Clad lists 130°F for medium-rare, 140°F for medium and 150°F for medium-well (All-Clad, 2026). The USDA safe minimum for whole-muscle beef steaks is 145°F with a 3-minute rest (USDA FSIS), so 130°F and 140°F sit below that guidance and are a personal risk choice.
Why does one steak finish before the others?
Thickness variation is a frequent cause of uneven cooking. A thinner piece reaches its target earlier than a thicker one, so probe each steak separately rather than relying on the first one to finish. Cutting the steaks to matching thickness makes timing more predictable.
Does emptying the grease trap stop residue from baking onto the plancha?
No. Scraping residue off the surface is what prevents it from baking on during the next preheat. Emptying the grease trap prevents overflow and stops old grease from building up. Empty it once it has cooled enough to handle, and no later than before the next preheat.